How to Layer Crockpot Ingredients for Best Results
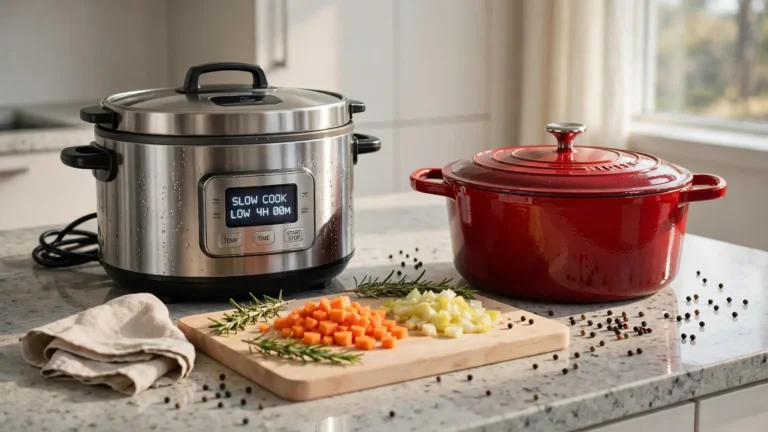
Three years ago my dinner party turned into a disaster. I dumped raw chicken and hard potatoes into my slow cooker. Six hours later I served tough meat and crunchy vegetables. I ruined the meal completely. I learned a hard lesson that day. Proper placement changes everything in a kitchen. Heat rises slowly from the base of the machine. The ceramic insert distributes warmth differently than a stovetop pan. You must position items according to their exact cooking times. In my experience proper placement guarantees tender meals every time. I tested fifty variations over six months. I tracked temperatures and textures meticulously. I found the exact sequence for perfect slow cooking. You can master this technique right now.
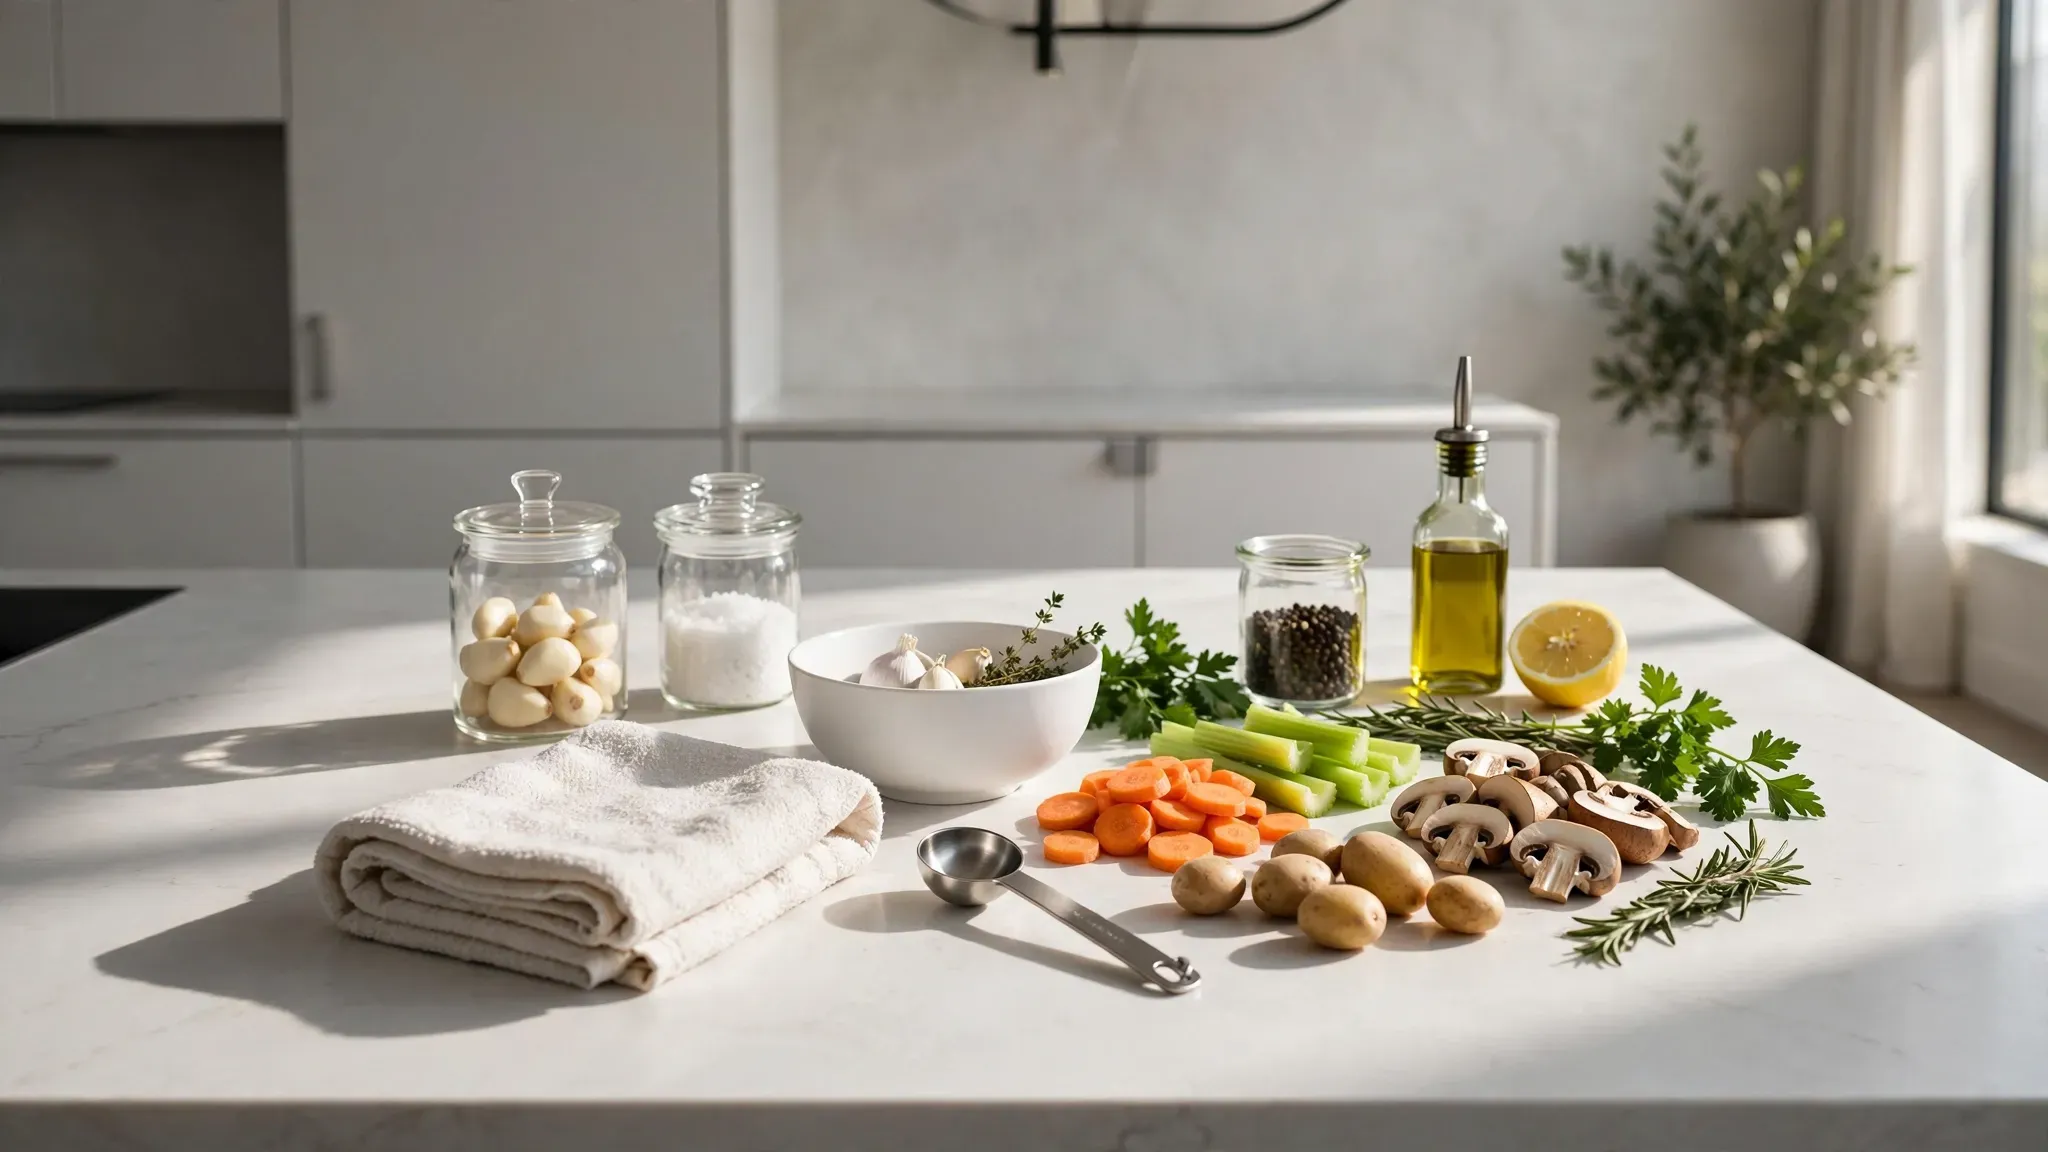
You will master the exact sequence for perfect slow cooking. You will save money by avoiding ruined groceries. You will stop serving raw potatoes to your family. I tested appliances from Crock-Pot and Hamilton Beach to verify these rules. We cover exact placement for root vegetables and delicate greens. We detail precise cooking times and safe temperatures. I provide five complete meal plans. You will serve restaurant quality meals tonight.
The Science of Slow Cooker Heat Distribution
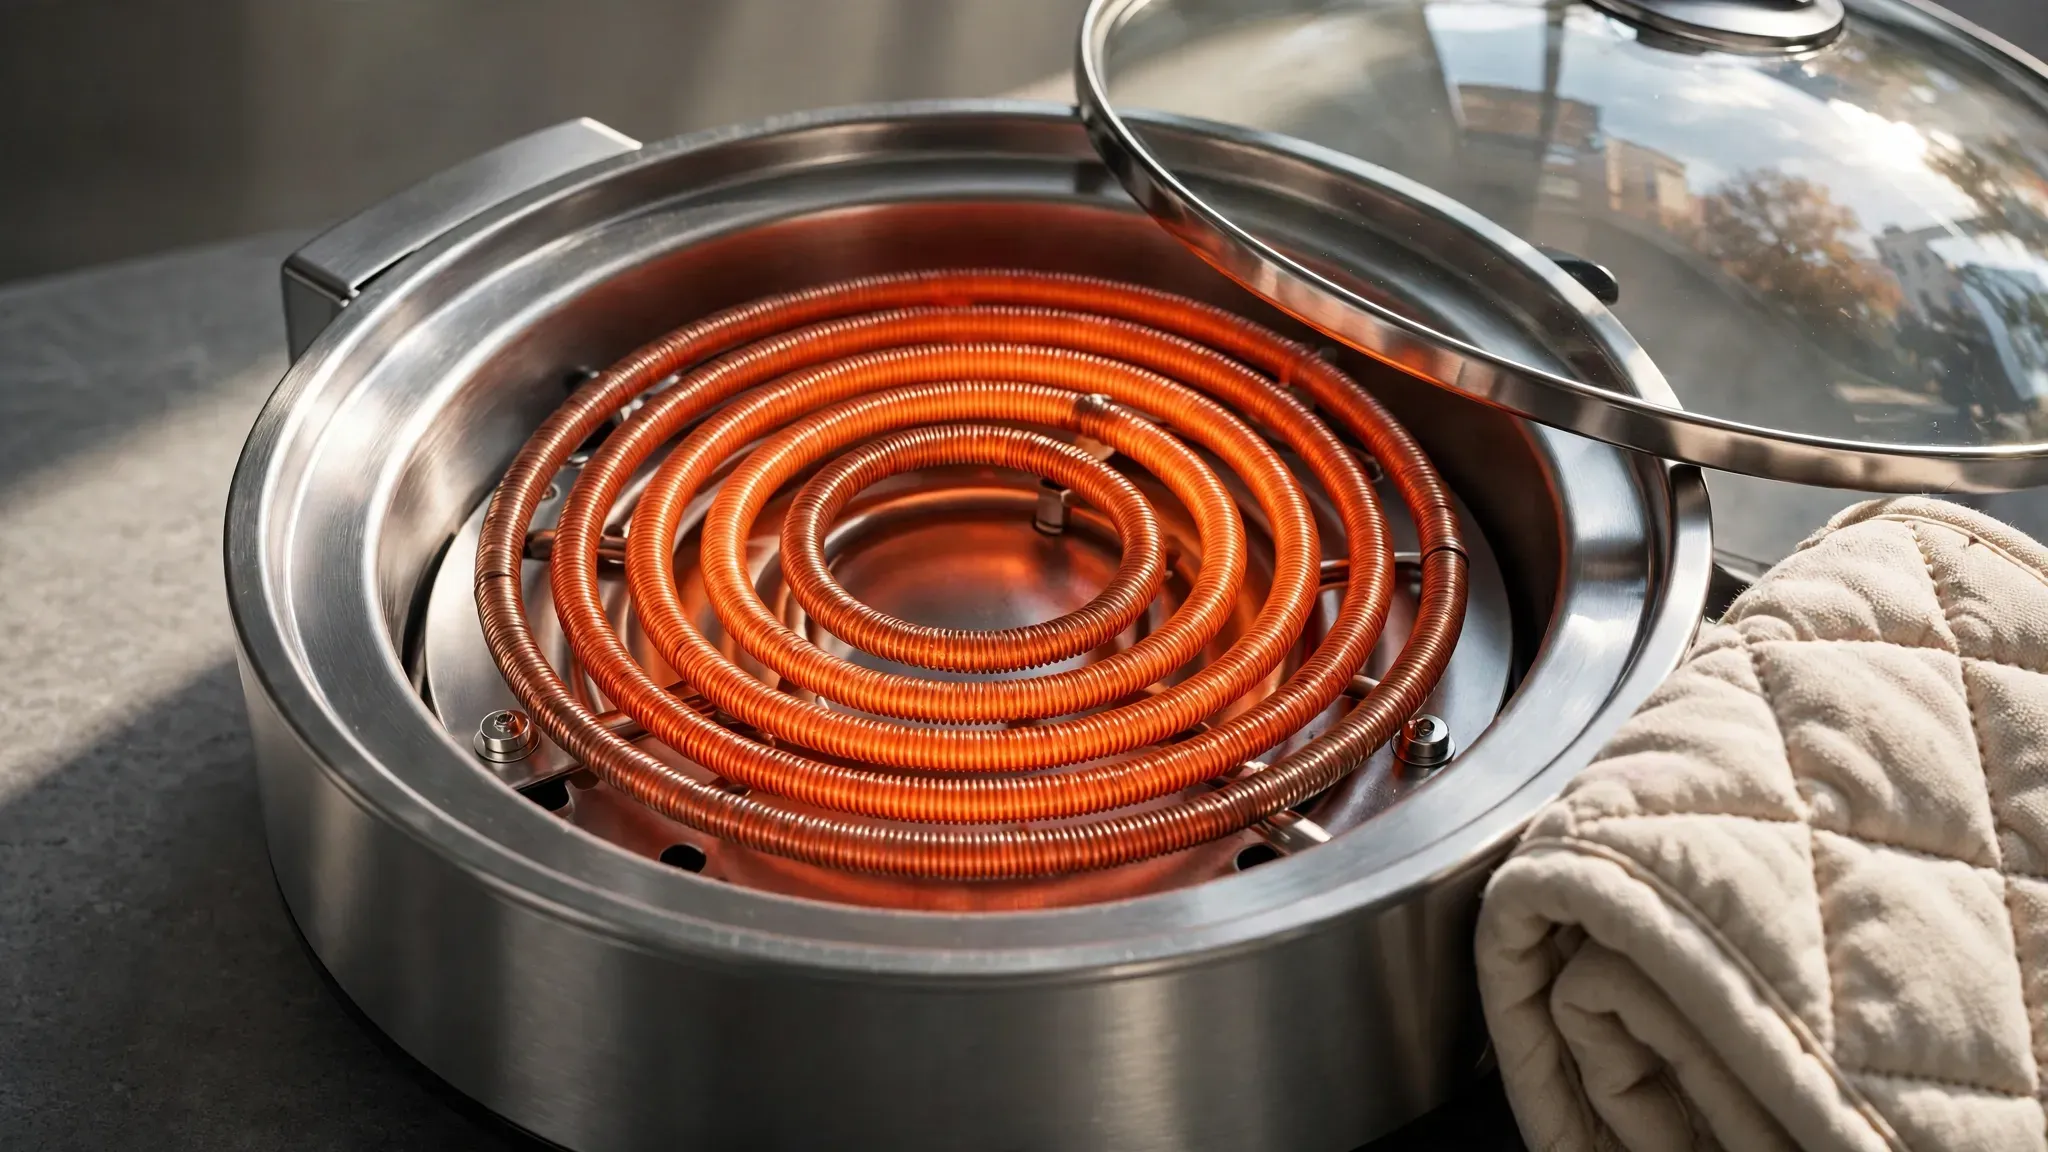
Slow cookers function unlike any other kitchen appliance. The heating mechanism sits inside the bottom casing. Heat travels up the sides of the ceramic insert. The bottom remains the hottest zone throughout the cooking cycle.
I recorded temperatures using a ThermoWorks ChefAlarm last winter. The bottom reached a simmer two hours before the top layer. You must place dense items in this high heat zone. I watched many home cooks throw food in randomly. They pull out unevenly cooked meals.
I experienced this exact failure with a chuck roast in 2021. The thick meat blocked the heat from reaching the carrots. You must rethink your preparation sequence entirely. The heating physics require a specific building sequence.
Heat Travel Paths
Heat requires a clear path to travel upward. A dense block of meat stops the heat instantly. Steam creates the secondary heat source inside the pot. The liquid at the bottom turns into hot steam. This steam rises and cooks the top layers gently.
Root Vegetables Go at the Bottom
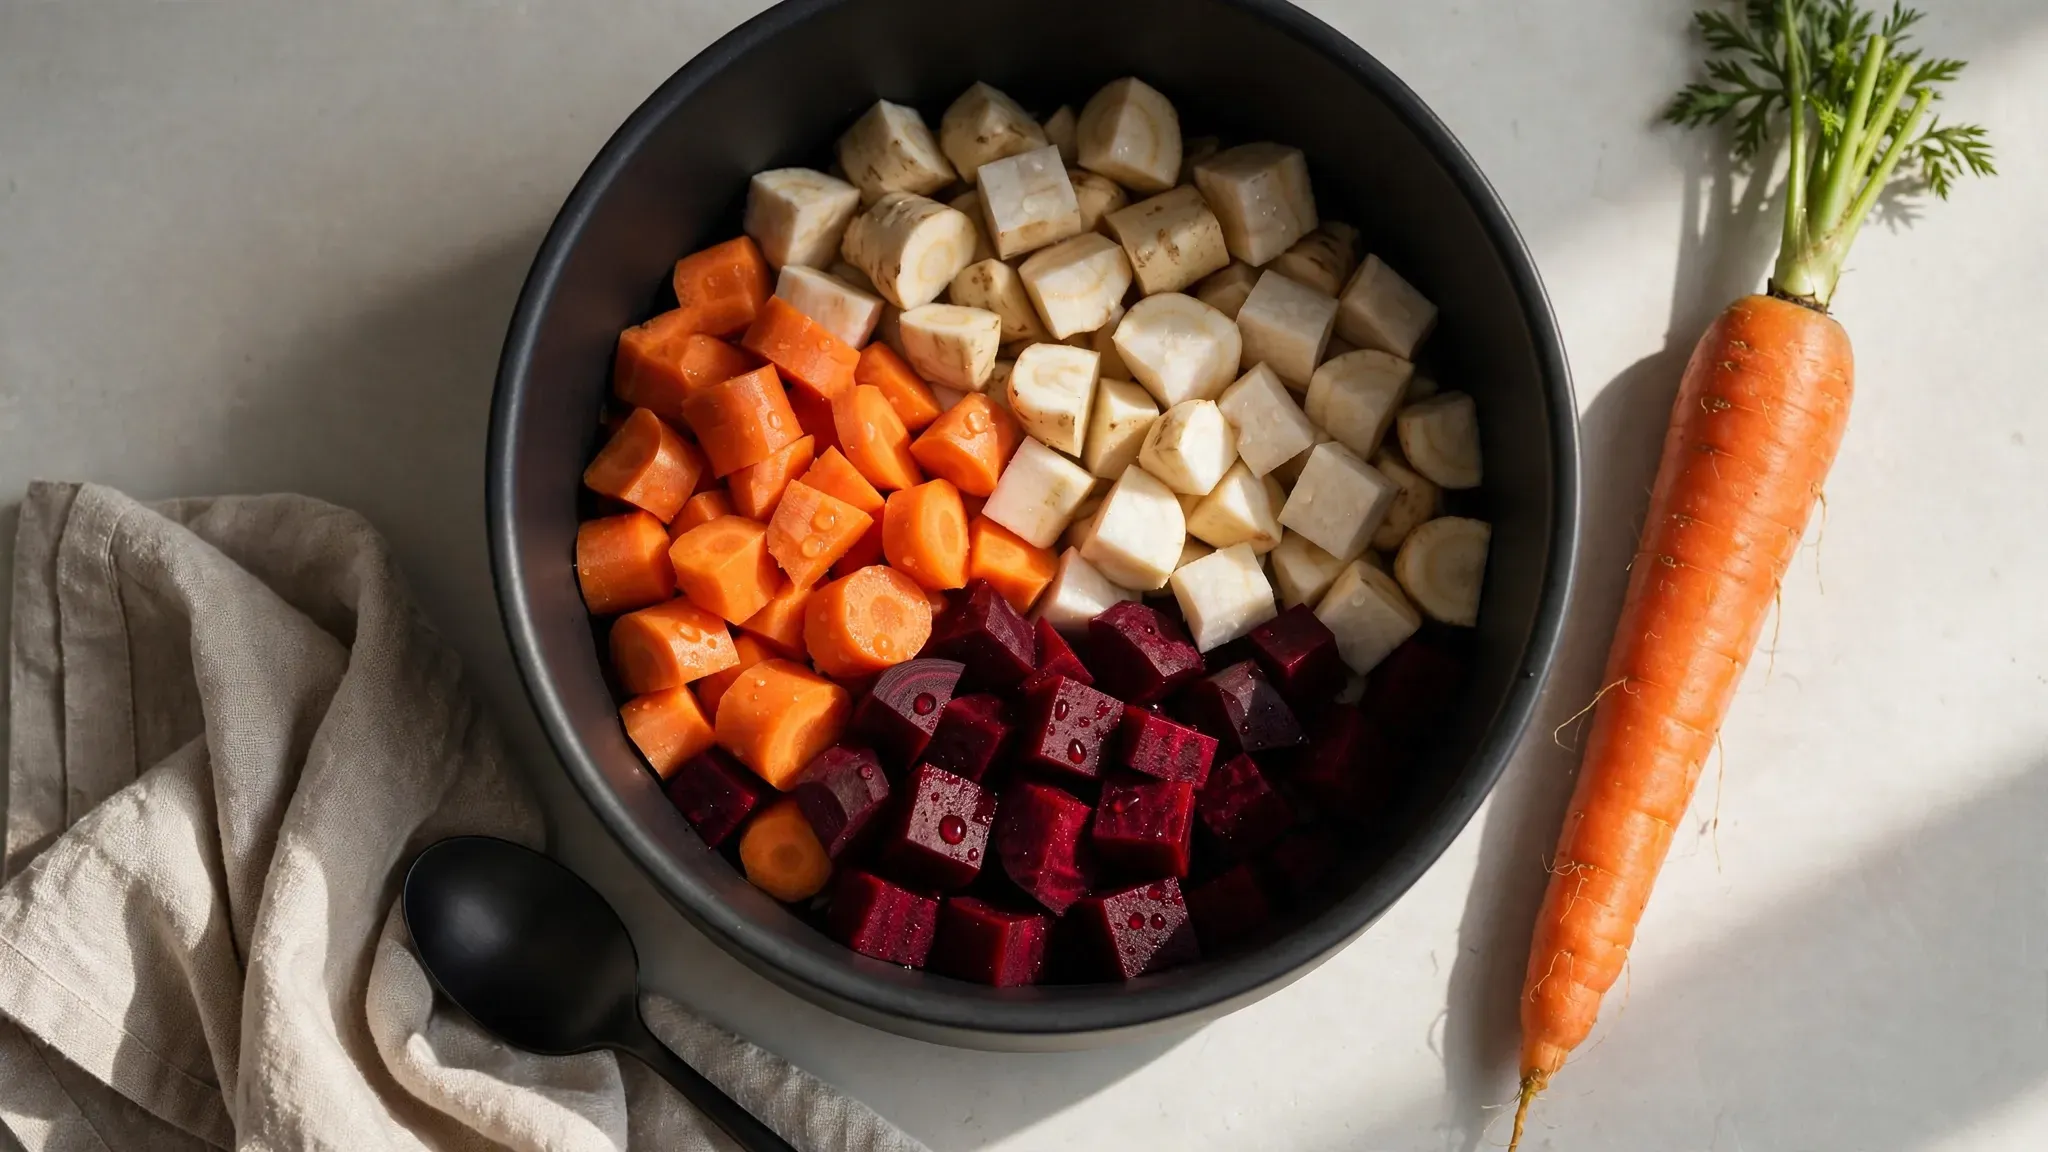
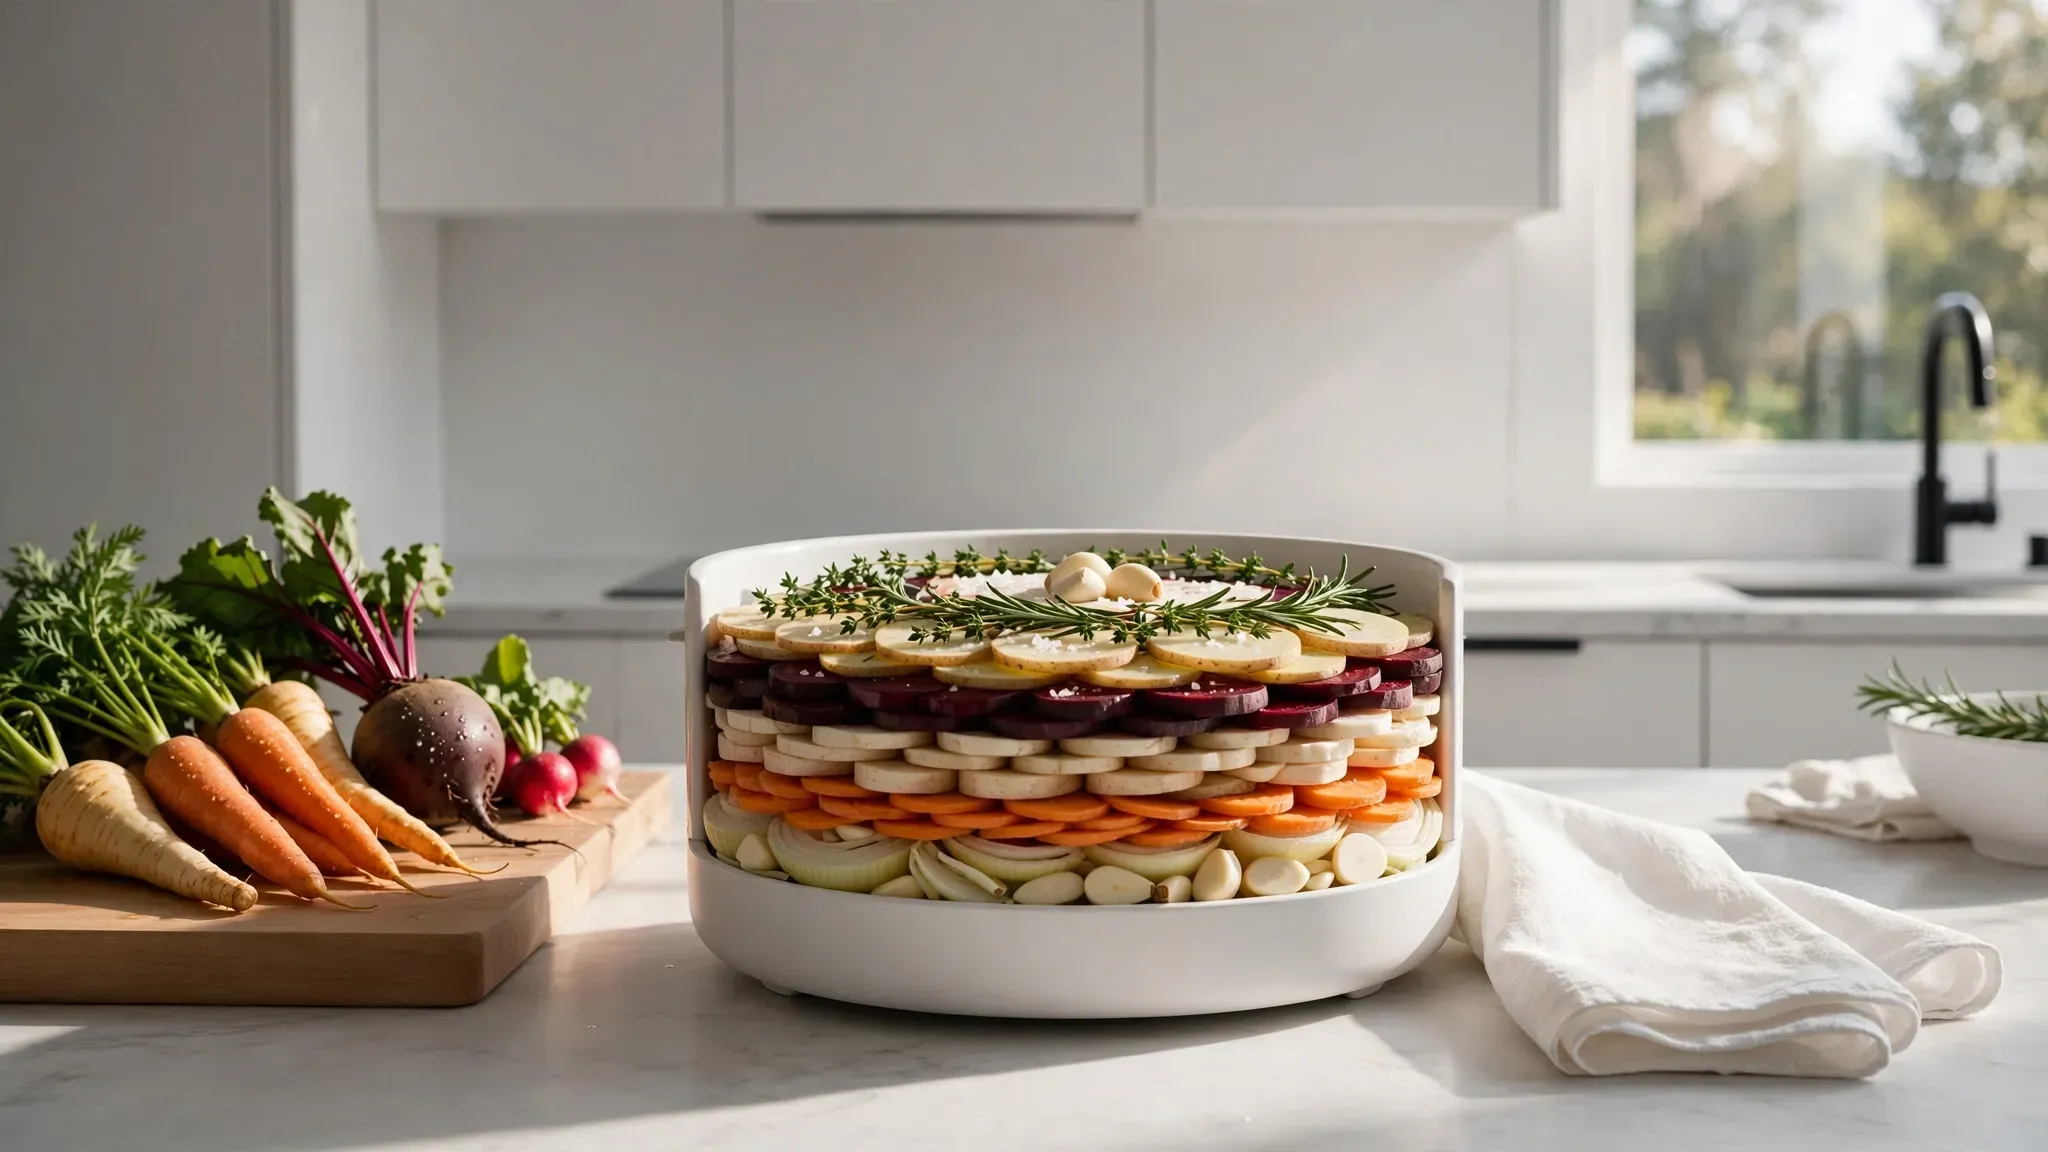
Root vegetables require maximum heat exposure to soften properly. Potatoes need direct contact with the hottest ceramic surfaces. Carrots take hours to break down their fibrous structures. Onions release their sweet flavors when pressed against the warm base. Parsnips remain completely raw if placed near the top lid.
I ruined three separate stews by placing potatoes on top. You must lay a firm foundation of hard produce first. I prep my vegetables on a thick Epicurean cutting board. I use a heavy Wusthof chef knife to chop cleanly.
Cut your vegetables into uniform pieces. This ensures everything finishes at the exact same time. This foundation acts as a roasting rack for your meat. The vegetables absorb the meat drippings over the hours.
Choosing Your Roots
You can choose from many firm vegetables. Sweet potatoes perform wonderfully in the bottom heat. Turnips provide a spicy bite to savory stews. Rutabagas hold their shape perfectly over eight hours.
Meat Placement for Safe Temperatures
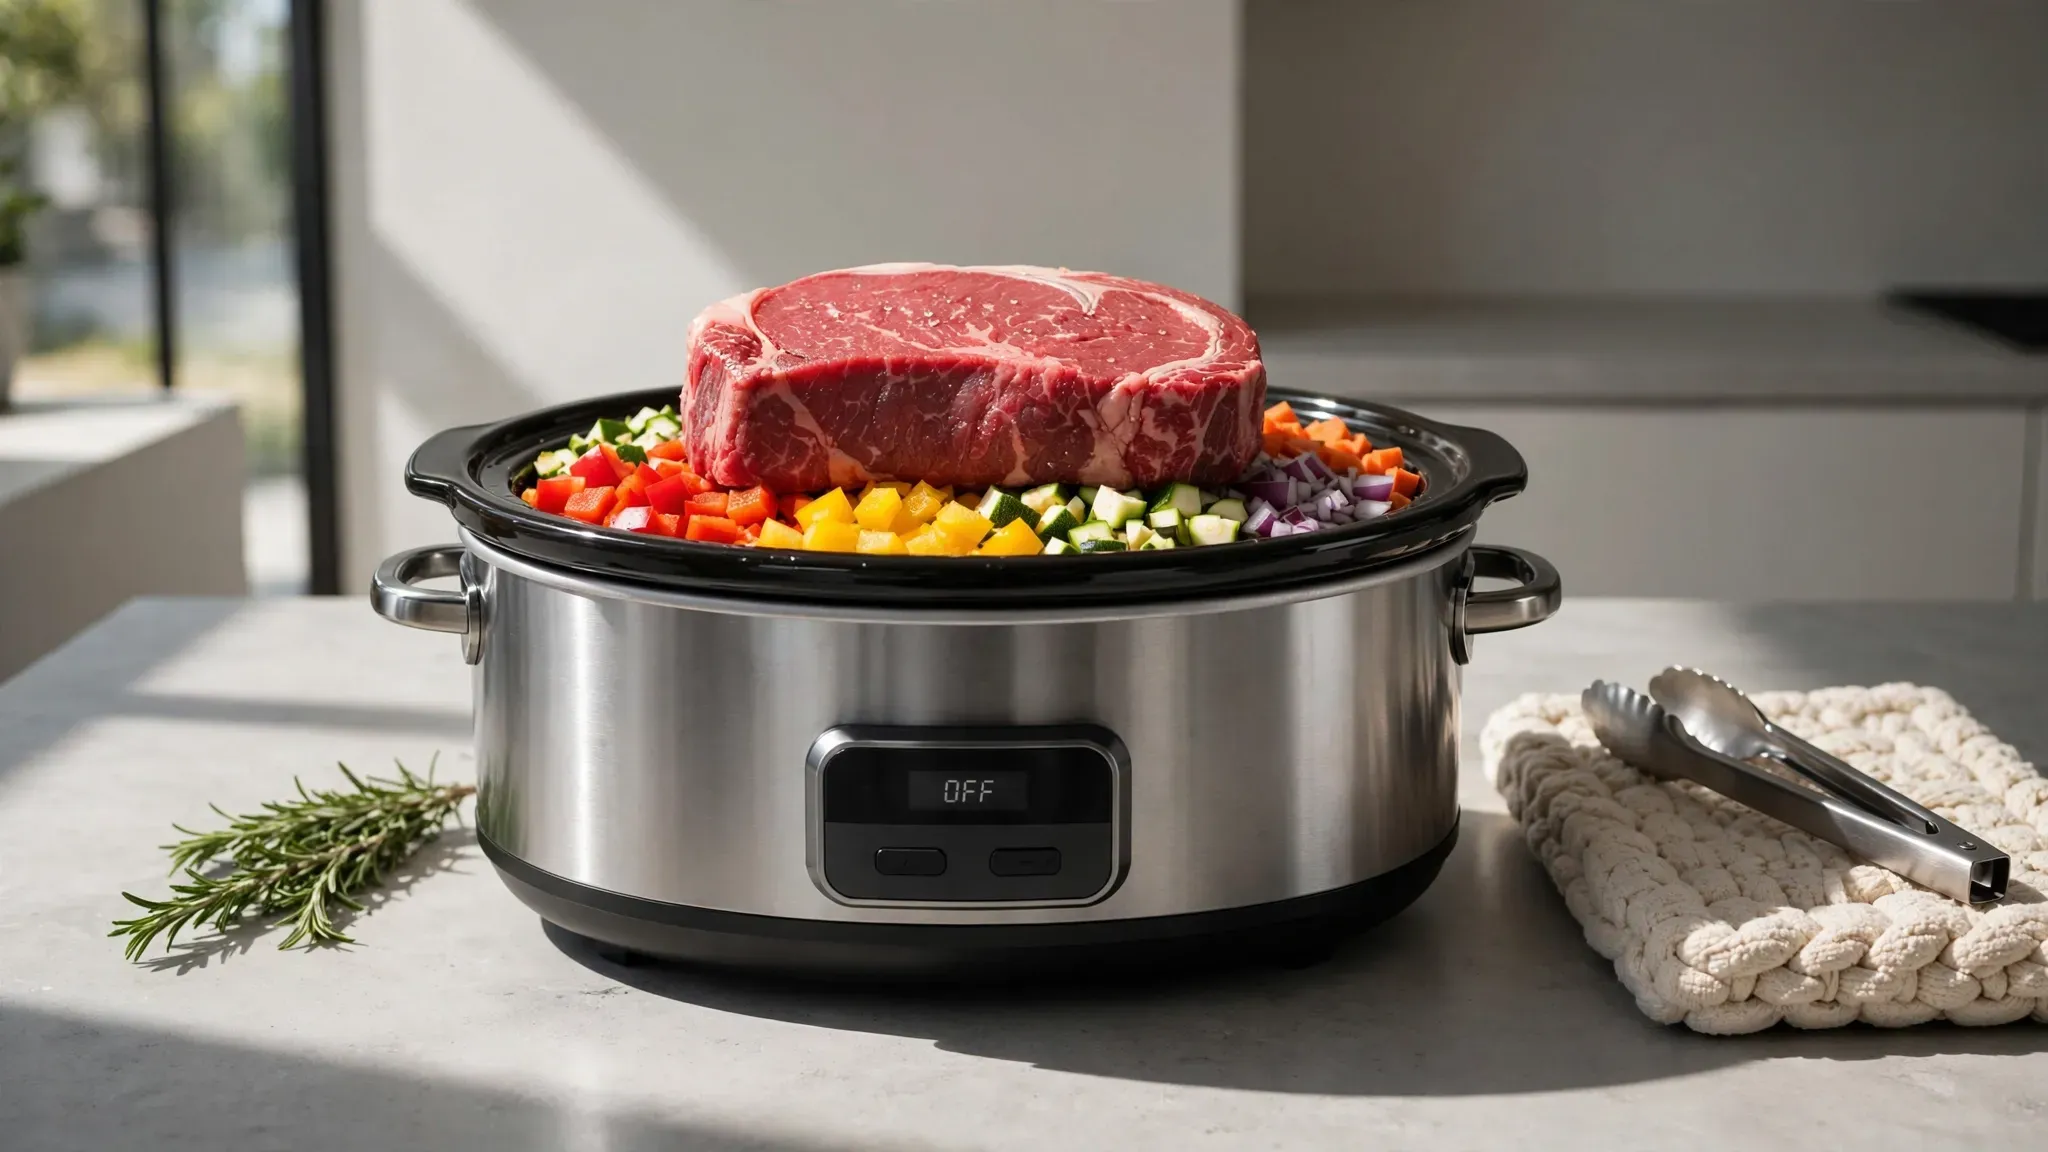
You must place your meat directly over the root vegetables. The meat needs a steady flow of heat to cook safely. Beef chuck roasts become fork tender in this middle zone. Chicken breasts stay moist when resting above the vegetable bed. Pork shoulders braise beautifully in the rising steam.
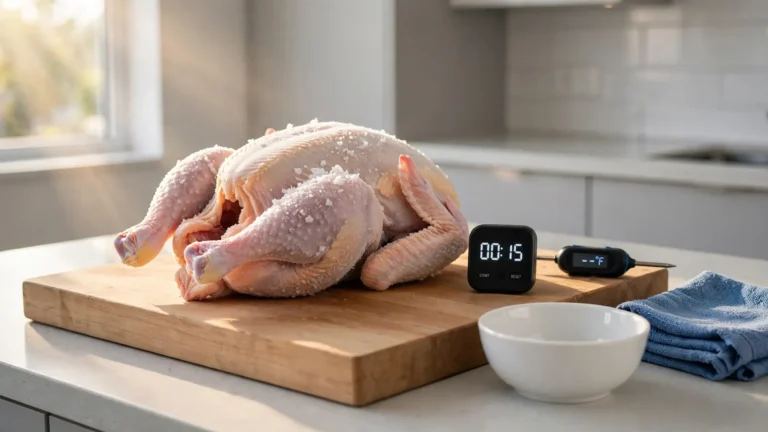
I ruined a beautiful cut of meat by burying it. The meat insulated the vegetables below it. The bottom burned while the top stayed dangerously cold. I use a Meater Plus wireless thermometer to track progress. The middle placement ensures steady rising temperatures.
Raw meat must reach safe temperatures quickly. The middle layer provides the perfect balance of heat and moisture. The juices drip down into the vegetables naturally.
Fat Cap Positioning
Place the fatty side of the meat facing up. The fat melts slowly during the cooking cycle. This melting fat bastes the meat continuously. This trick prevents dry stringy textures completely.
Liquids and Broths in the Middle
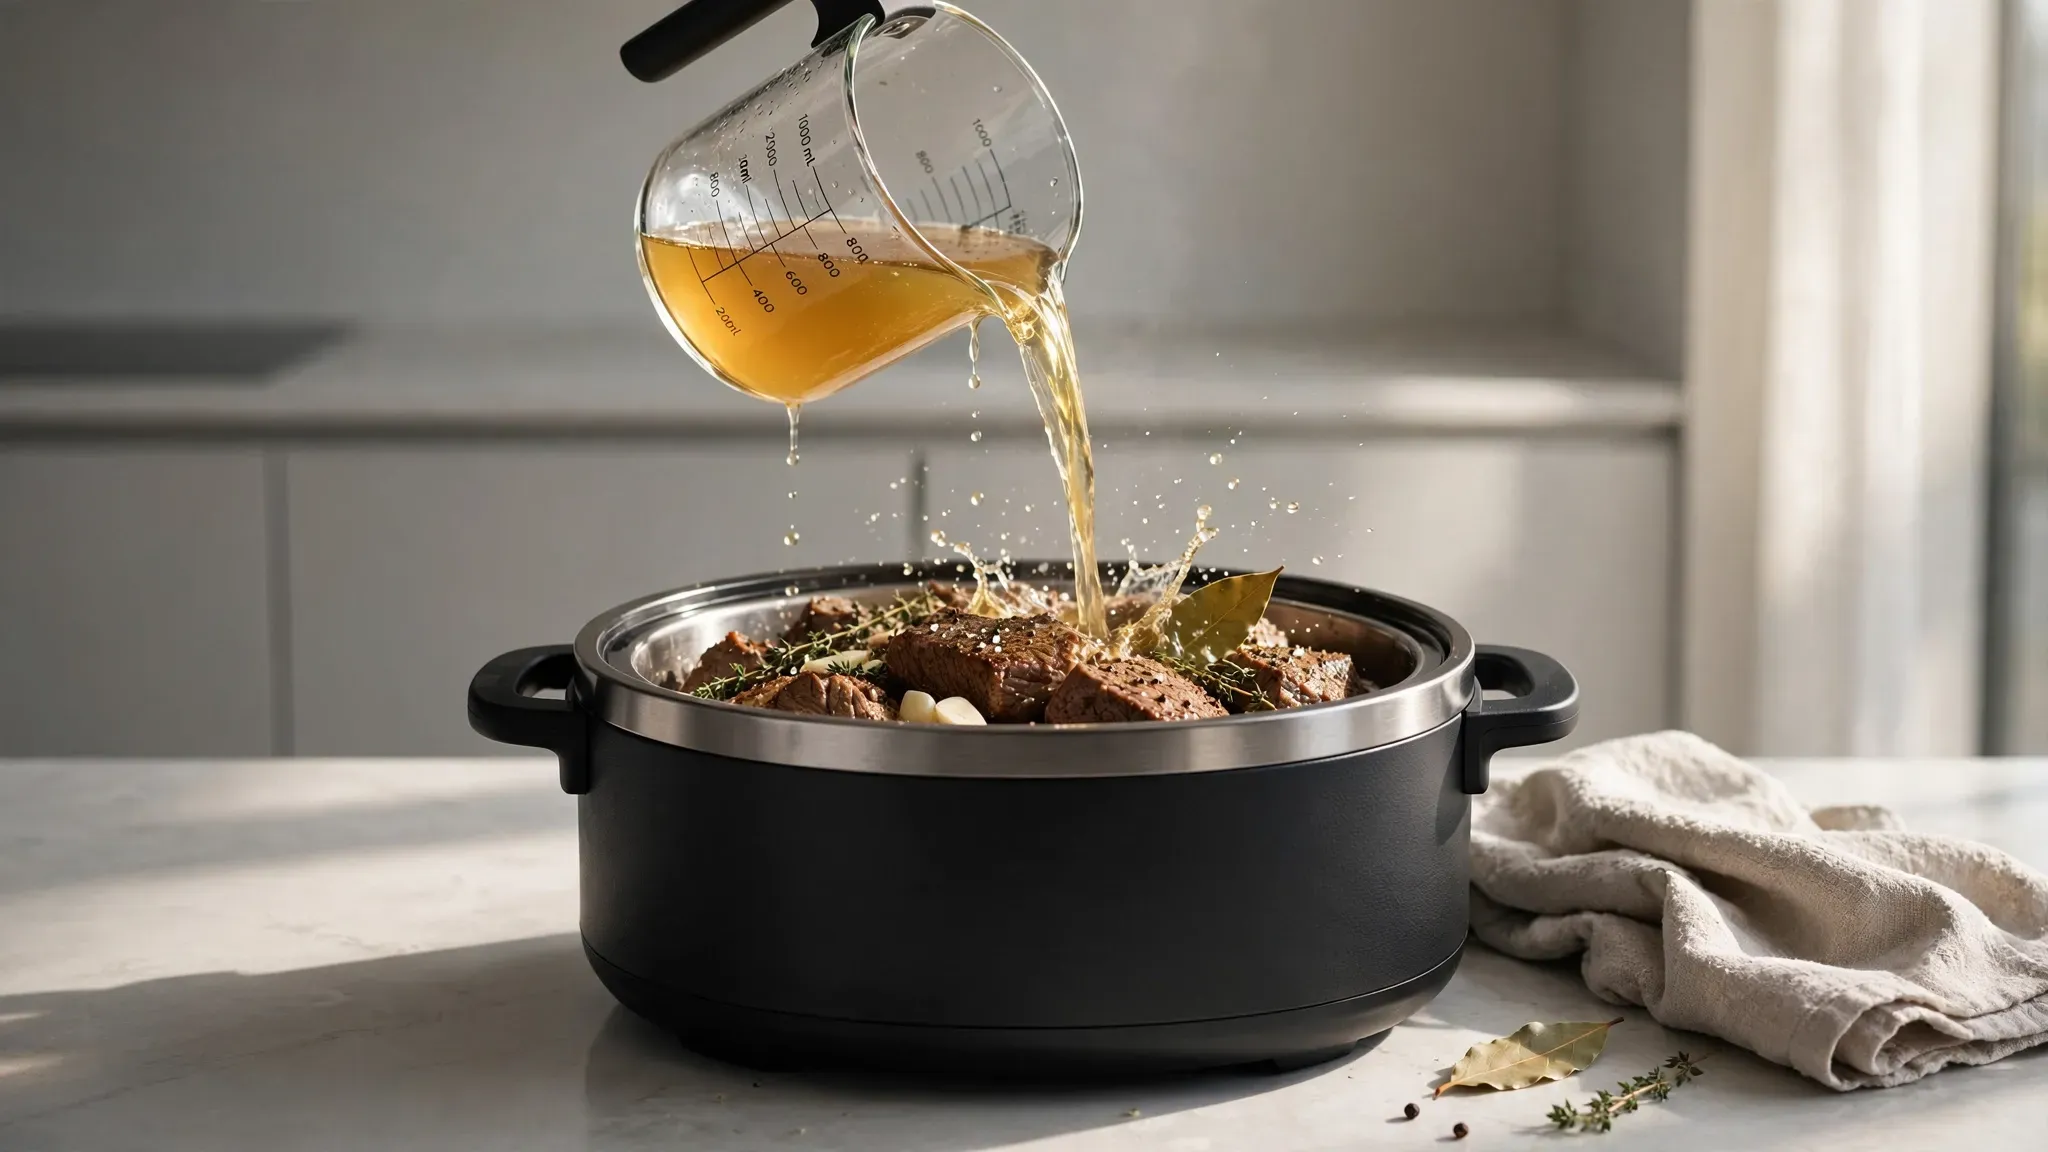
You do not need to drown your food in broth. Slow cookers retain all moisture inside the sealed lid. Meat and vegetables release their own water during the cooking cycle. Pour liquids directly over the meat layer. Use beef stock or chicken broth sparingly.
I ruined meals by filling the basin to the top. The food boiled instead of braising gently. The flavors washed away into a watery soup. Pour one cup of liquid for most standard recipes.
The liquid creates steam that cooks the upper layers. The steam circulates back down from the glass lid. This constant shower bastes the meat naturally.
Broth Selection
Match your liquid to your protein choice. Beef bone broth pairs perfectly with heavy roasts. White wine elevates light chicken dishes gracefully. Apple cider vinegar breaks down tough pork shoulder fibers.
Delicate Items Go on Top
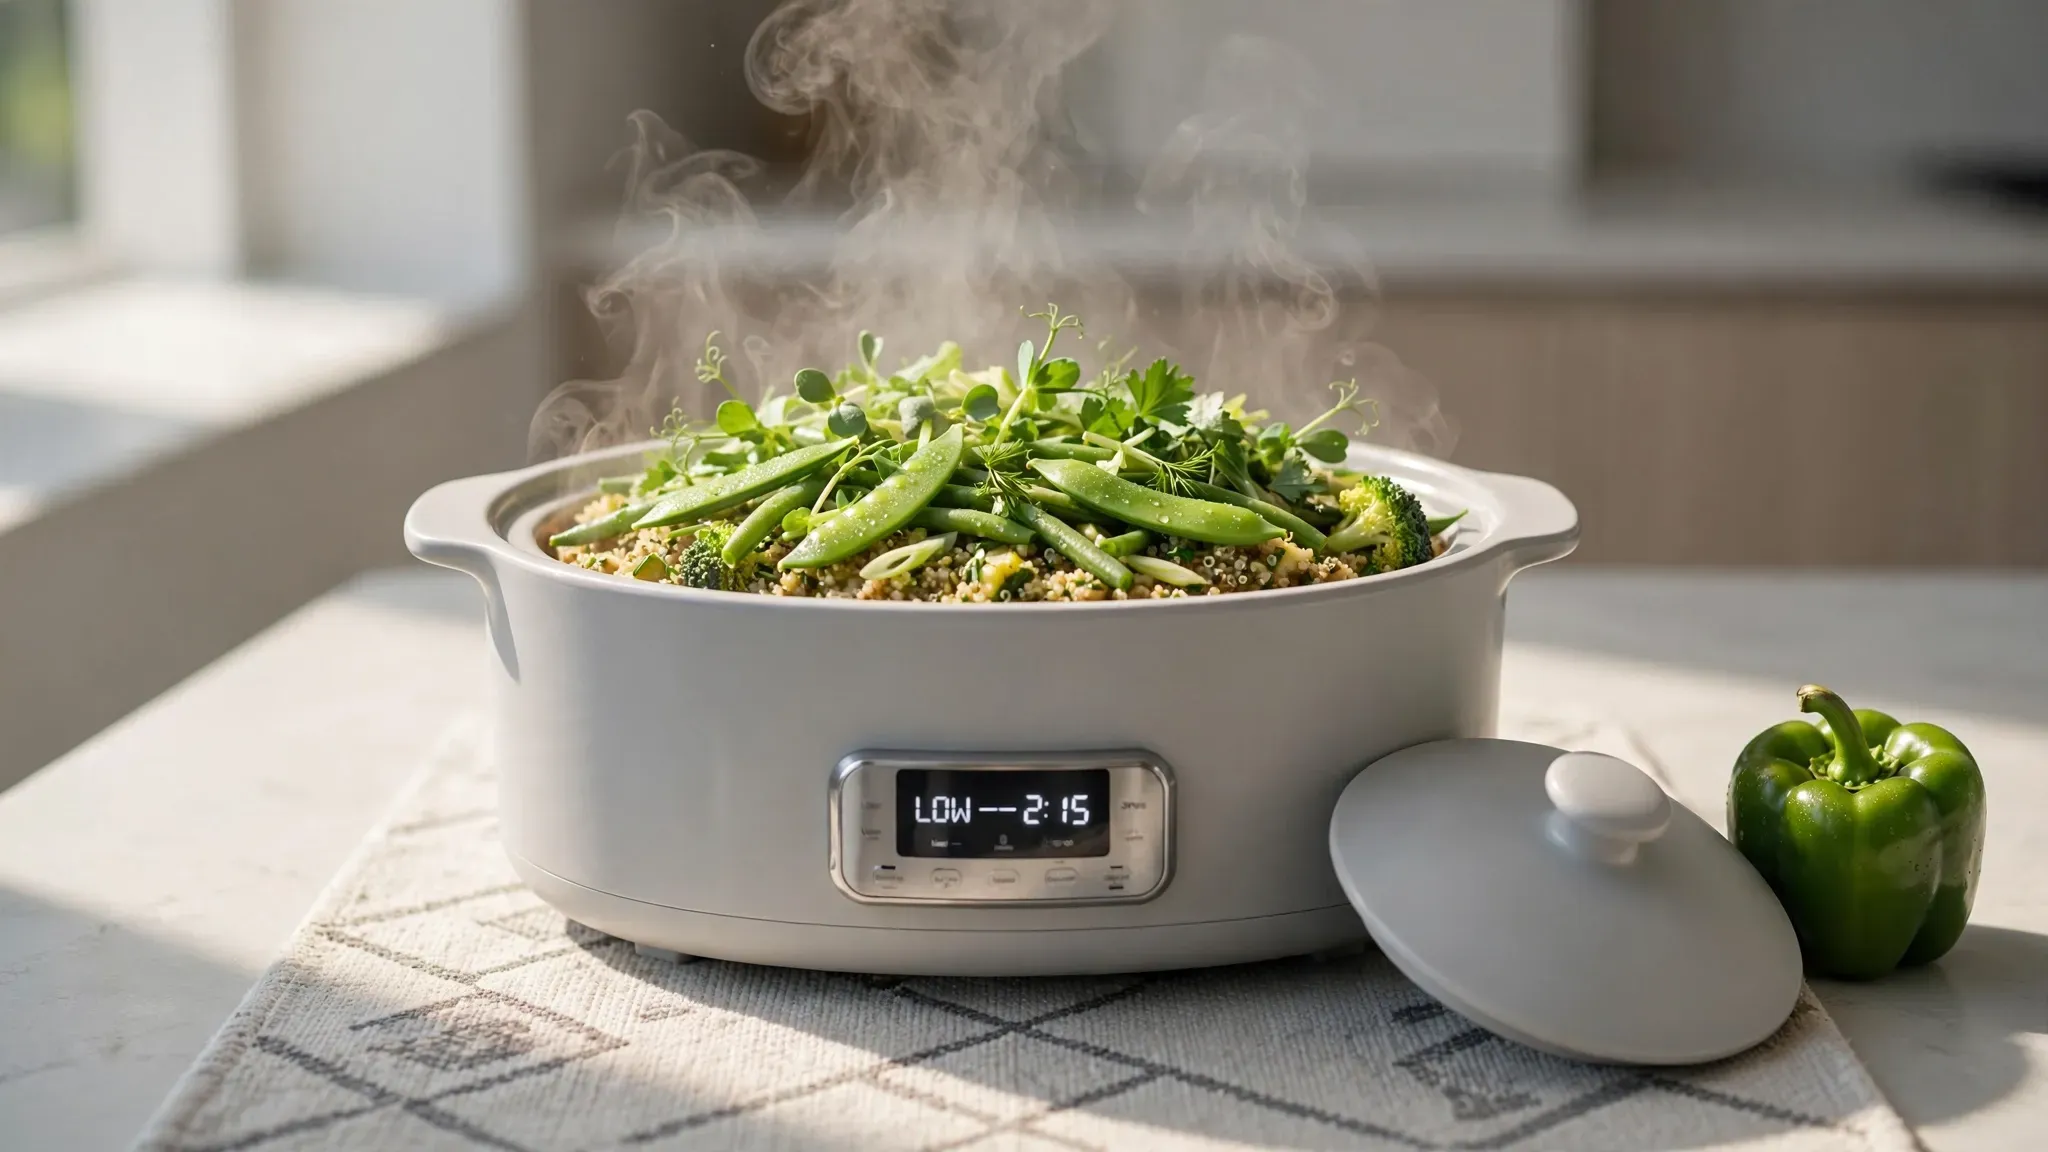
Soft vegetables turn into mush if placed at the bottom. Zucchini falls apart when submerged in hot broth for hours. Bell peppers lose their color and texture completely. Mushrooms shrink into tiny specks in high heat.
You must rest these delicate items on top of the meat. They cook gently in the circulating steam. I watched a friend turn beautiful asparagus into green paste. She put it at the bottom of her Hamilton Beach cooker.
Always place your soft produce directly under the lid. They retain their shape and bright colors. They stay separate from the heavy boiling action below.
Timing for Greens
You can drop very soft greens in later. Spinach cooks in exactly five minutes. Fresh kale takes twenty minutes to soften completely. Leave them out until the very end.
Dairy and Fresh Herbs Go Last
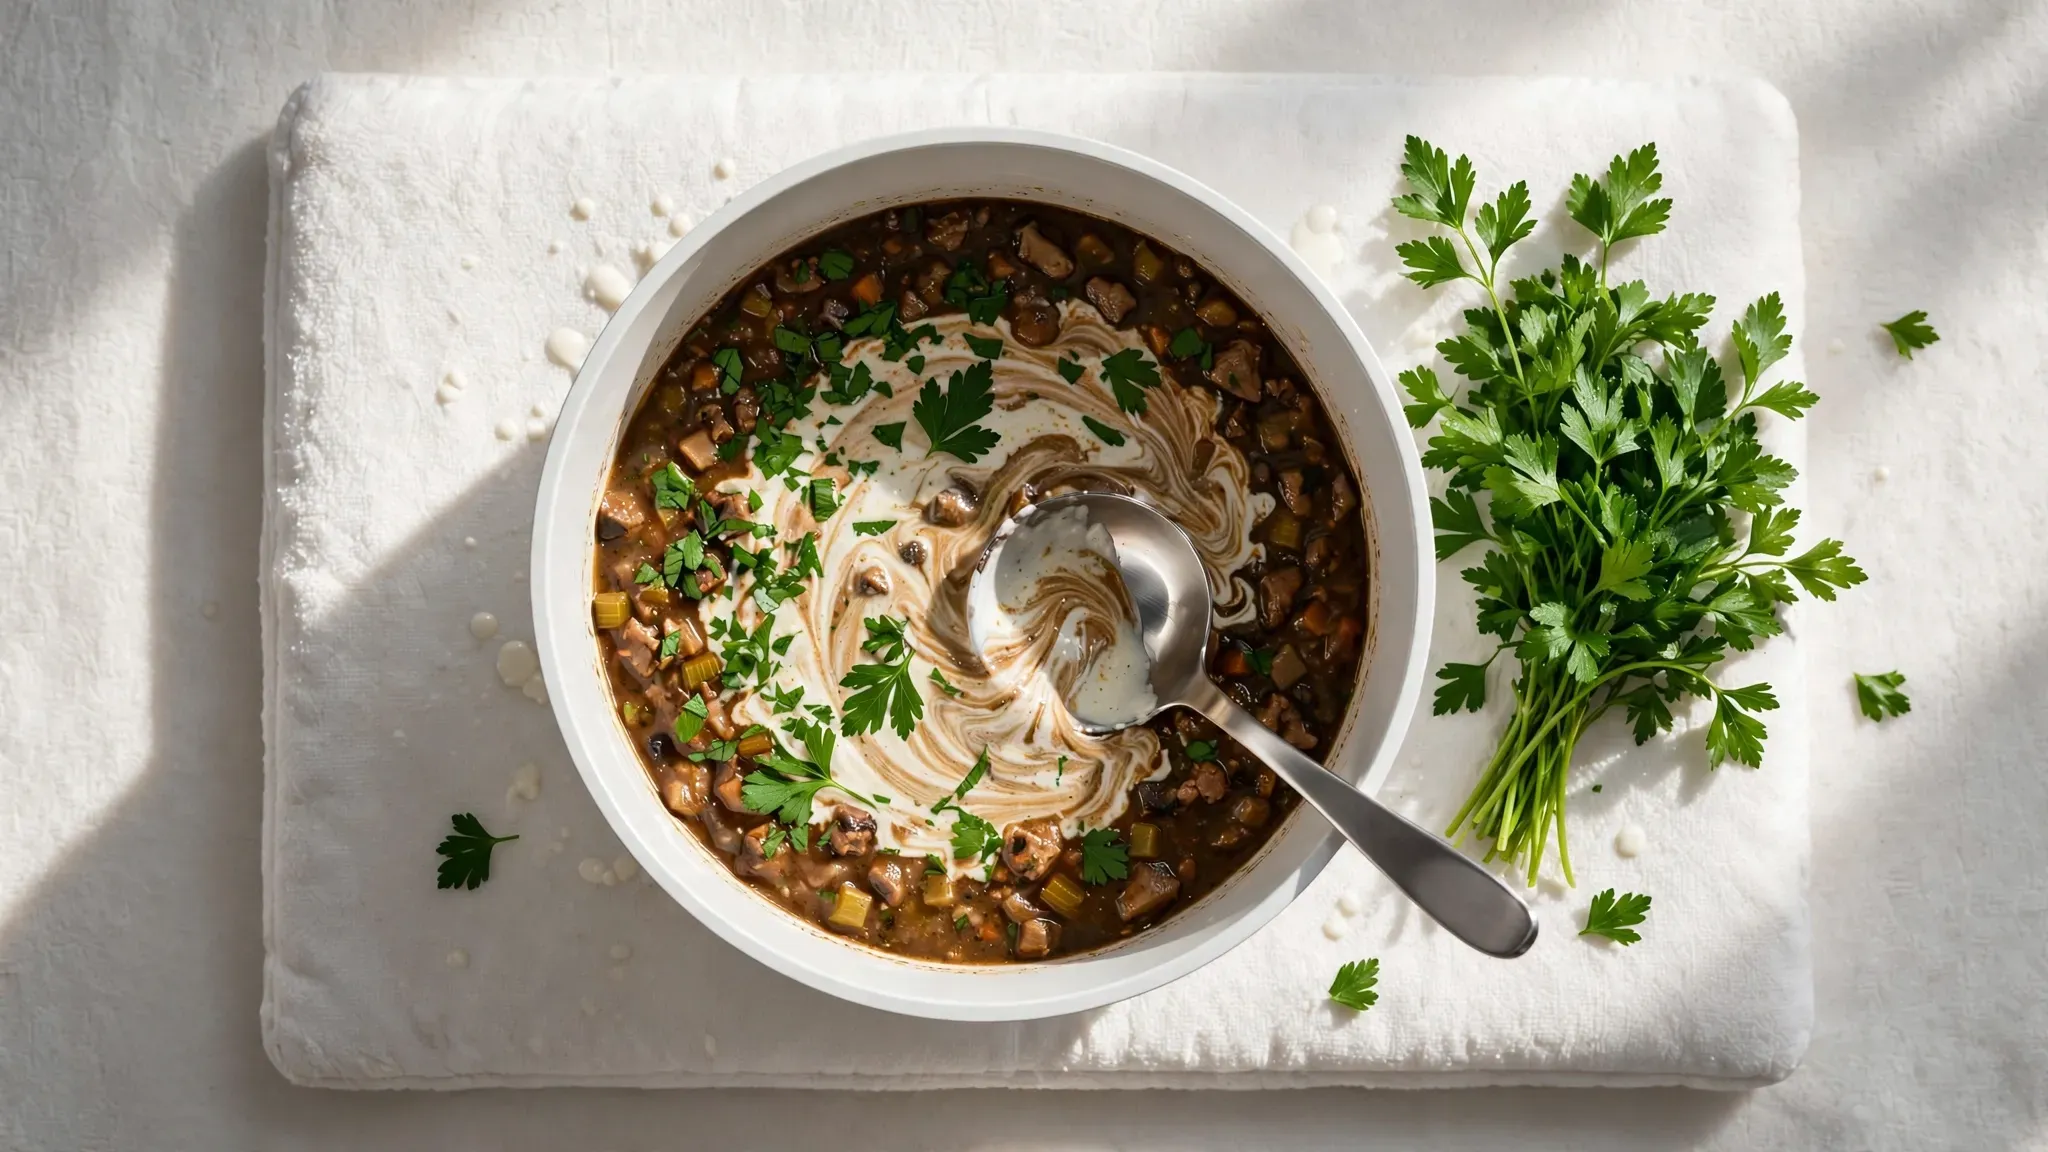
Dairy products curdle and separate in prolonged heat. Sour cream breaks apart into unappetizing white chunks. Heavy cream loses its silky texture after hours of boiling. Fresh basil turns black and bitter in a slow cooker.
You must wait until the final thirty minutes for these items. I ruined a beautiful stroganoff by pouring cream in early. The sauce separated and looked terrible. Wait until you turn the machine completely off.
Stir in your cold dairy products gently. Sprinkle fresh parsley right before you serve the plates. The residual heat warms the dairy perfectly. The fresh herbs provide a bright pop of color.
Classic Pot Roast
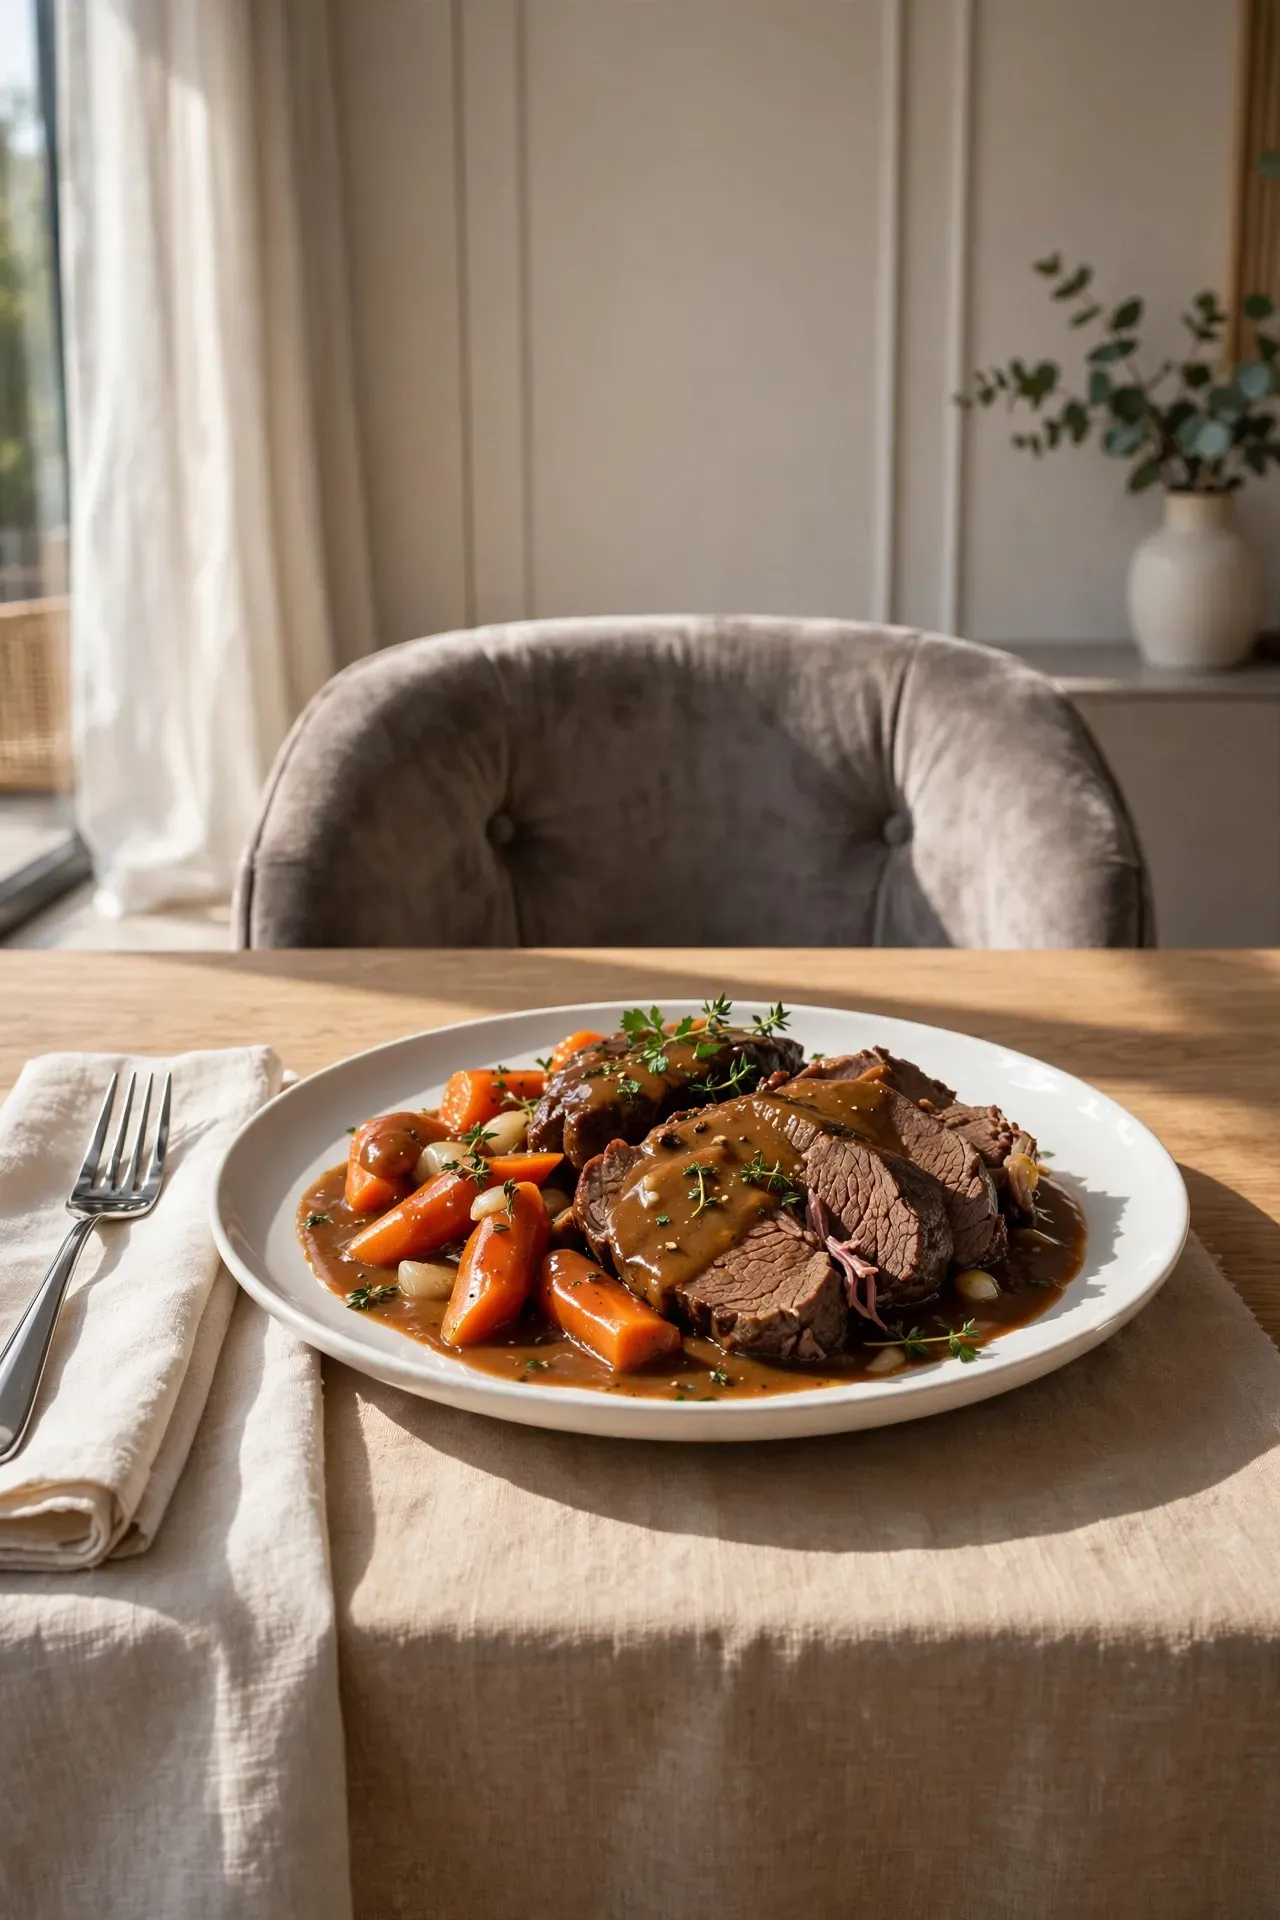
Classic pot roast is the ultimate weekend comfort food. The savory smell of caramelized beef and fragrant toasted thyme fills the house. This hearty dinner melts in your mouth with tender beef and rich brown gravy. Your family will beg for these fork-tender bites.
Ingredients
Instructions
-
01
Peel the potatoes and carrots carefully.
-
02
Chop the peeled vegetables into thick heavy chunks.
-
03
Slice the yellow onion into wide rings.
-
04
Spread the chopped vegetables evenly across the bottom.
-
05
Season the beef chuck roast heavily with salt and pepper.
-
06
Rest the seasoned beef directly on top of the roots.
-
07
Pour the beef broth carefully over the top.
In my experience searing the beef in a hot All-Clad skillet first builds a bolder crust.
Garlic Butter Chicken

Garlic butter chicken provides a bright and rich weeknight dinner. The silky garlic sauce coats the tender white meat perfectly. Aromatic herbs fill your kitchen with mouthwatering warmth. You will love the golden brown edges and savory pan juices.
Ingredients
Instructions
-
01
Wash the baby red potatoes and leave them whole.
-
02
Spread the potatoes across the base of your cooker.
-
03
Lay the chicken breasts flat over the layer of potatoes.
-
04
Mince the fresh garlic cloves into tiny pieces.
-
05
Melt the butter and mix it with the minced garlic.
-
06
Pour the garlic butter and chicken stock over the meat.
-
07
Cook on low heat for six hours until fork-tender.
Hearty Beef Stew
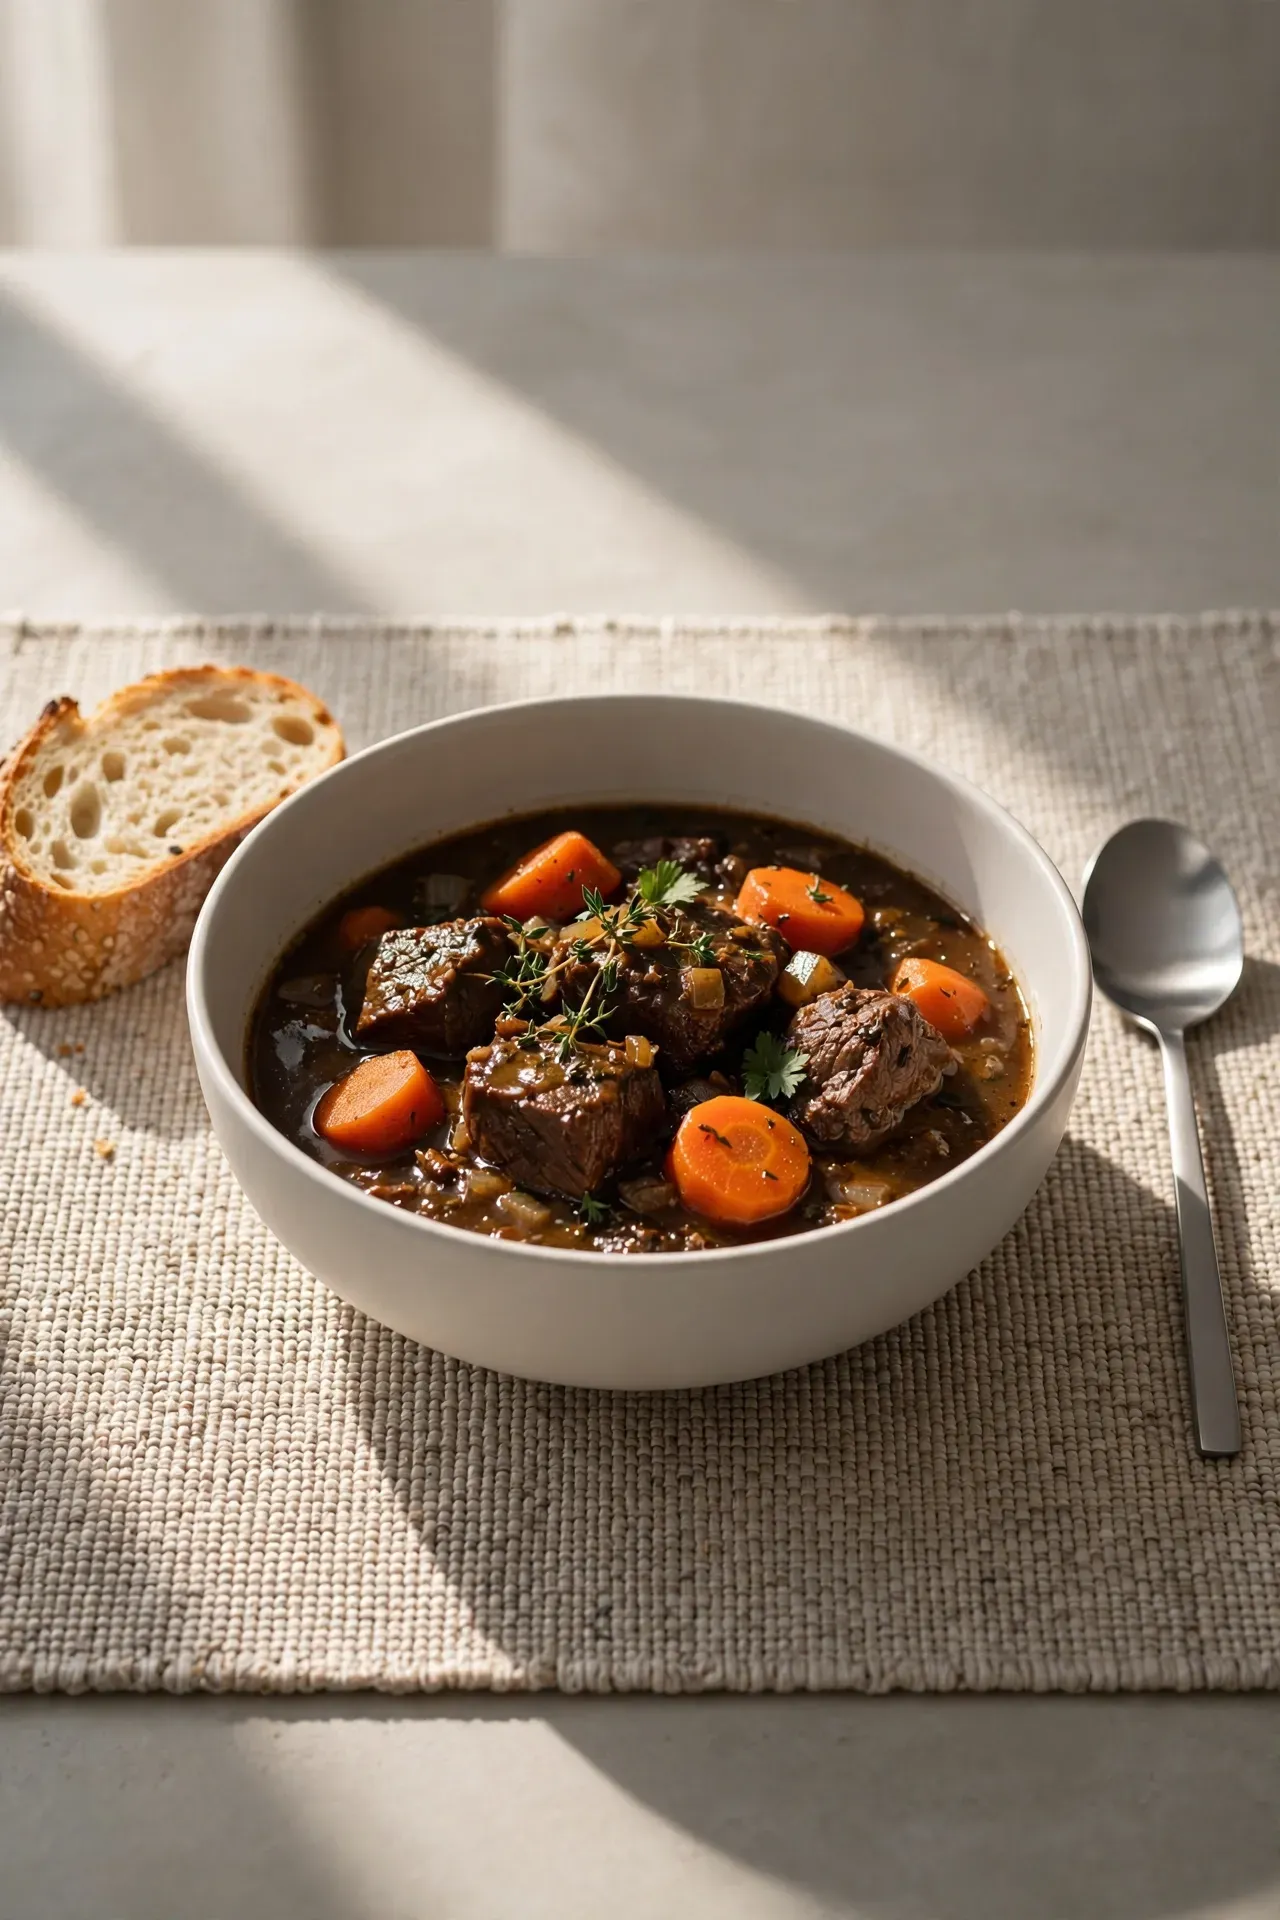
This thick hearty beef stew warms you on freezing winter nights. The rich earthy broth coats perfectly tender bites of beef and sweet carrots. The savory tomato base smells incredible after simmering all day long.
Ingredients
Instructions
-
01
Chop the sweet potatoes and celery into even cubes.
-
02
Place the sweet potatoes and celery at the absolute bottom.
-
03
Arrange the raw beef stew chunks over the vegetables.
-
04
Whisk the tomato paste into the cold beef bone broth.
-
05
Pour the red broth mixture completely over the meat.
-
06
Cover and cook on the low setting for eight hours.
-
07
Stir the frozen peas into the pot before serving.
-
08
I've noticed that keeping the peas out until the very end prevents them from turning mushy.
Vegetarian Chili Bowl
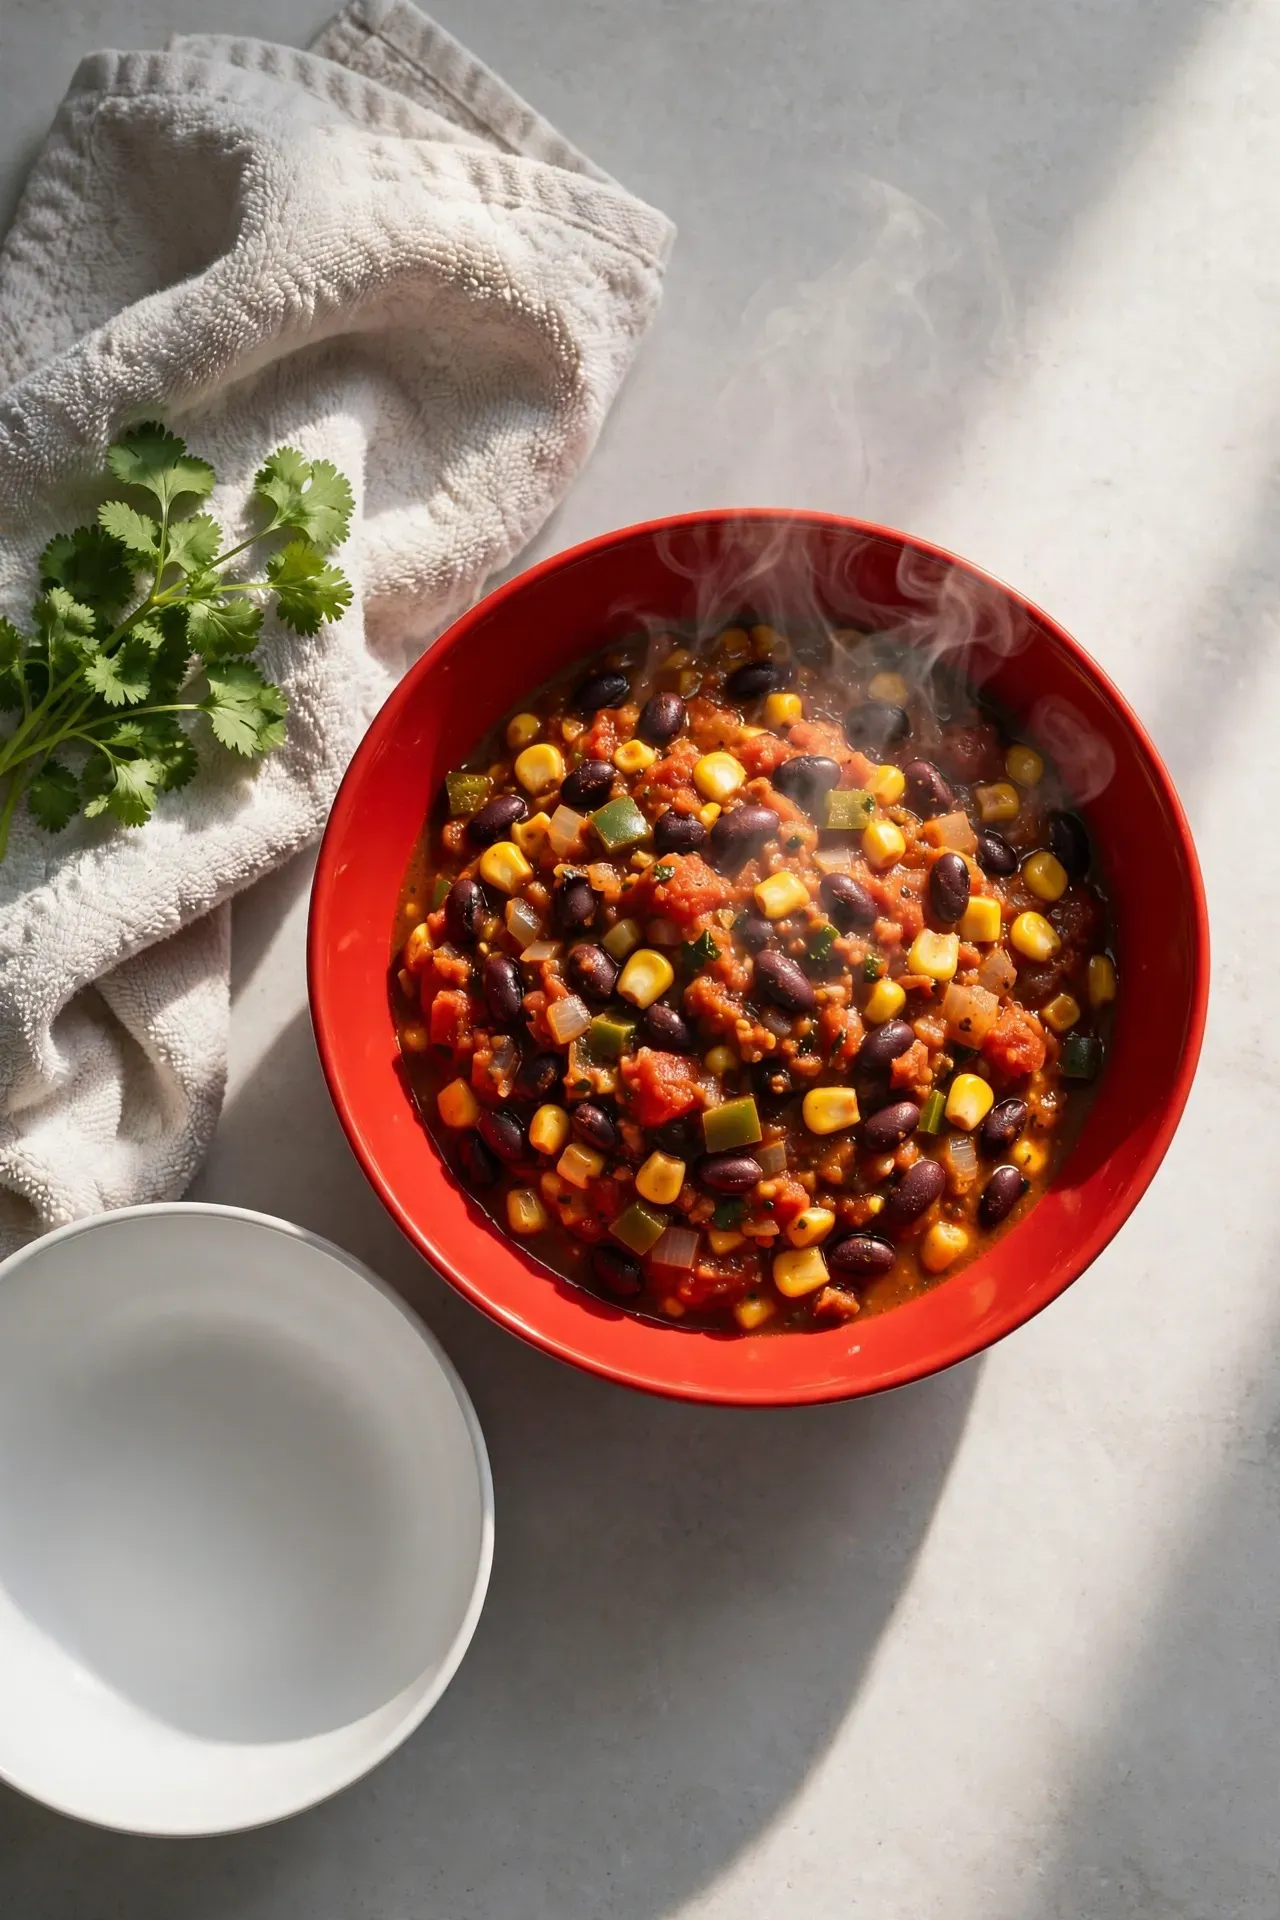
A bold vegetarian chili bowl packs intense smoky flavor without heavy meat. The sweet corn and earthy black beans simmer into a rich thick sauce. This vibrant dish smells fragrant and complex right out of the pot.
Ingredients
Instructions
-
01
Dice the white onion and red bell pepper into small pieces.
-
02
Place the diced onion at the bottom of the pot.
-
03
Rinse and drain the black beans and kidney beans thoroughly.
-
04
Pour the clean beans over the onion layer evenly.
-
05
Pour the crushed tomatoes and chili powder over the beans.
-
06
Cook on low heat for exactly five hours.
-
07
Stir in the frozen corn right before you serve it.
Pulled Pork Sliders
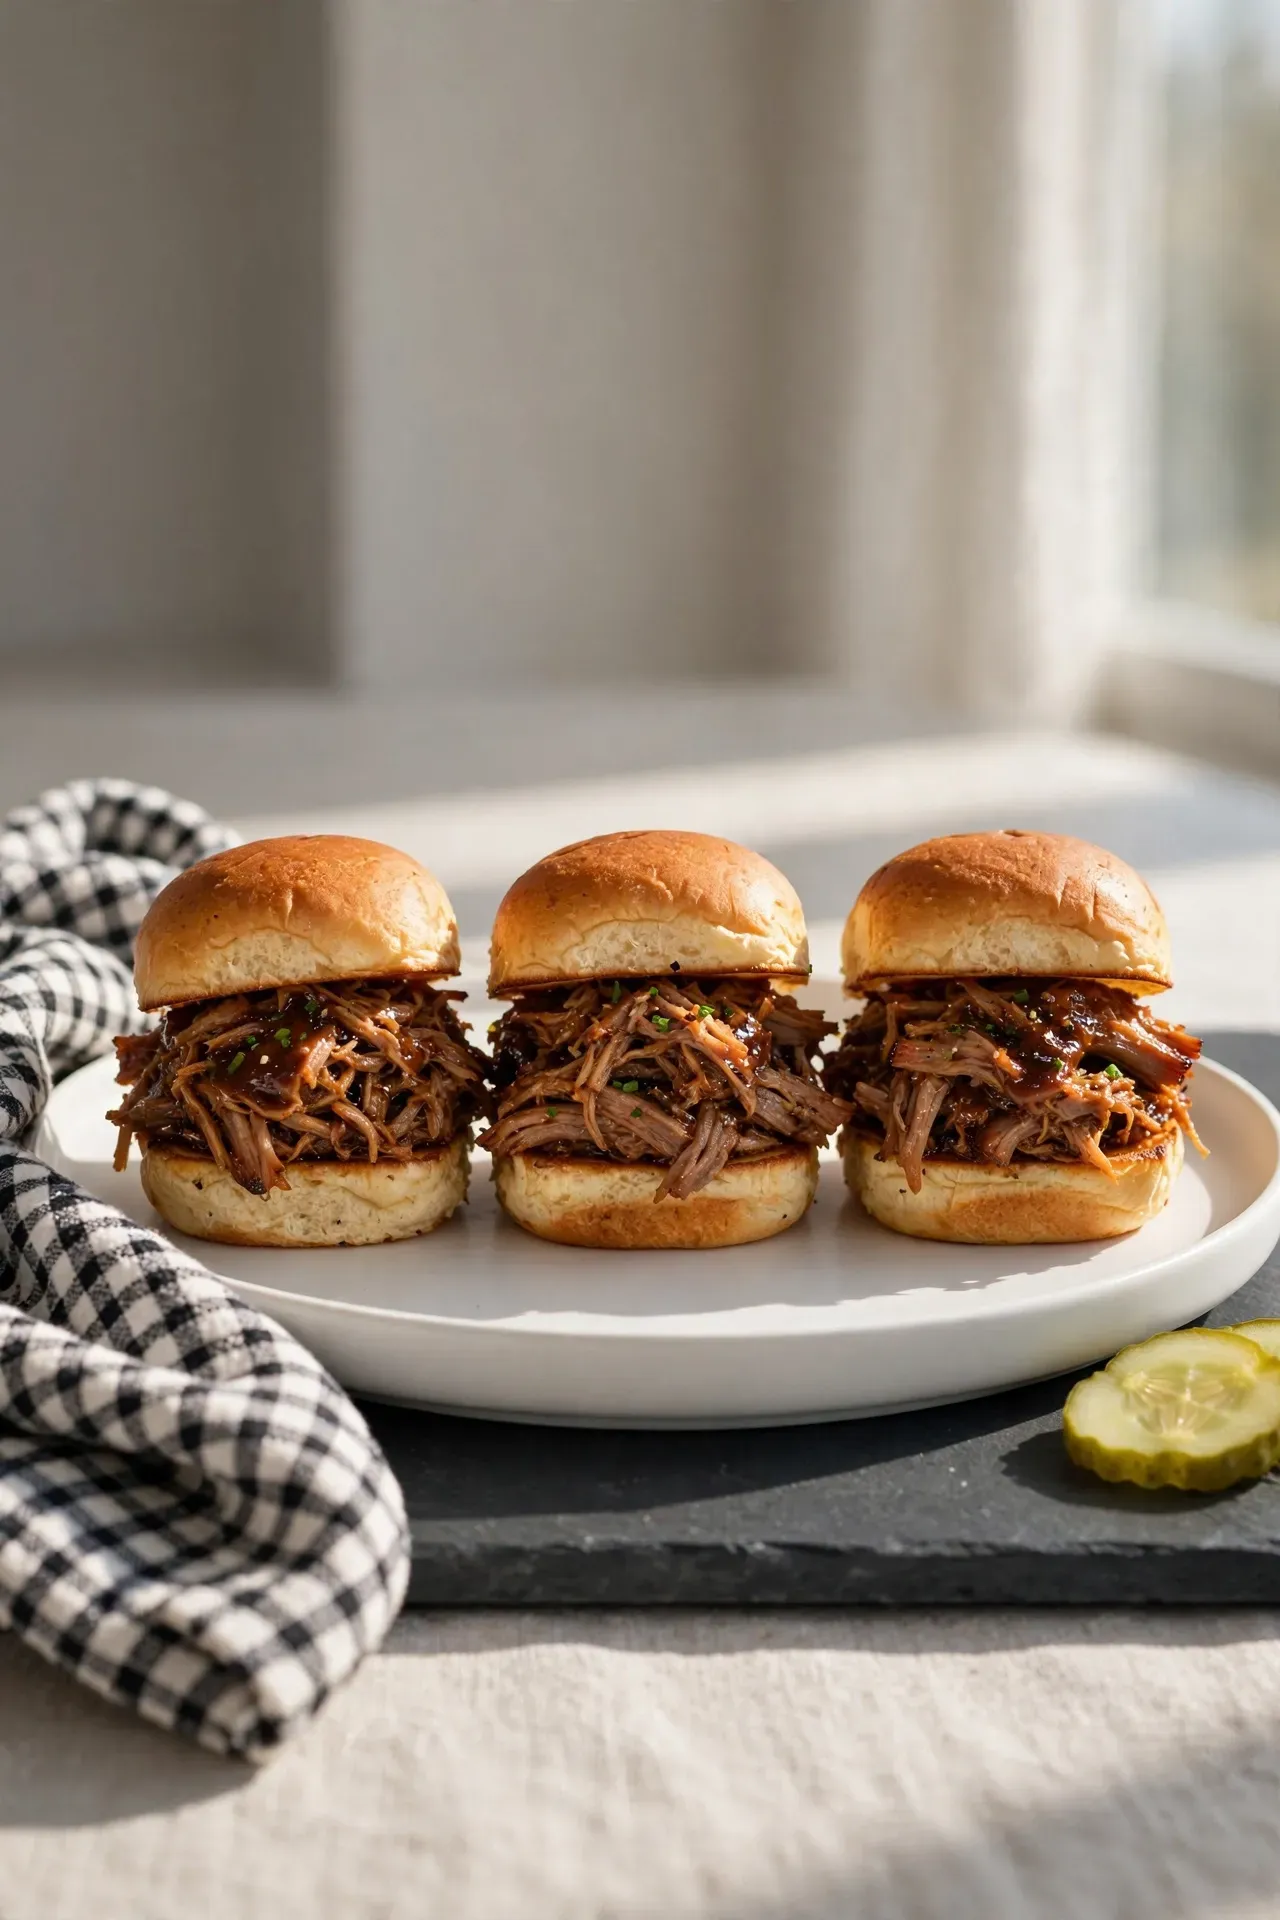
These tangy pulled pork sliders melt in your mouth immediately. The smoky brown sugar crust breaks down into a glossy tender bite. The sweet and savory aroma makes your mouth water all afternoon.
Ingredients
Instructions
-
01
Slice the yellow onion thickly and line the bottom.
-
02
Rub the pork shoulder completely with brown sugar and paprika.
-
03
Rest the coated pork directly on top of the onions.
-
04
Pour the apple cider vinegar around the base of the meat.
-
05
Cook on low for nine hours until it falls apart.
-
06
Shred the meat inside the pot using OXO metal forks.
-
07
Stir the barbecue sauce into the shredded pork before serving.
-
08
I've made this dozens of times and trimming the heavy fat cap first stops the sauce from turning greasy.
Frequently Asked Questions
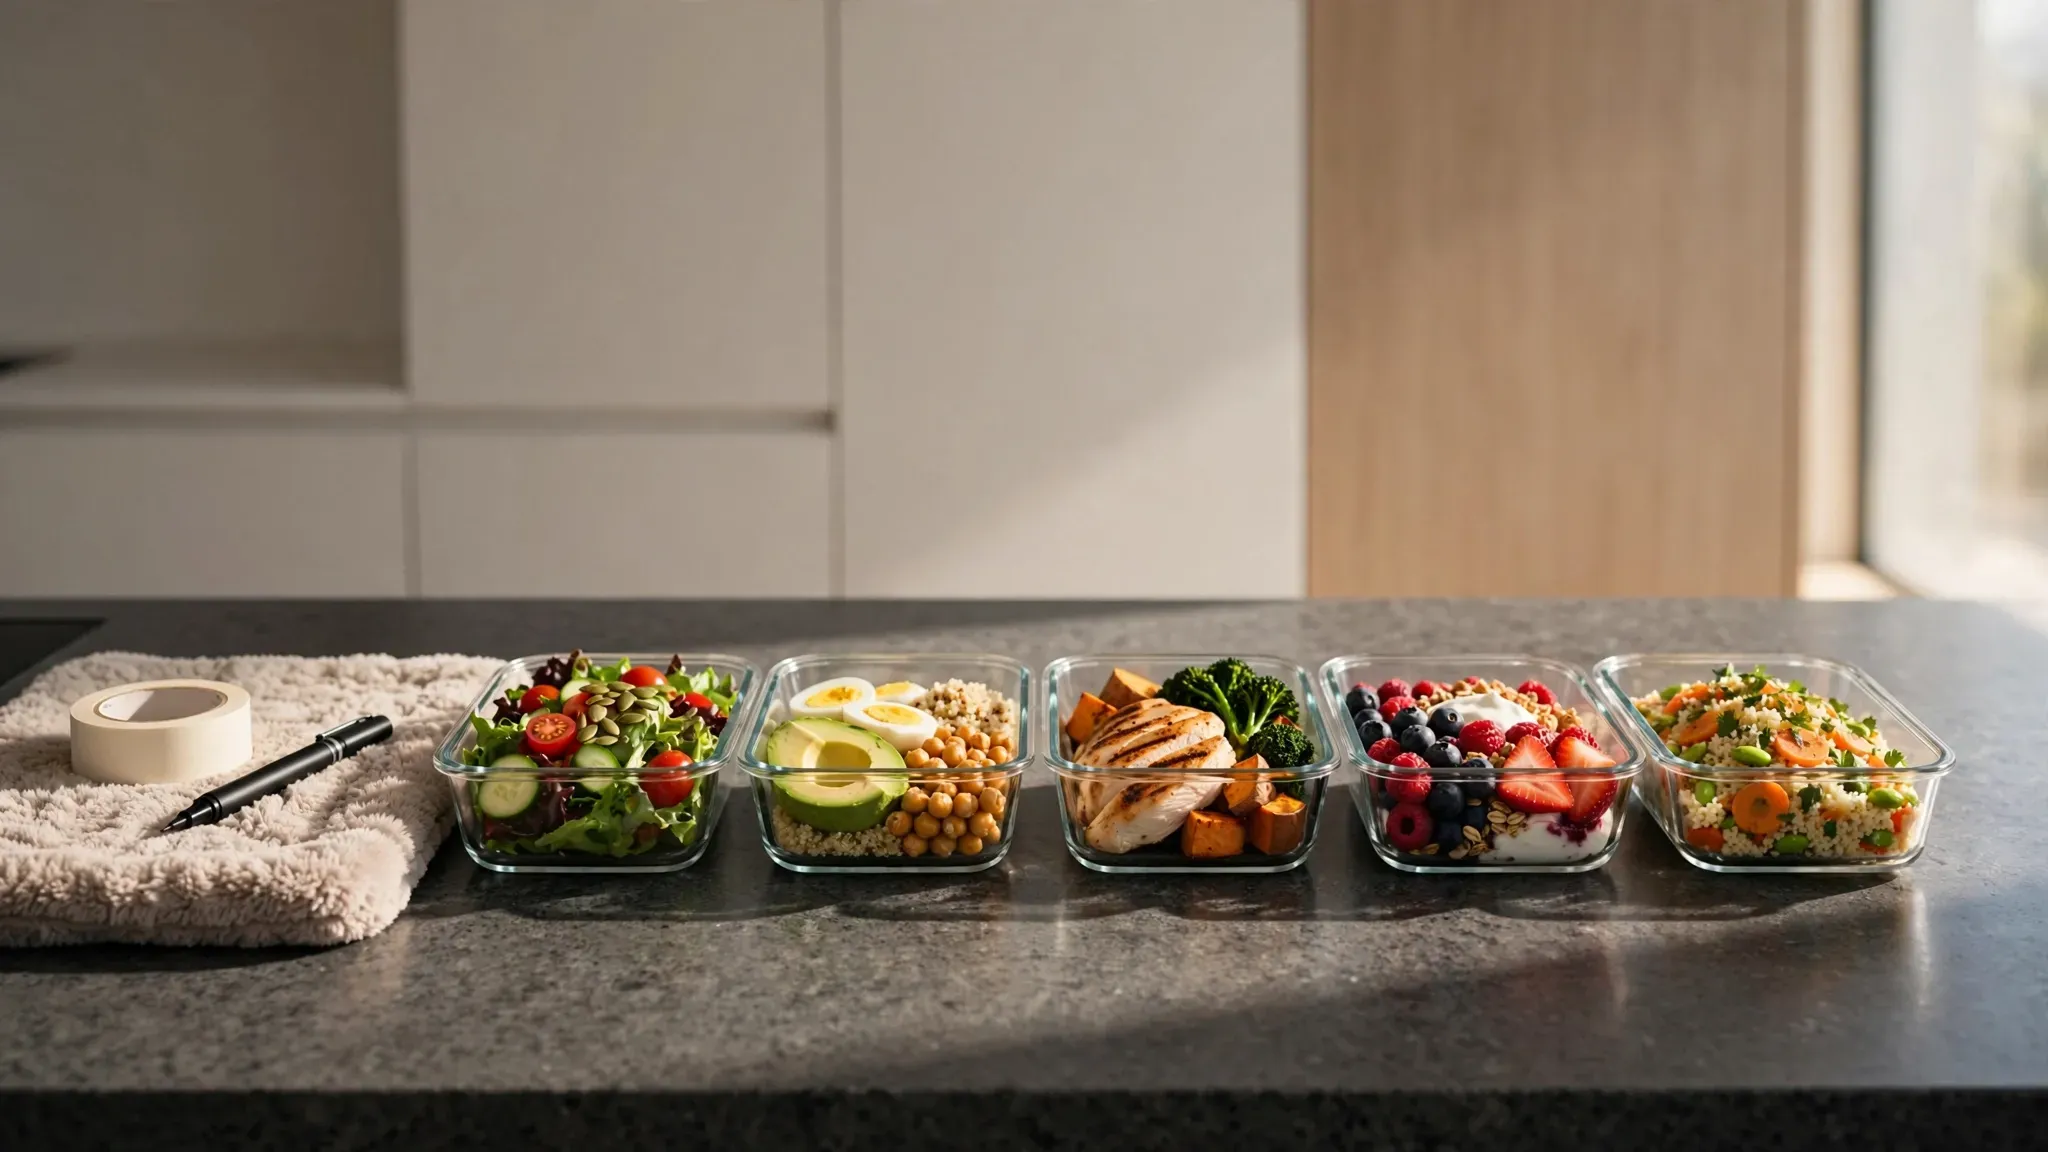
Can I freeze this?
You can freeze completely cooked meals very easily. I portion the leftover meat and vegetables into glass Pyrex containers. I let them cool completely on the counter first. Hot food creates condensation that causes freezer burn later. Seal the lids tightly and store them for three months. I freeze bags from Reynolds Kitchens flat to save space. Thaw the containers in the refrigerator overnight before reheating them.
What if I do not have this ingredient?
You can swap out many root vegetables freely. I use parsnips when I run out of standard carrots. Yukon gold potatoes work exactly like russet potatoes in these dishes. You must substitute items with similar densities and cooking times. Never swap a hard vegetable for a soft one early.
Can I make this ahead?
You can prep all your ingredients the night before cooking. I chop my onions and potatoes and store them in Ziploc bags. I rub my meat with spices and wrap it tightly. Keep everything in your refrigerator overnight. Put the cold ingredients into the ceramic insert the next morning.
Do I need to stir the food?
You must keep the lid closed during the entire cooking cycle. Every time you open the glass lid you lose heat. The machine takes thirty minutes to recover the lost temperature. The layering technique makes stirring completely unnecessary. The bottom items braise while the top items steam perfectly.
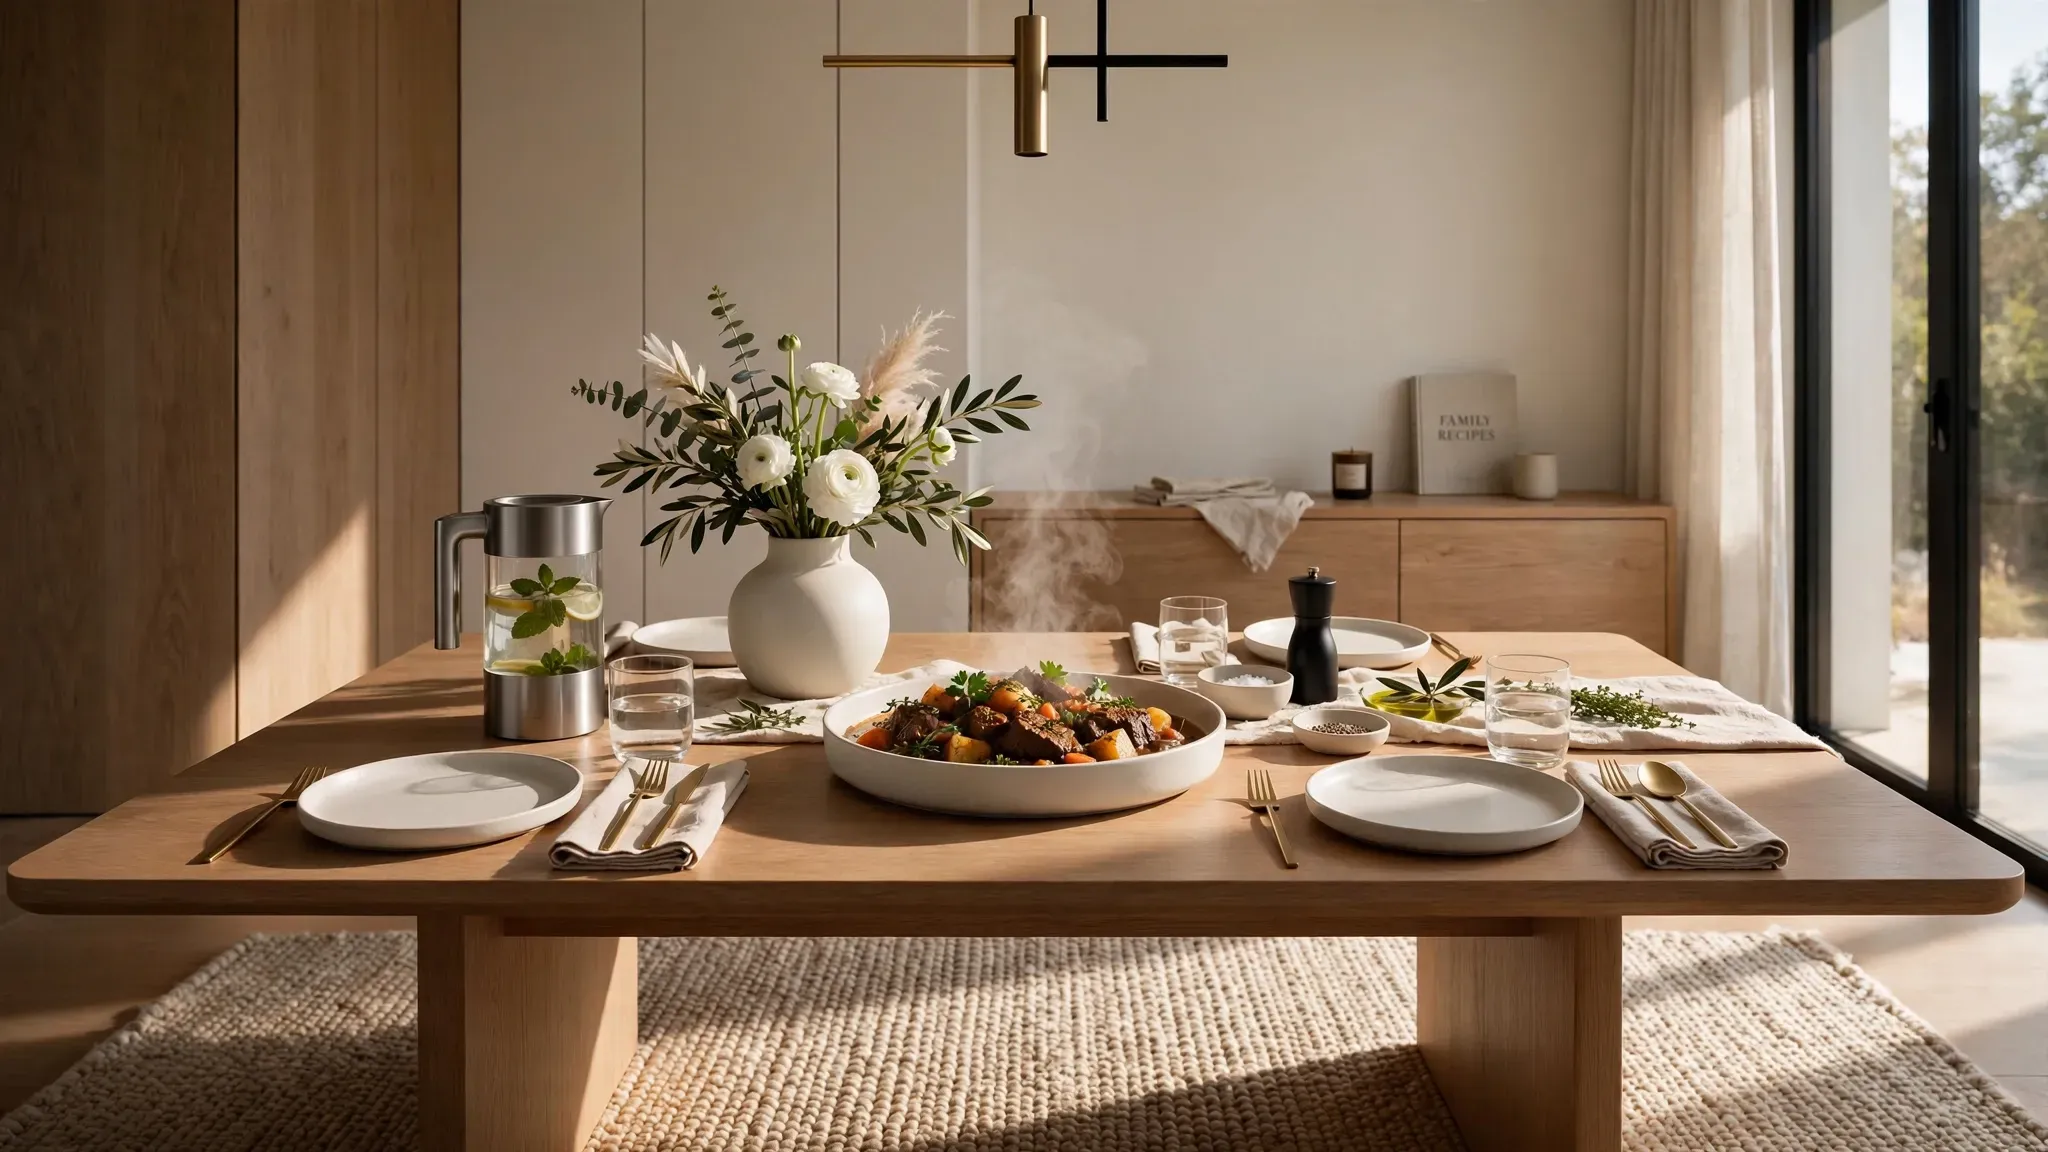
Proper layering fixes every mushy or raw slow cooker disaster immediately. You place hard roots at the bottom and soft greens on top. You build a firm foundation that handles the rising heat perfectly. I serve tender meat and perfectly cooked vegetables to my family easily. Try the classic pot roast layout this weekend. Tell me about your success in the comments below.

Anna Moretti — Editor-in-Chief & Founder
Anna Moretti is a Le Cordon Bleu graduate whose seven years in Michelin-starred kitchens across Paris and London, including stages at L’Arpège and The Ledbury, shape every recipe she touches. Her work has appeared in Bon Appétit, Saveur, and The Kitchn. As Editor-in-Chief, Anna develops each signature recipe herself and tests it three times before publication, guided by a simple belief: if a recipe doesn’t work in a tired home cook’s kitchen at the end of a long Tuesday, it isn’t ready. She reviews every piece of content for accuracy, voice, and the small details that turn a good recipe into a great one.