Glass vs Plastic Meal Prep Containers: Which is Worth It?
Sunday afternoon rolls around again. You stand in your kitchen. A mountain of roasted chicken and chopped vegetables sits on the counter. You grab your storage bins. A thought crosses your mind. Are these old plastic tubs ruining my food? The choice between Glass vs Plastic Meal Prep Containers changes everything. It alters your weekly grocery budget. I asked myself this exact question three years ago. I tossed out my entire mismatched collection. I spent weeks testing every option available. Let me walk you through exactly what works.
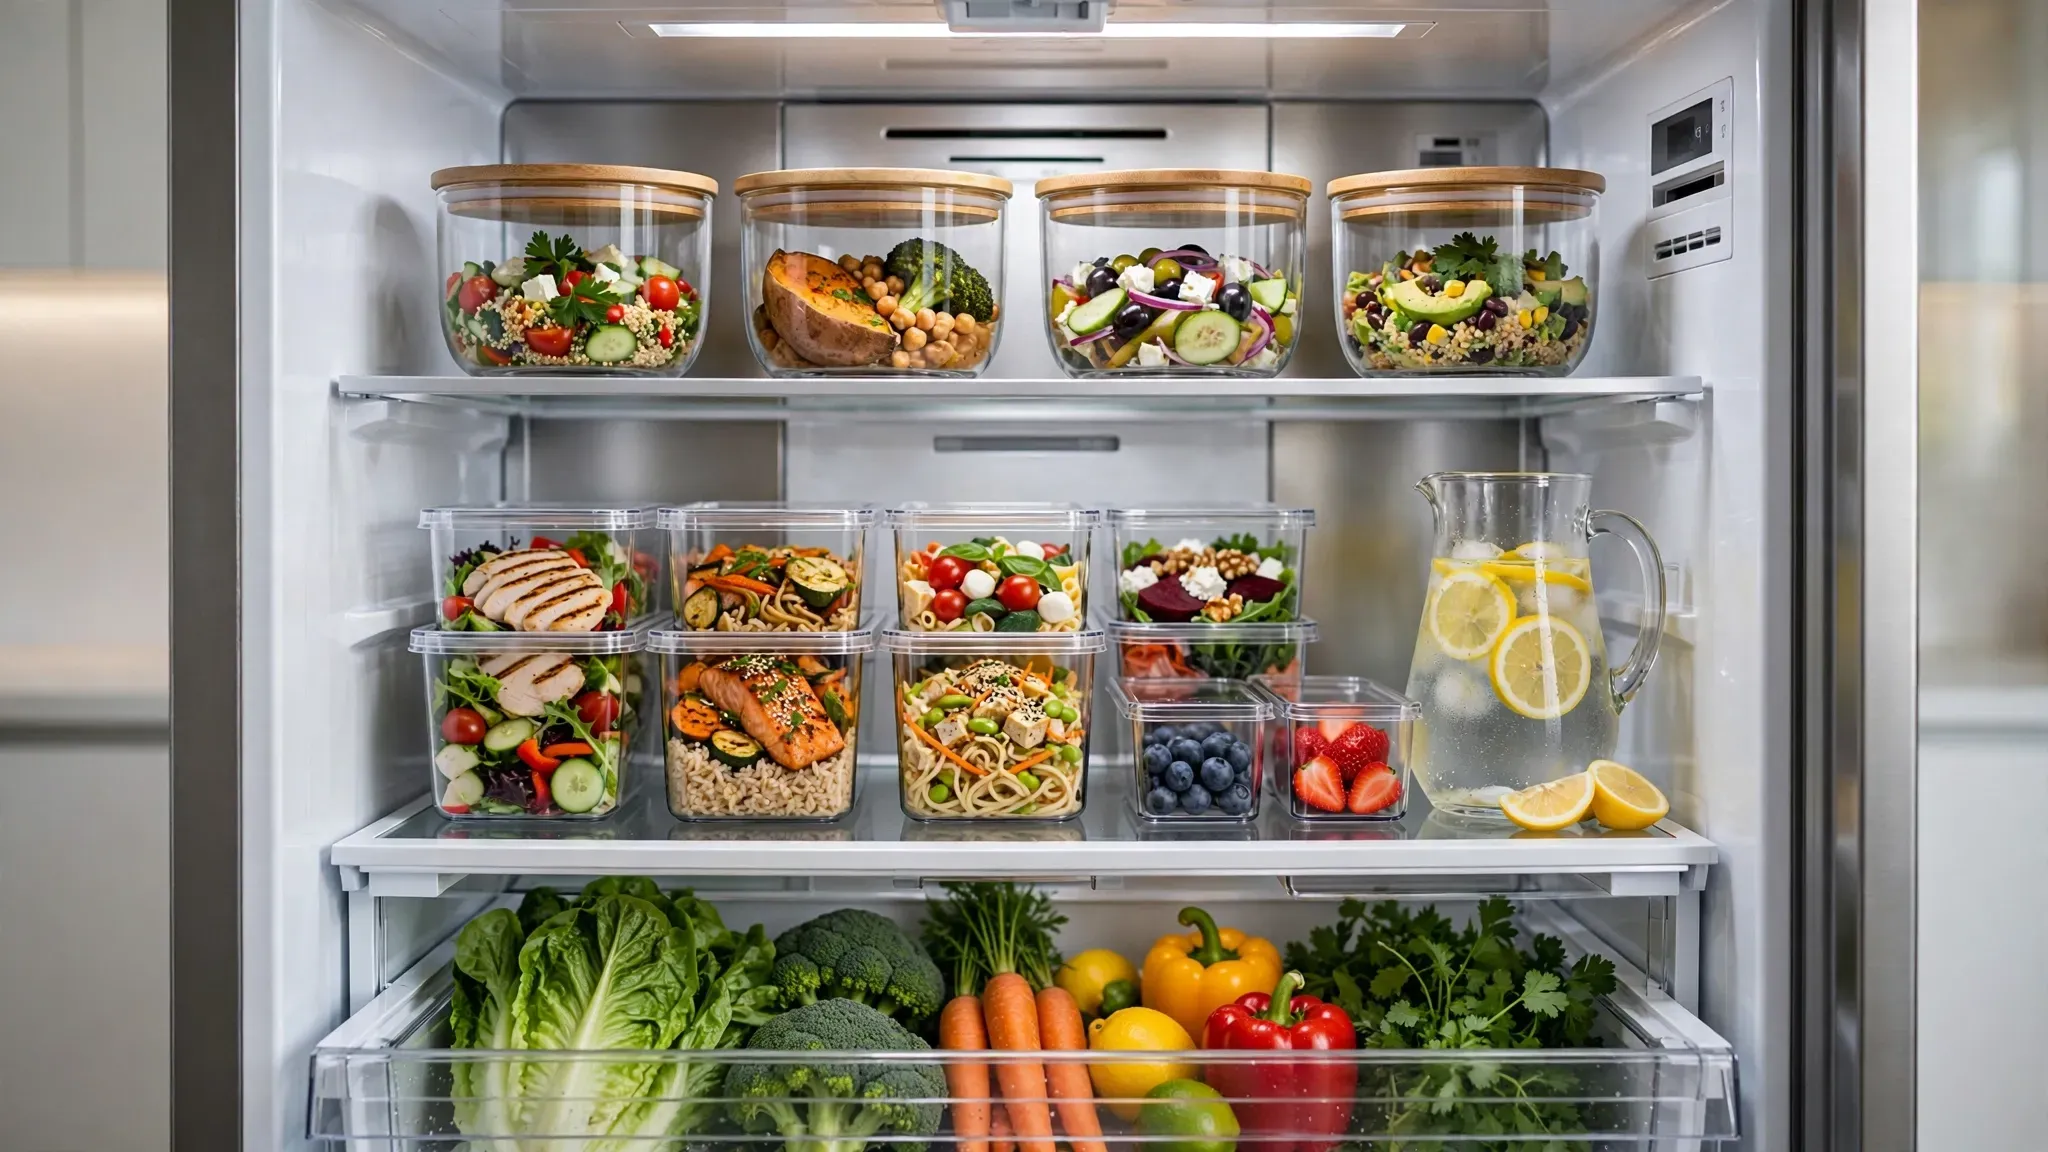
You want clear answers about food storage. This guide breaks down the true cost of glass and plastic containers. We cover durability, microwave safety, and leakage issues. You get a direct comparison of top brands like Pyrex and Rubbermaid. I share seven beginner-friendly recipes perfect for your new setup. You will know exactly which material fits your kitchen habits today. Say goodbye to stained plastic and broken glass. Make a confident choice for your weekly cooking routine.
The Reality of Glass Storage
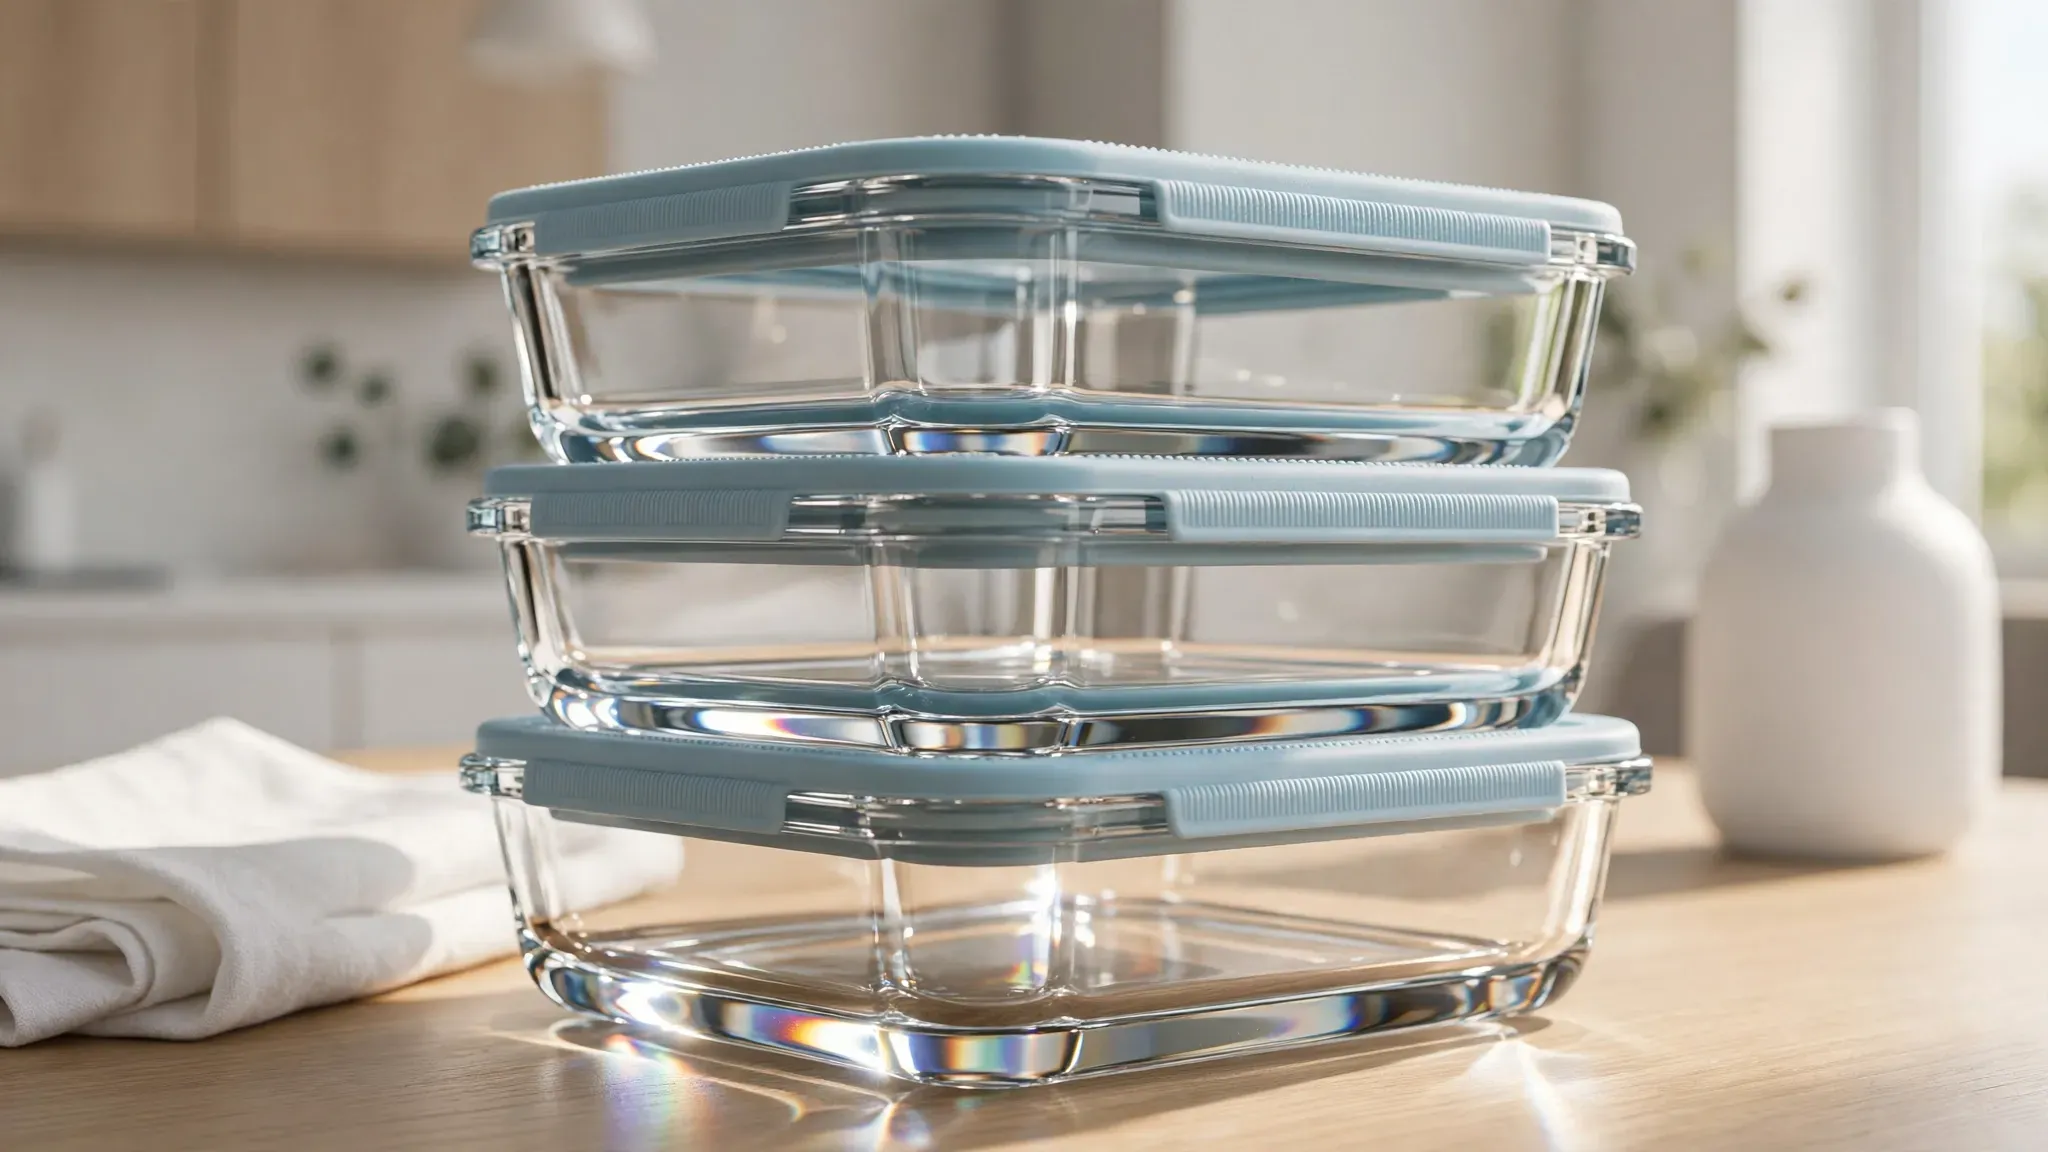
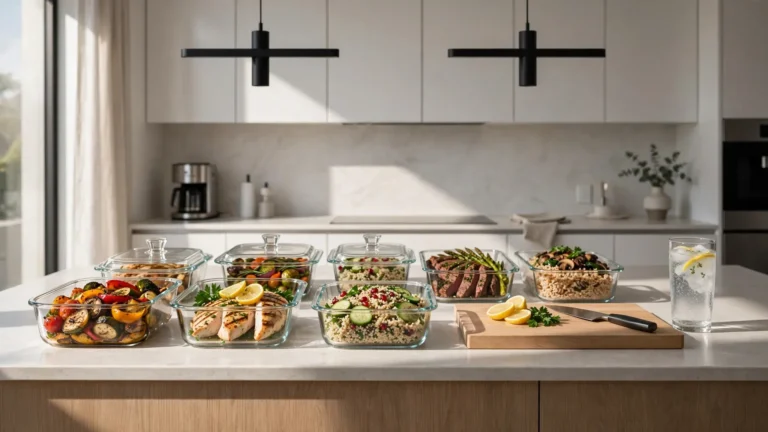
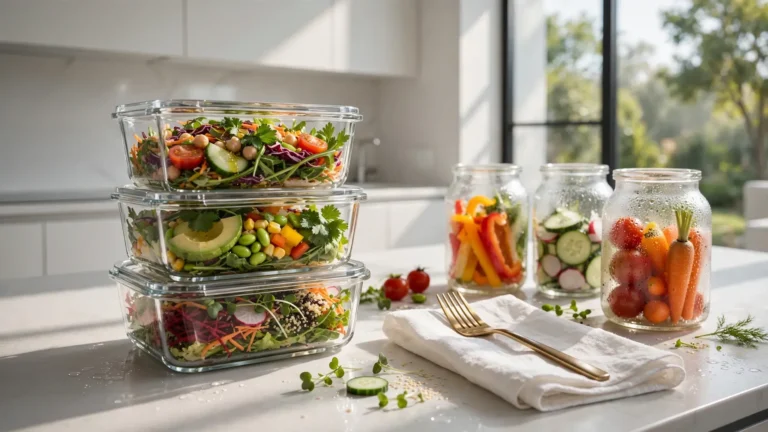
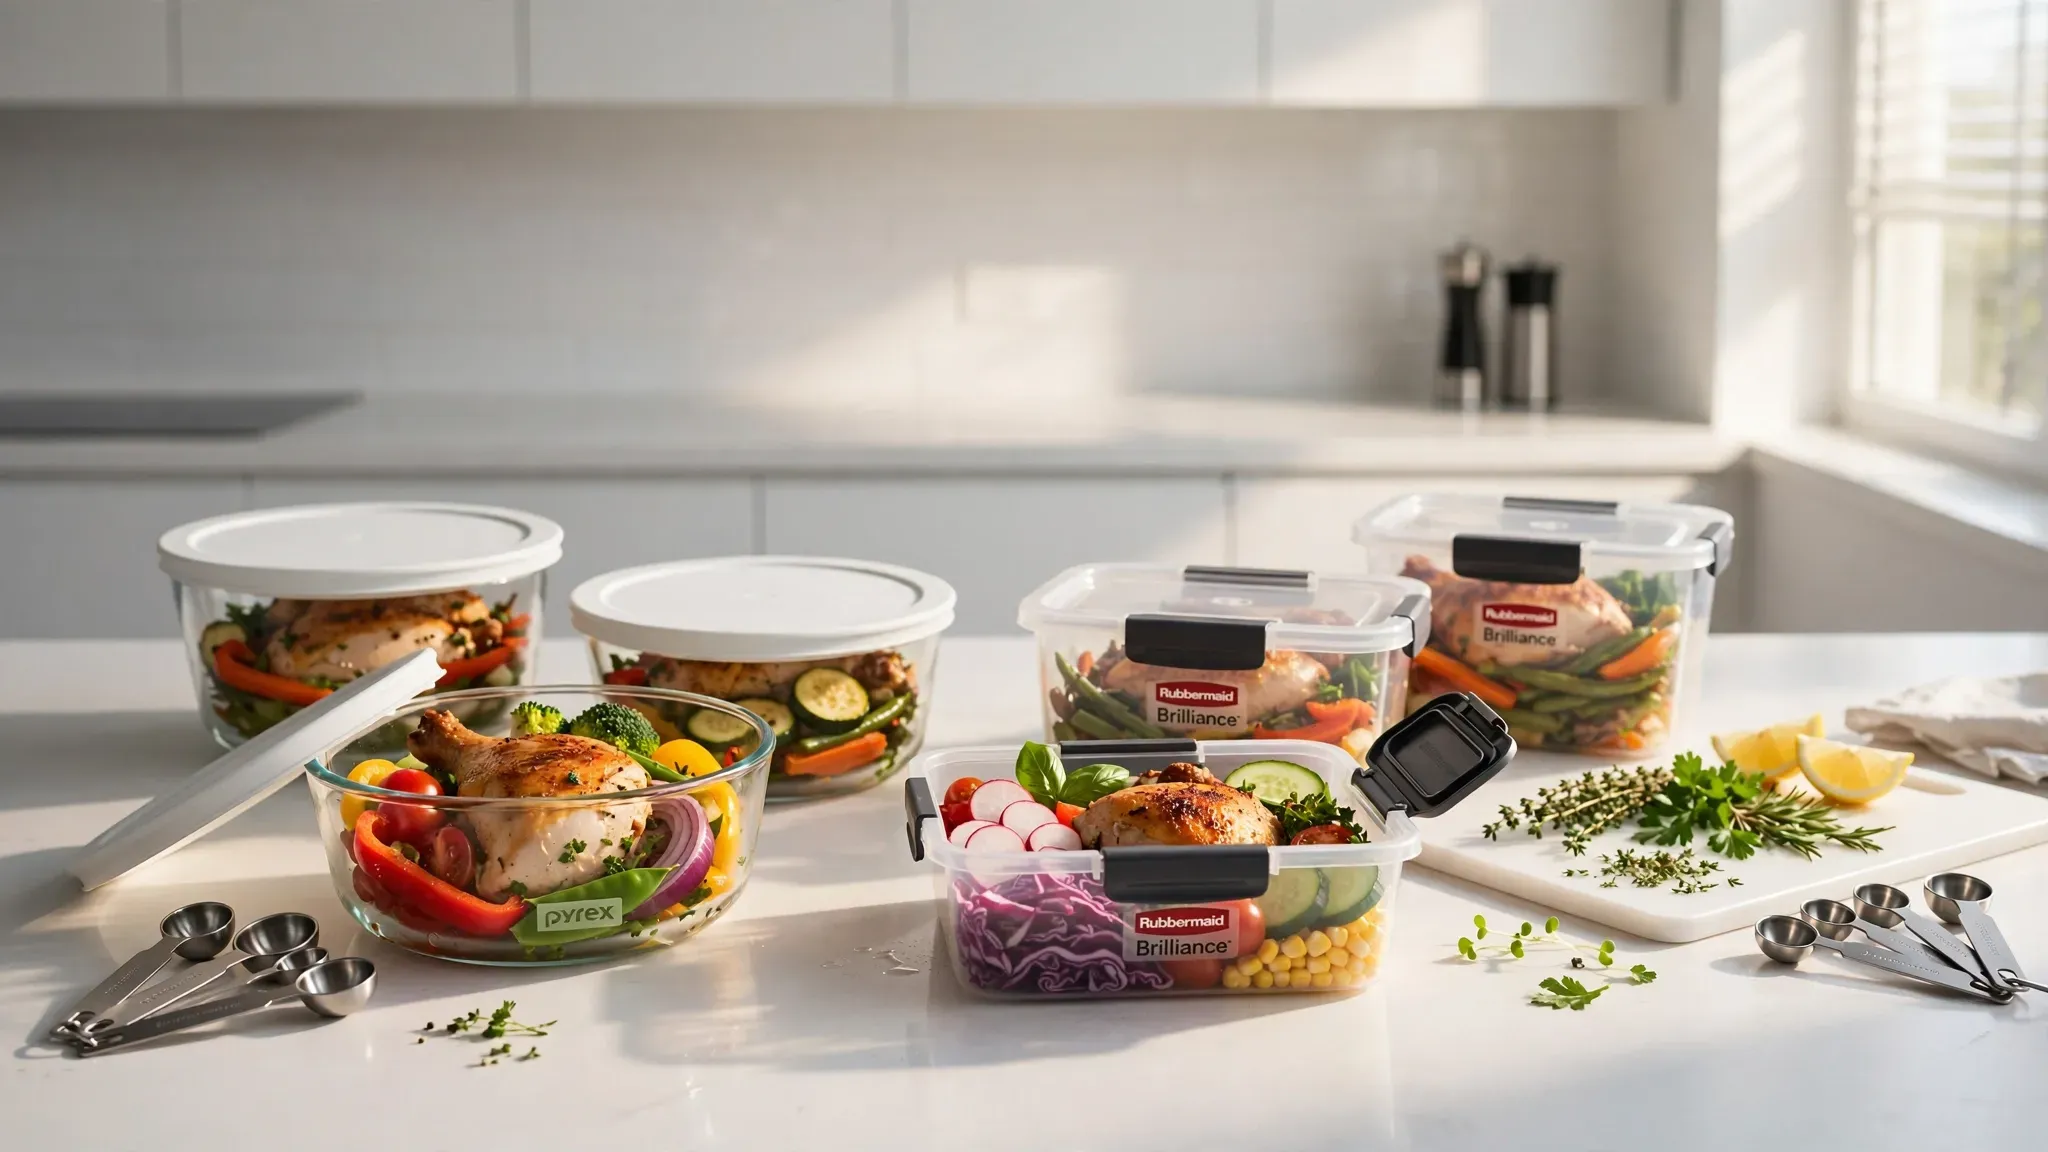
Glass storage feels premium in your hands. Brands like Pyrex and Snapware dominate this space. They manufacture heavy duty tempered glass. This material handles extreme temperature changes easily. You can move dishes from the fridge directly to the microwave safely. Glass never absorbs stubborn food smells. It never stains from heavy tomato sauce. I noticed this exact problem with a cheap plastic set last year. My leftover spaghetti ruined three plastic tubs forever. Glass wipes clean effortlessly every time. The sheer transparency lets you see your meals clearly. This prevents hidden food waste in the back of your fridge. You stop throwing away forgotten meals. Glass comes with distinct downsides to weigh. The physical weight makes daily commuting difficult. Carrying three thick glass bowls in a backpack strains your shoulders badly. They require very careful daily handling. I dropped a brand new Snapware bowl on my hard tile floor. It shattered into hundreds of tiny sharp pieces. The replacement cost scales up quickly over time. A good set of glass containers costs more money upfront. You pay a premium price for durability and mental peace. When evaluating Glass vs Plastic Meal Prep Containers, glass wins on longevity.
The Truth About Plastic Options
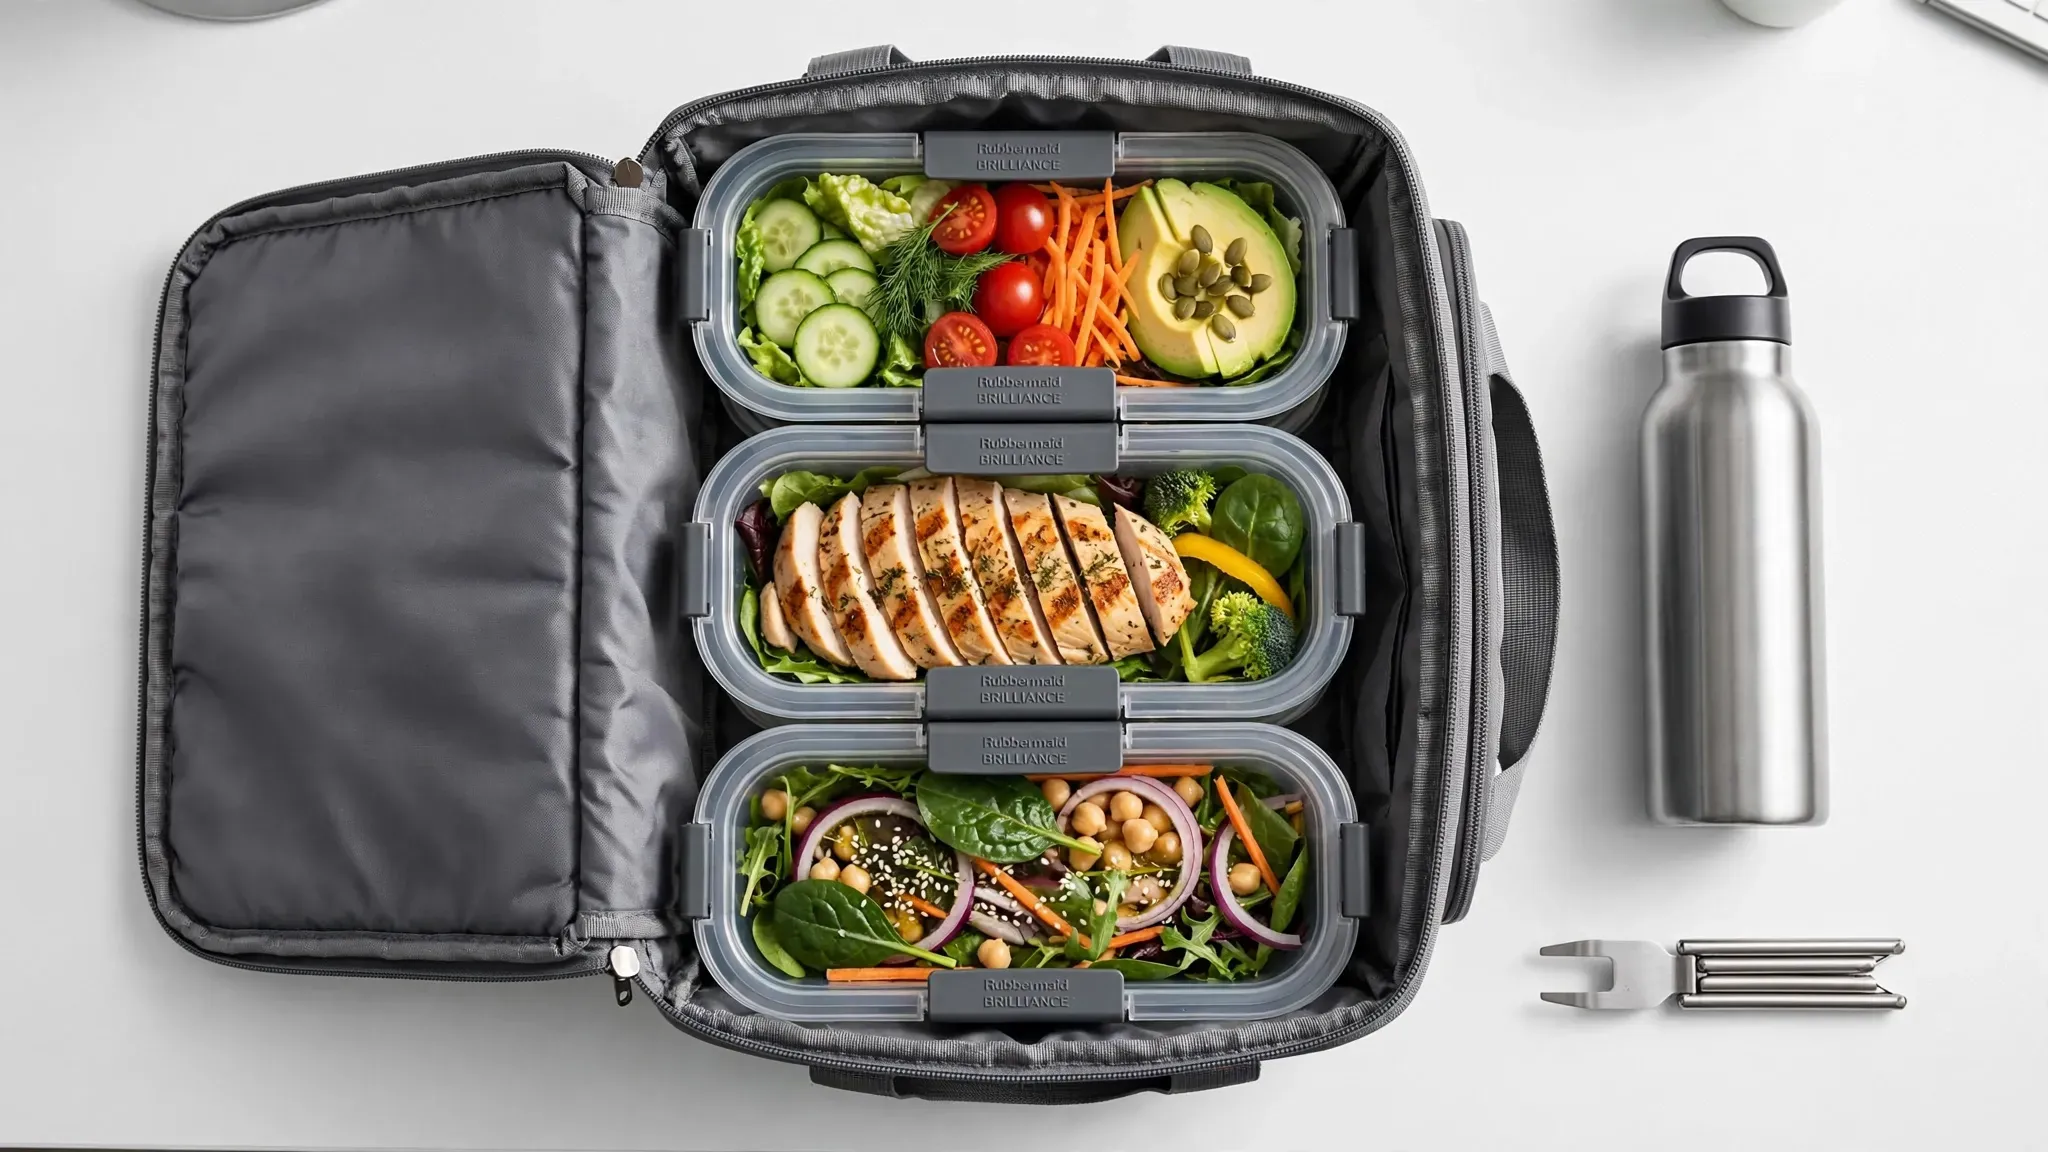
Plastic containers own the pure convenience factor entirely. Rubbermaid Brilliance leads the market in clear plastic options today. These bins weigh almost nothing in your bag. This makes them perfect for office lunches or daily gym trips. You can stack them easily inside small kitchen cabinets. Dropping them causes zero permanent damage. They survive steep falls onto concrete floors without cracking once. Plastic fails completely in long-term longevity. Over time, the material degrades visibly. The microwave warps cheap plastic sides very quickly. Microscopic scratches trap dangerous bacteria and foul odors. You might notice a permanent garlic smell in older bins. Tomato paste and turmeric powder stain the plastic a cloudy orange. You must replace them far more frequently than glass alternatives. Even BPA-free plastics raise some health concerns when heated repeatedly. I never heat my food in plastic containers anymore. The peace of mind matters more than quick heating convenience.
Financial Costs and Lifespan
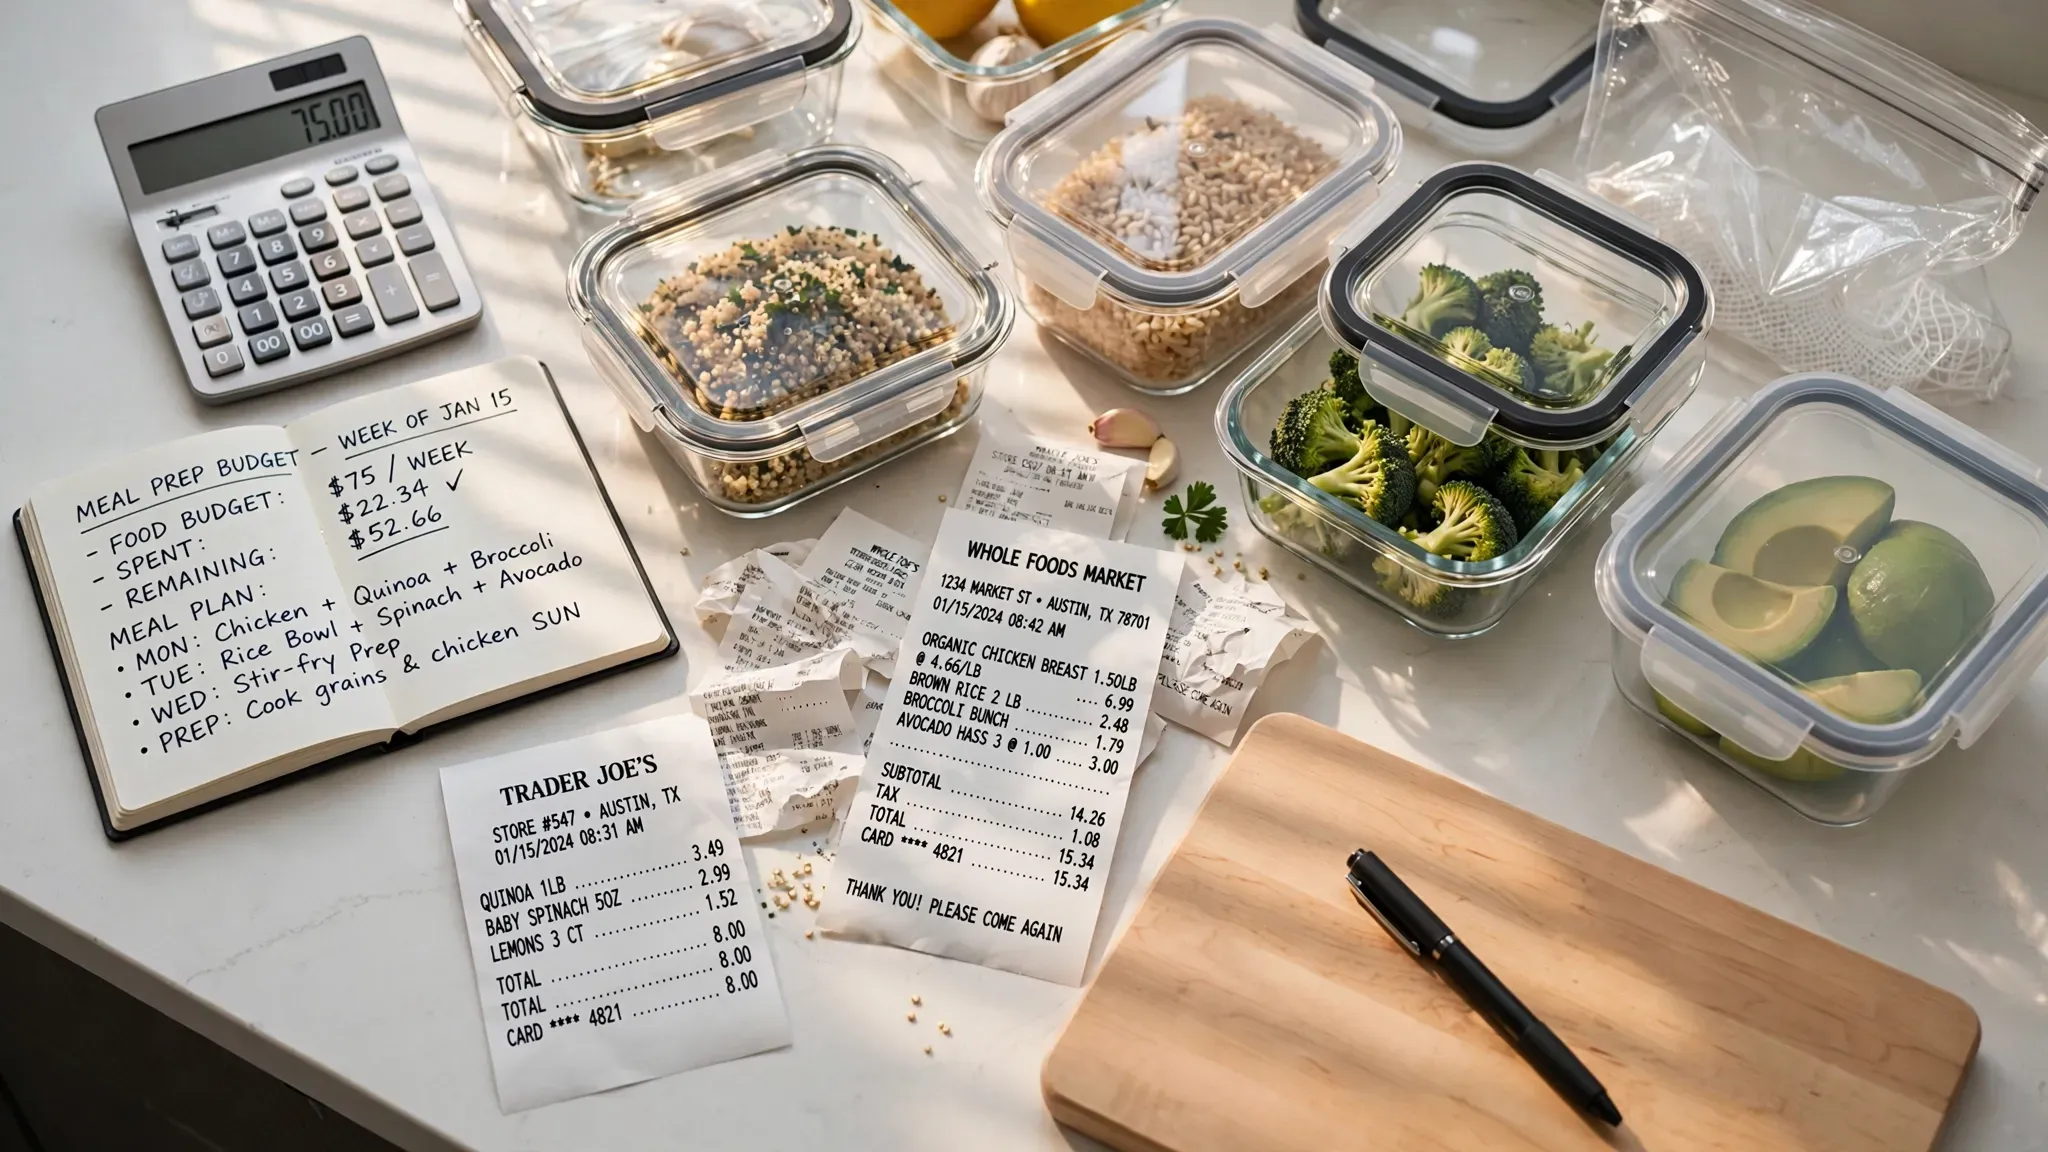
Let us look at the pure financial reality closely. Glass costs noticeably more initially. A set of Ello glass bowls runs higher than basic Ziploc plastic sets. You save money long-term with heavy glass. You stop buying replacement sets every six months. Plastic wins if you lose containers often at work. If you leave lunchboxes at the office, stick to cheaper plastic sets. Glass requires a higher initial budget. A full Pyrex set runs around forty dollars. A similar Tupperware set costs perhaps twenty dollars. You must calculate the replacement frequency accurately. You replace plastic every single year. You keep glass for a whole decade. The math favors glass for home use. The battle of Glass vs Plastic Meal Prep Containers often comes down to budget.
Health Safety and Temperature Limits
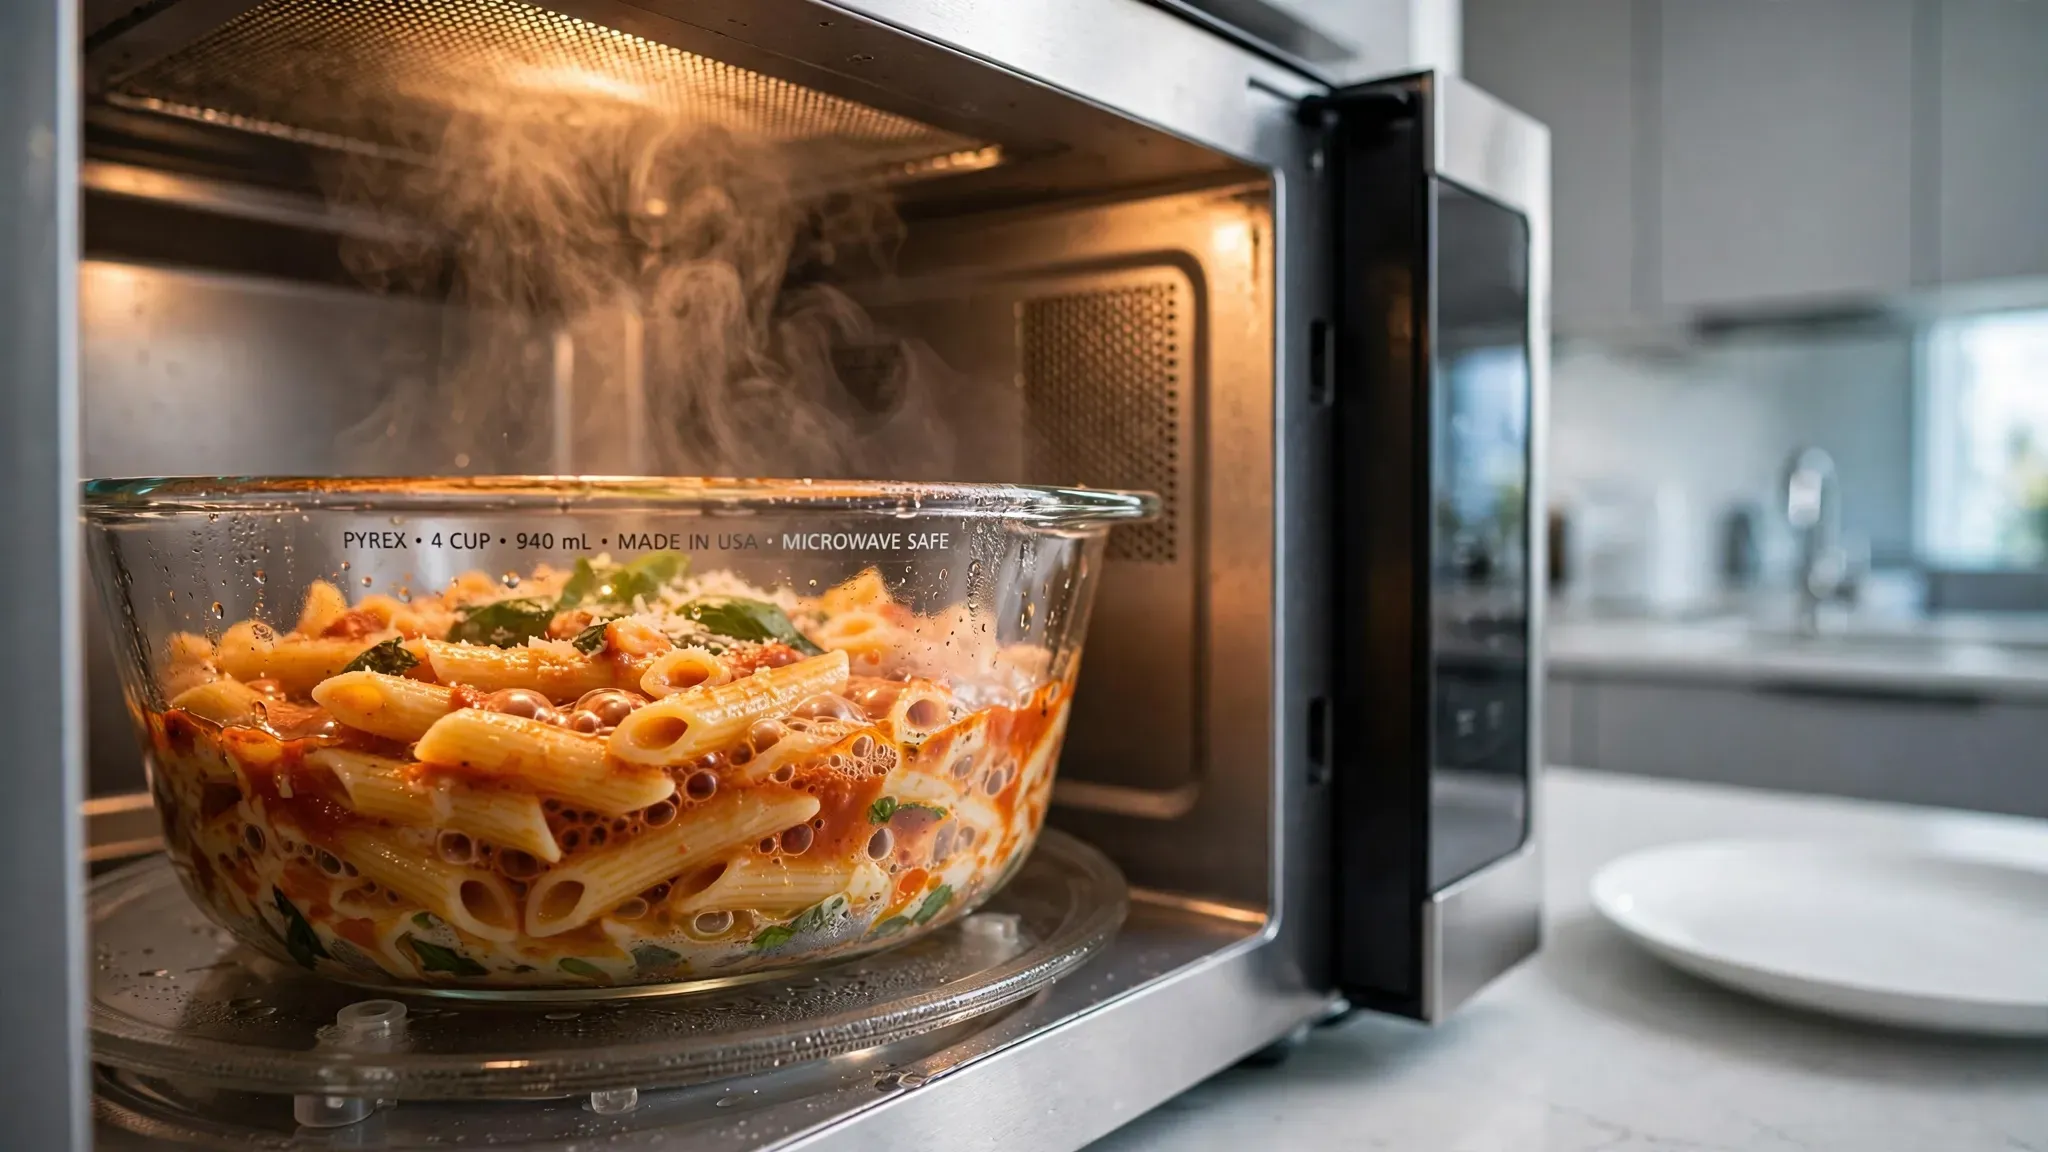
Heating your food requires extreme daily caution. Professionals warn against microwaving any plastic containers. Heat speeds up chemical transfer directly into your warm food. Always transfer hot meals to a ceramic plate if using plastic bins. Glass handles extreme heat beautifully every time. You can even bake directly in oven-safe glass bowls safely. Look closely for thick silicone seals on the lids. Brands like Oxo Good Grips use thick silicone gaskets to prevent leaks. The tight seal matters more than the base material for food freshness. Remove these rubber gaskets weekly for proper deep cleaning. Mold grows quickly in damp hidden lid crevices. I wash all my lids by hand to protect the seals perfectly. The harsh dishwasher heat warps plastic lids over time rapidly.
Cleaning and Kitchen Organization
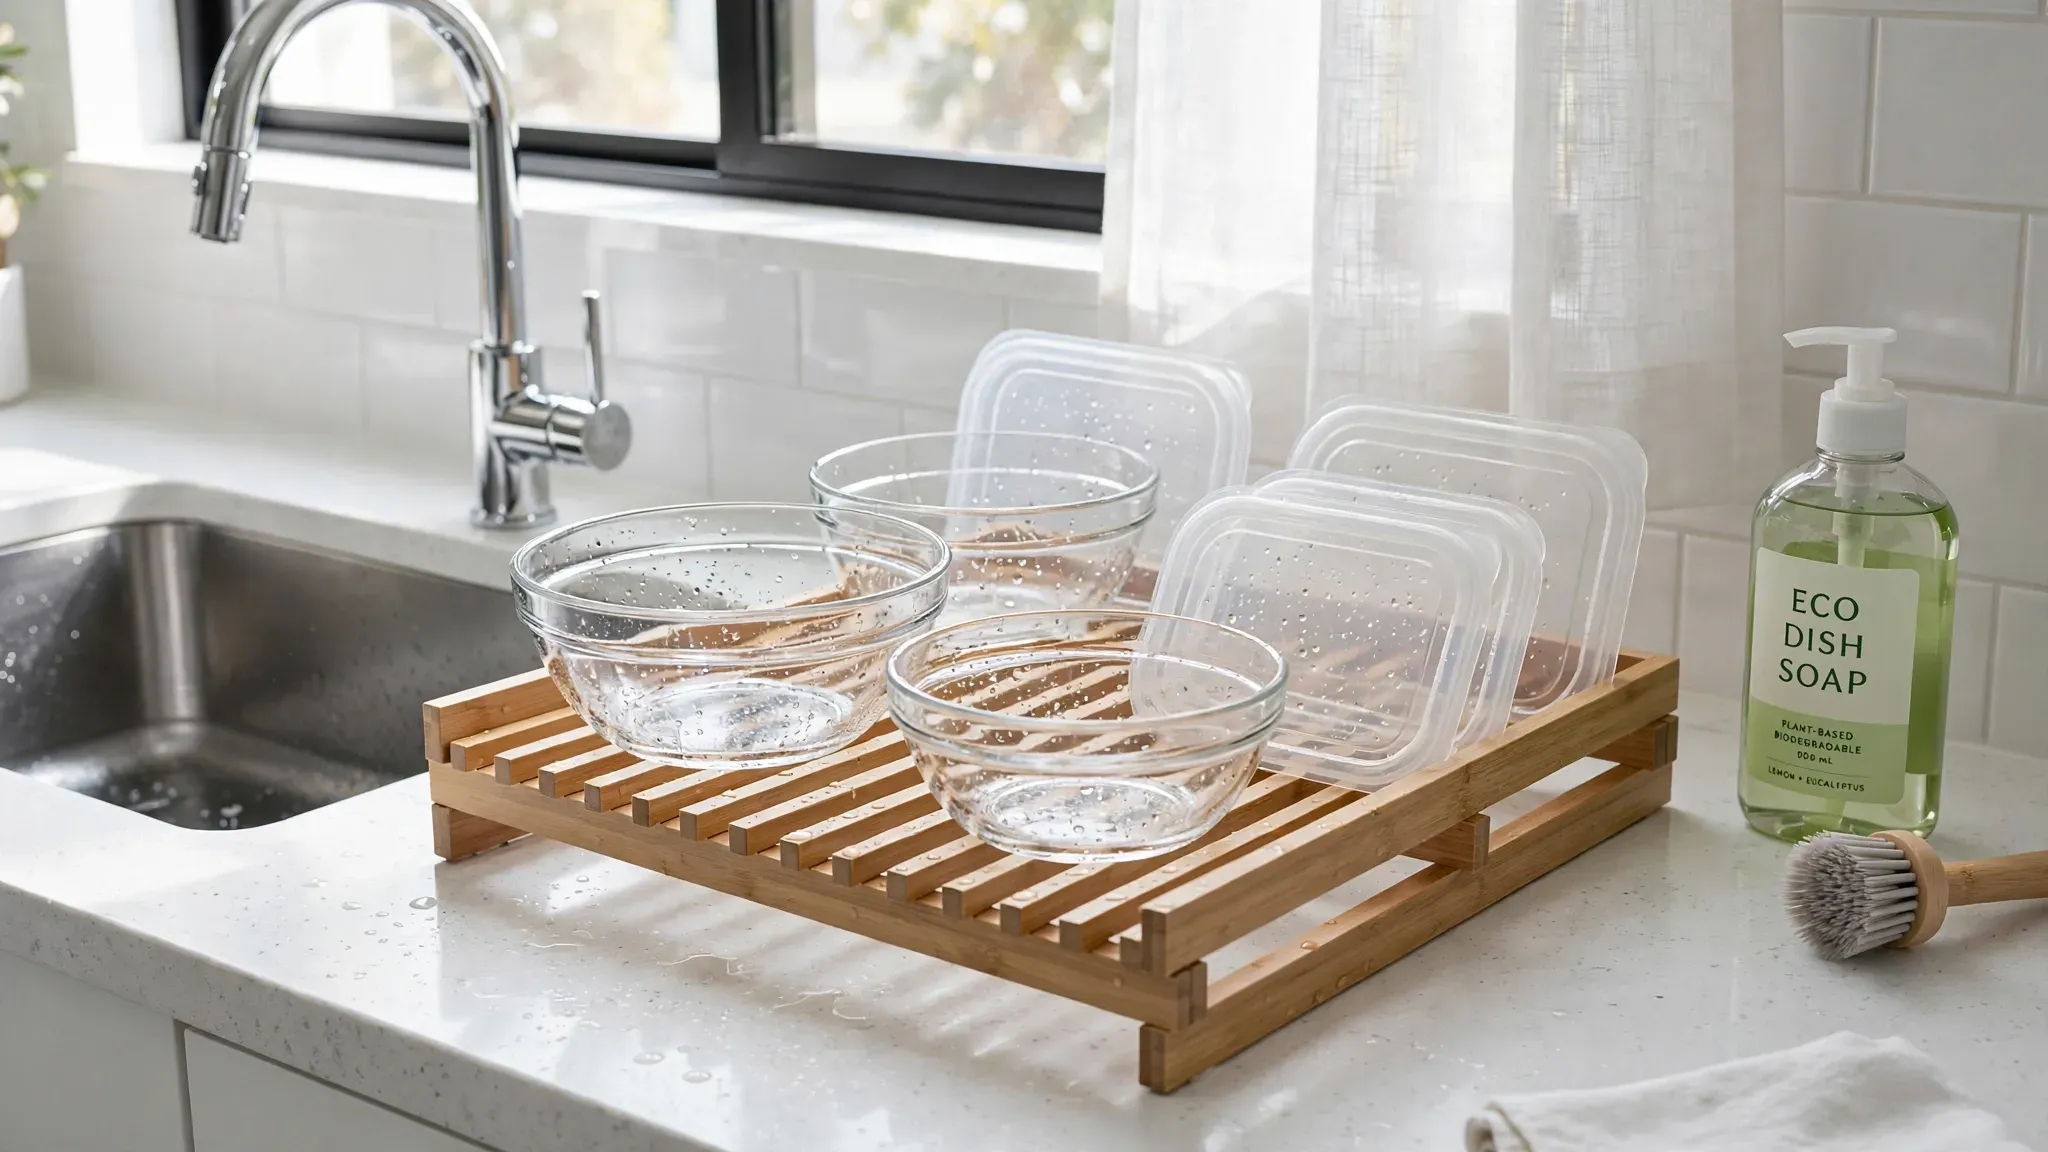
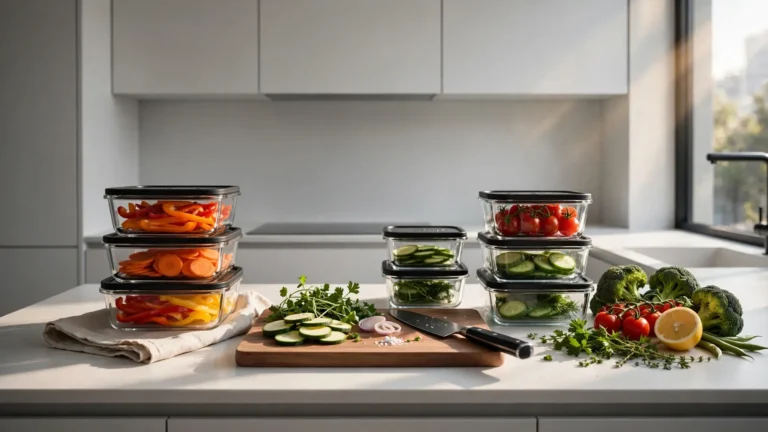
Keeping your kitchen tidy requires a smart system. Glass stacks neatly but carries a heavy physical weight. You must place glass on sturdy bottom shelves. Flimsy cabinet shelves bow under the heavy weight of thick glass. Plastic nests together perfectly in deep drawers. You save massive amounts of cabinet space with nested plastic tubs. Washing presents another daily kitchen hurdle. Glass goes safely into the bottom rack of your hot dishwasher. It emerges sparkling clean and completely dry. Plastic flips over during the rough wash cycle constantly. You open the dishwasher to find plastic bins full of dirty water. Plastic requires tedious hand drying with a kitchen towel. Glass dries quickly because it retains the internal heat from the wash. I hate drying plastic tubs by hand every single night. This small detail pushes me toward glass storage constantly. Deciding between Glass vs Plastic Meal Prep Containers forces you to look at your cleaning habits.
Garlic Butter Shrimp Pasta
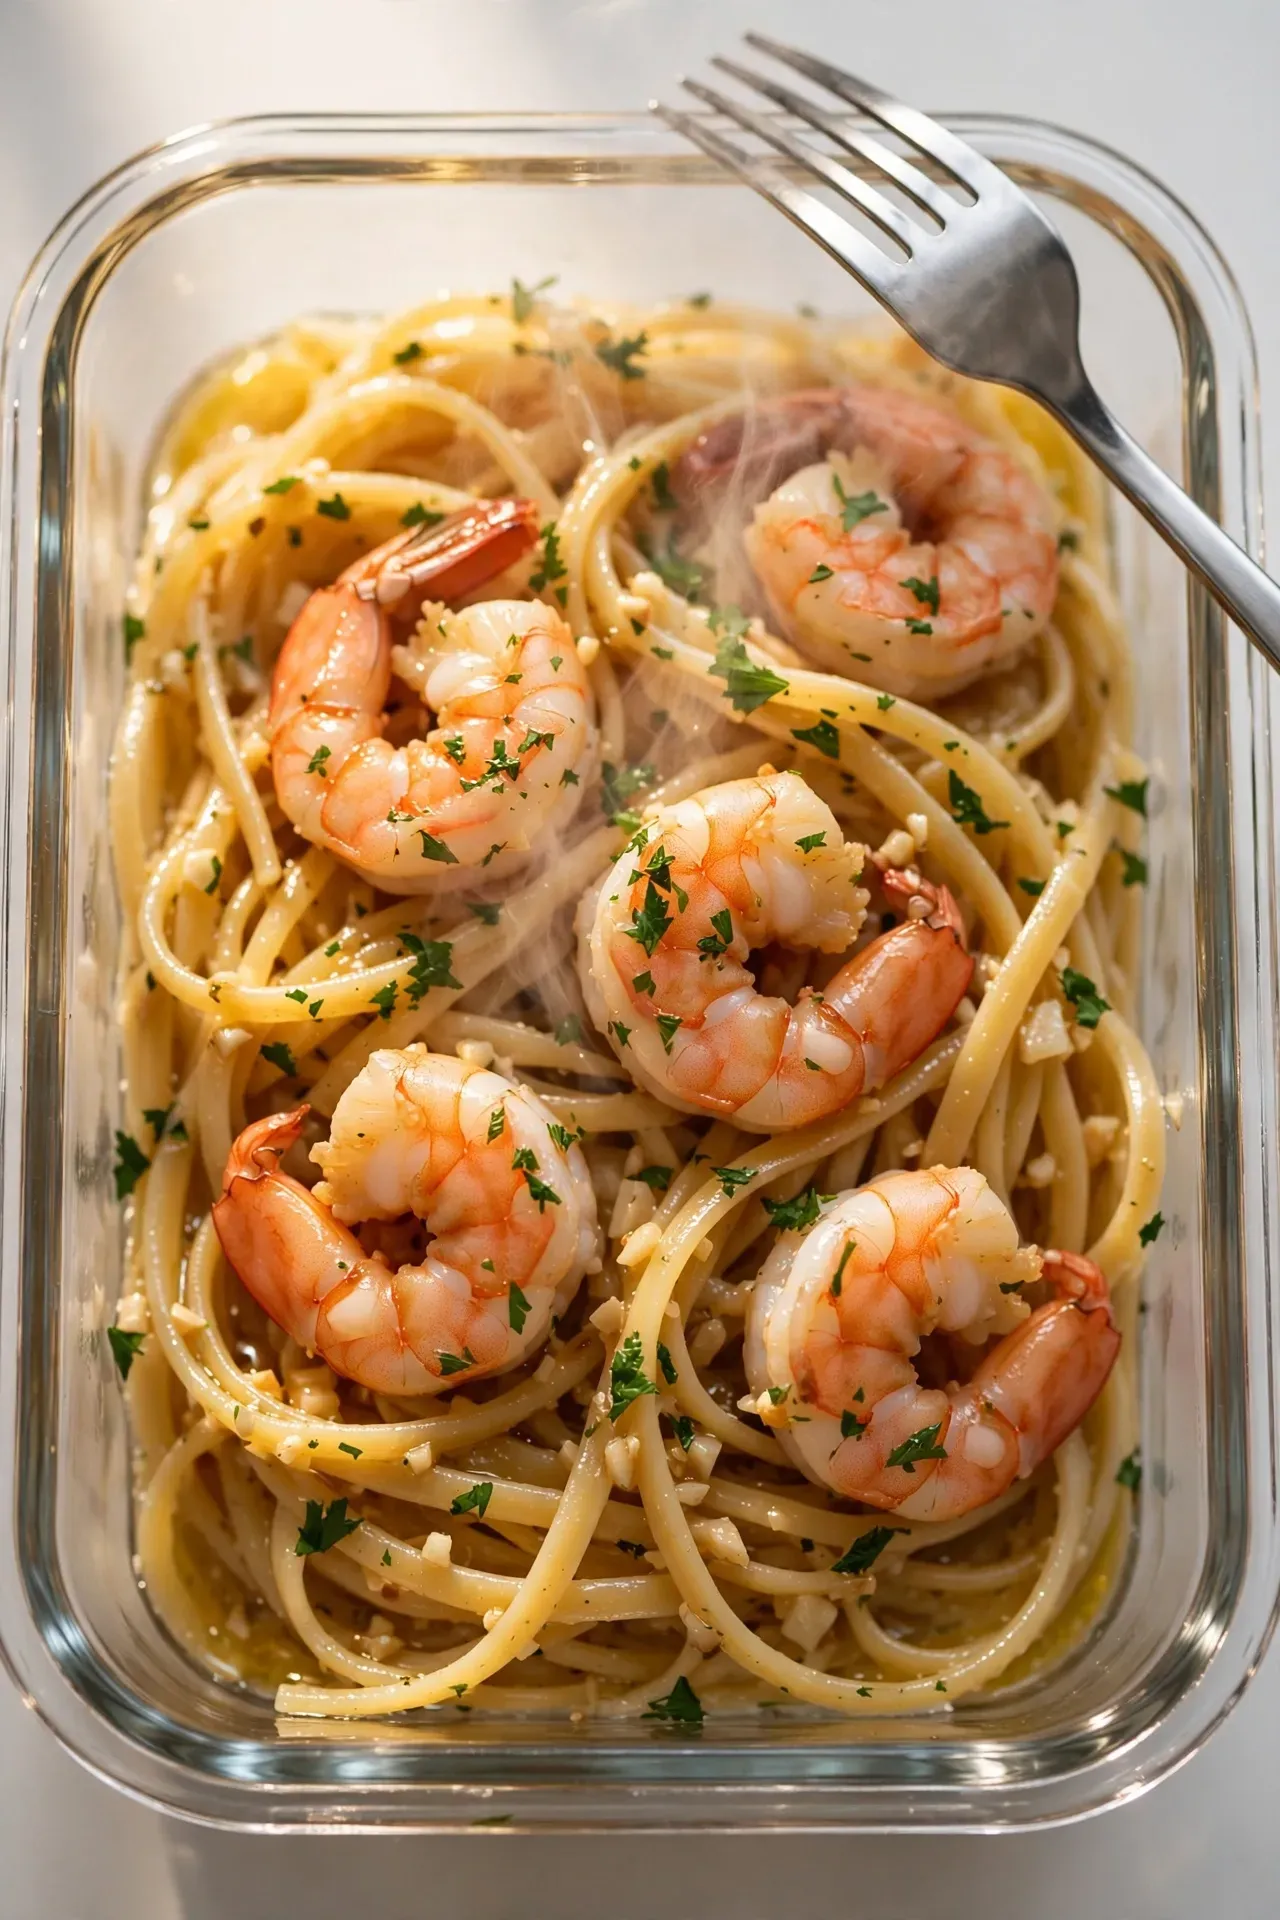
This quick weeknight dinner feels like a restaurant meal. The garlic and butter melt into a rich sauce. The shrimp stay perfectly tender. Serve this straight from your new glass containers.
Ingredients
Instructions
-
01
Boil a large pot of salted water.
-
02
Cook the linguine until al dente.
-
03
Melt butter in a large pan over medium heat.
-
04
Toss garlic in the pan and cook until fragrant.
-
05
Place shrimp into the pan and cook thoroughly.
-
06
Mix the cooked pasta into the garlic butter sauce.
-
07
Garnish with chopped fresh parsley.
In my experience, saving a little pasta water helps thicken the garlic sauce perfectly.
One-Pan Lemon Chicken
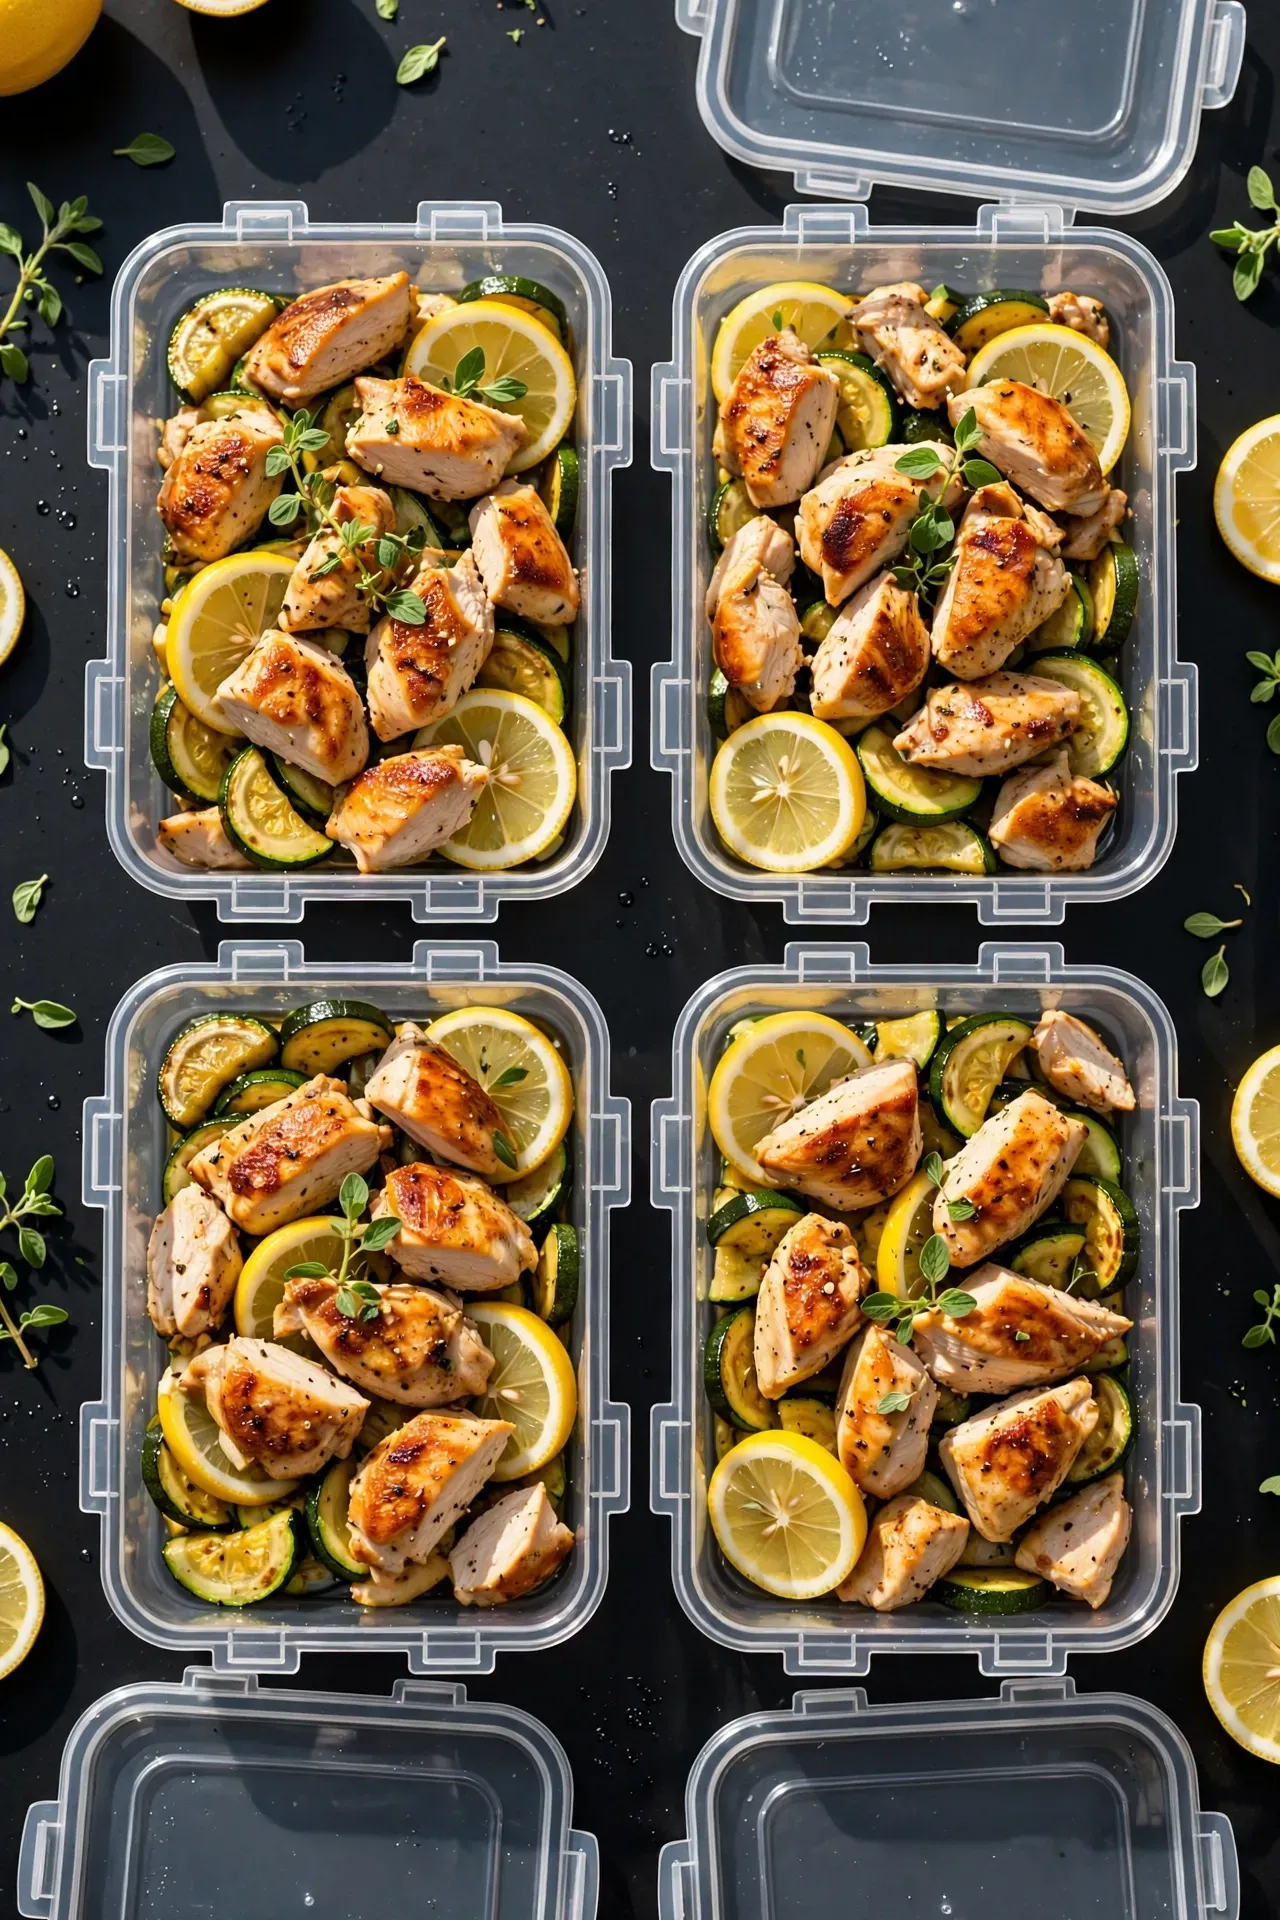
You will love the bright and tangy flavors here. The chicken gets a beautiful golden brown sear. This dish works perfectly for Sunday batch cooking. The aroma of fresh lemon fills your entire kitchen.
Ingredients
Instructions
-
01
Heat olive oil in a large skillet.
-
02
Season chicken breasts with pepper and oregano.
-
03
Sear the chicken until golden brown on sides.
-
04
Pour the lemon juice over the cooking chicken.
-
05
Toss sliced zucchini into the hot pan.
-
06
Simmer everything until the chicken is fully cooked.
-
07
Store leftovers in an airtight container immediately.
Crispy Baked Tofu Bowl
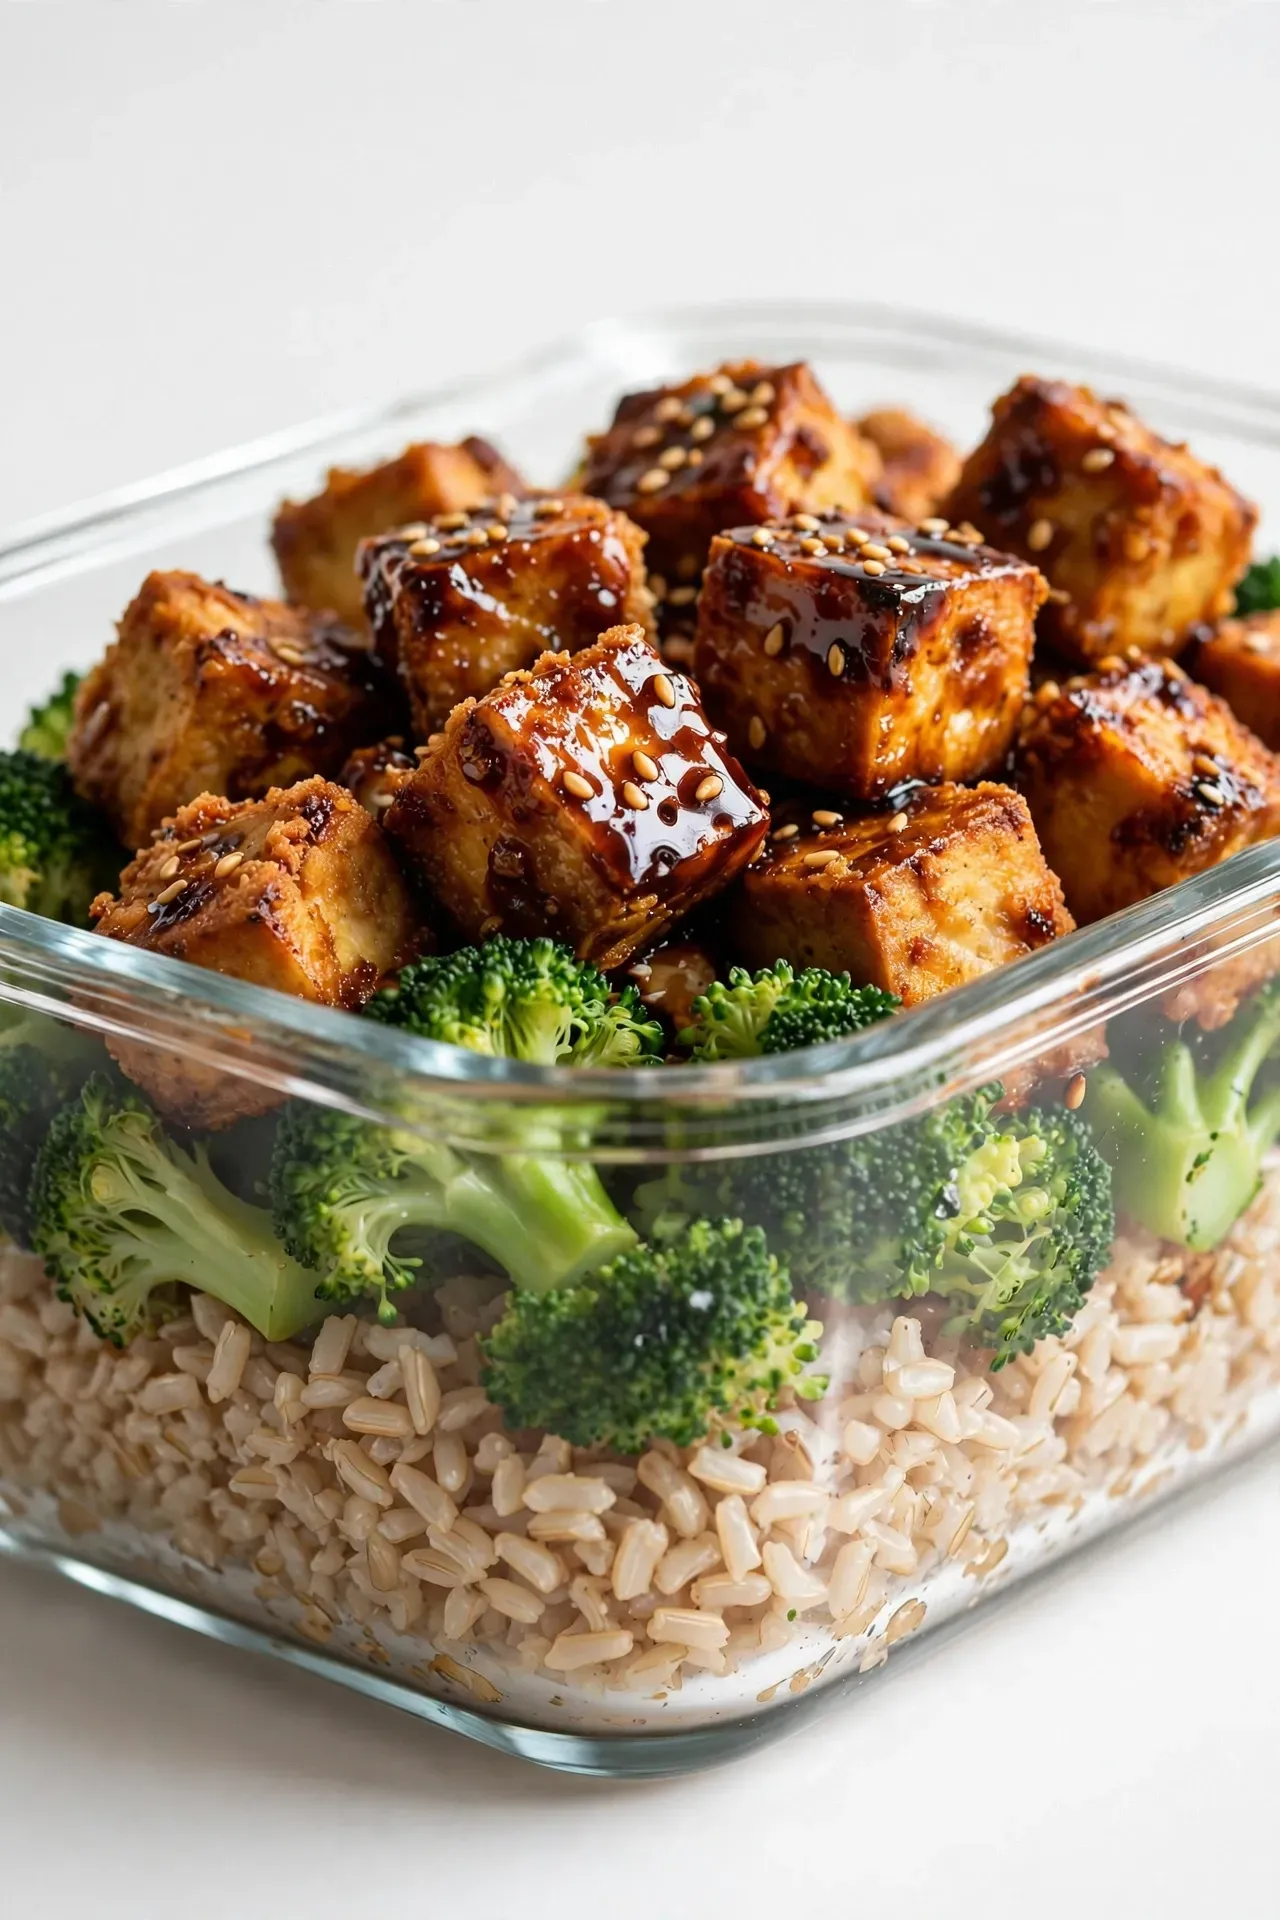
This plant-based favorite delivers a massive crunch. The tofu absorbs a savory and umami soy glaze. Pair it with fresh vegetables for a colorful lunch. It stays perfectly crispy in airtight glass bins.
Ingredients
Instructions
-
01
Preheat your oven to 400 degrees Fahrenheit.
-
02
Cut the pressed tofu into small cubes.
-
03
Toss the cubes in soy sauce and cornstarch.
-
04
Spread tofu on a baking sheet evenly.
-
05
Bake until crispy and golden brown.
-
06
Steam the broccoli until fork-tender.
-
07
Assemble bowls with rice, broccoli, and crispy tofu.
-
08
I have noticed that pressing the tofu for thirty minutes makes it twice as crunchy.
Quick Beef Stir Fry
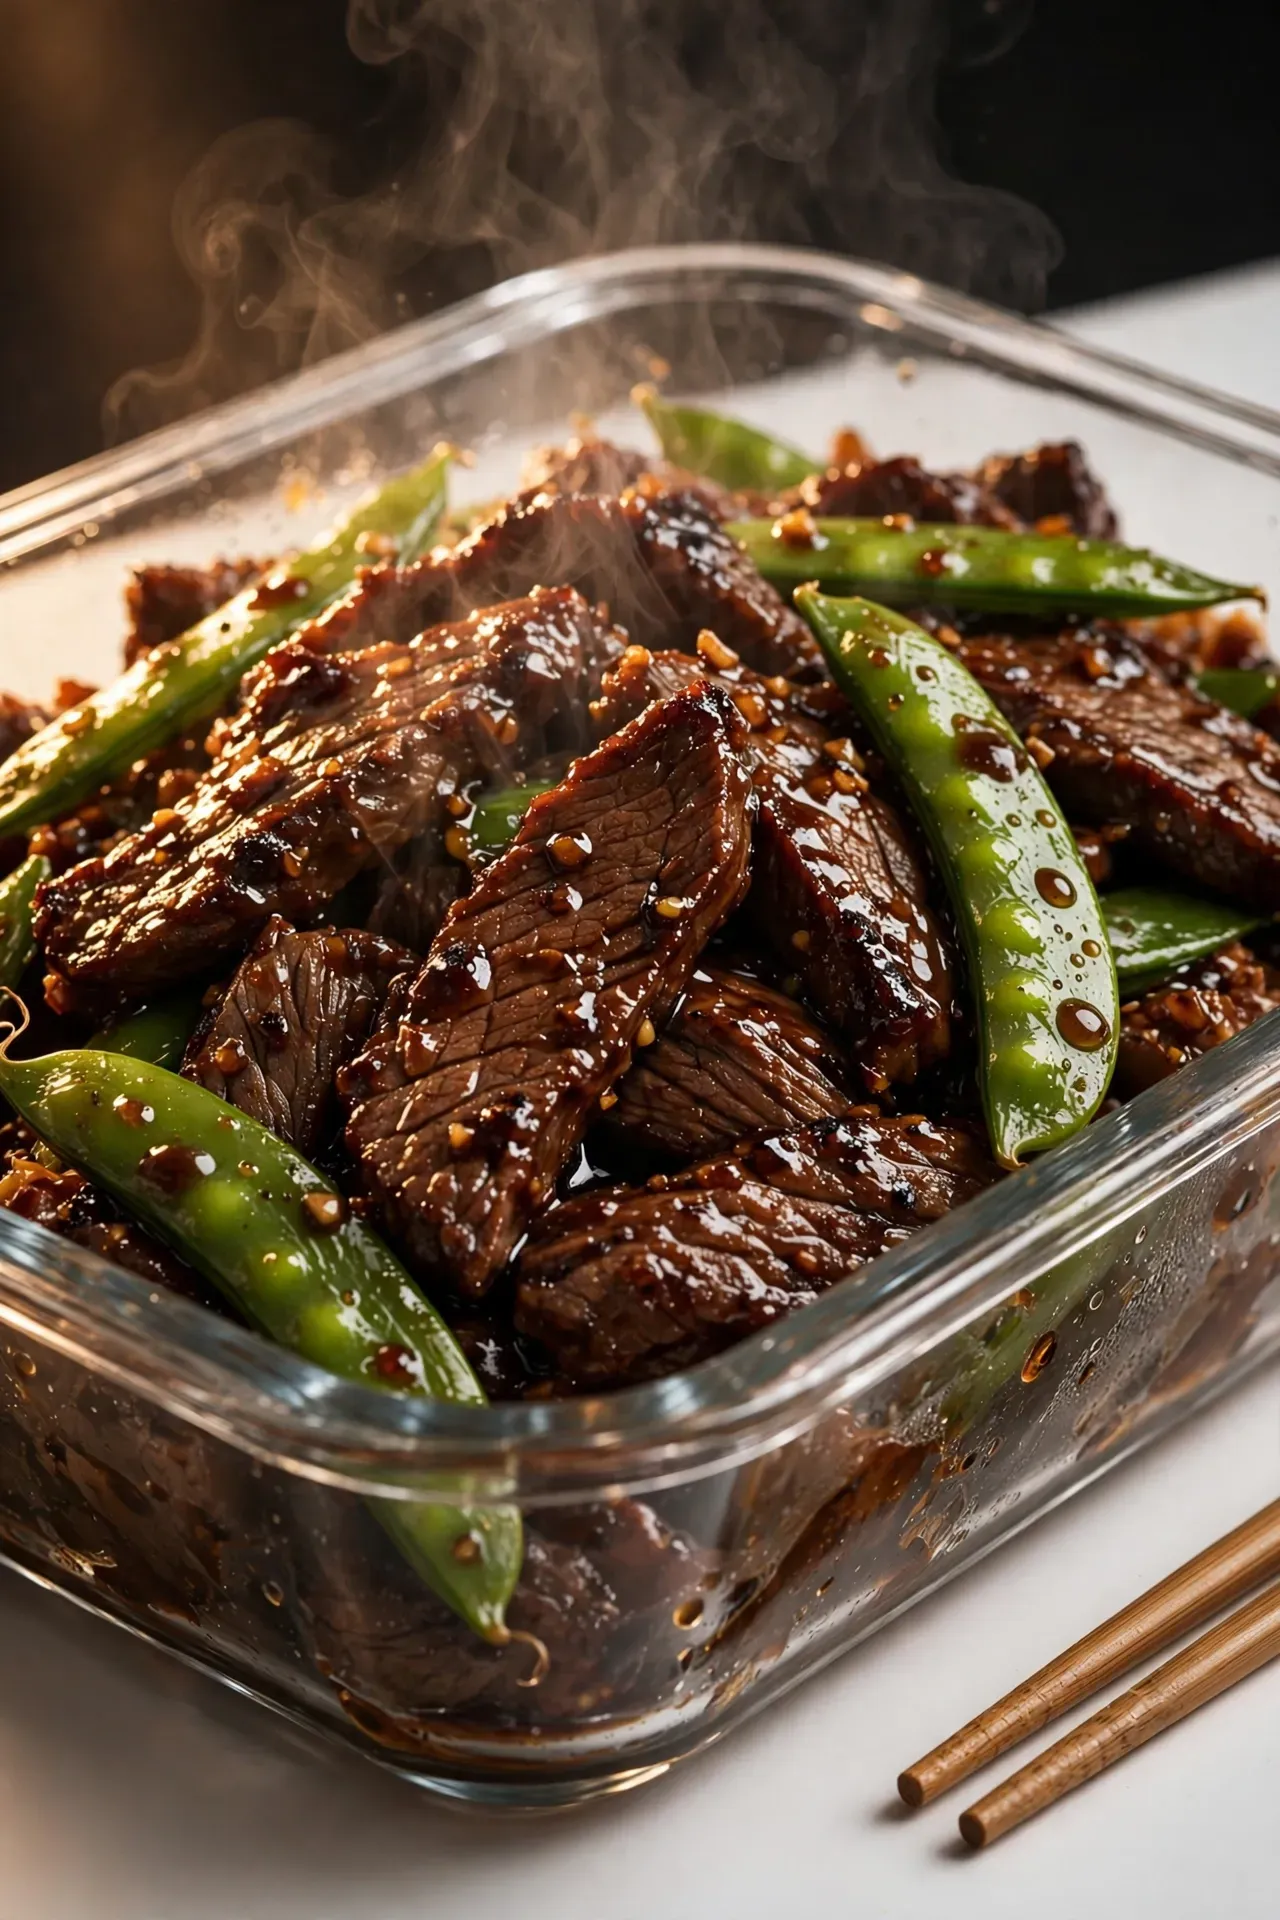
Skip the takeout and make this fast savory classic. The beef gets a gorgeous caramelized crust. The sauce coats every single bite with rich flavor. This meal reheats beautifully the next day.
Ingredients
Instructions
-
01
Whisk soy sauce, brown sugar, and garlic together.
-
02
Heat oil in a large pan until smoking hot.
-
03
Sear the sliced beef quickly on all sides.
-
04
Toss the snap peas into the hot pan.
-
05
Pour the sauce mixture over the beef and peas.
-
06
Cook until the sauce thickens and coats everything.
-
07
Serve immediately or pack into meal prep containers.
Mediterranean Quinoa Salad
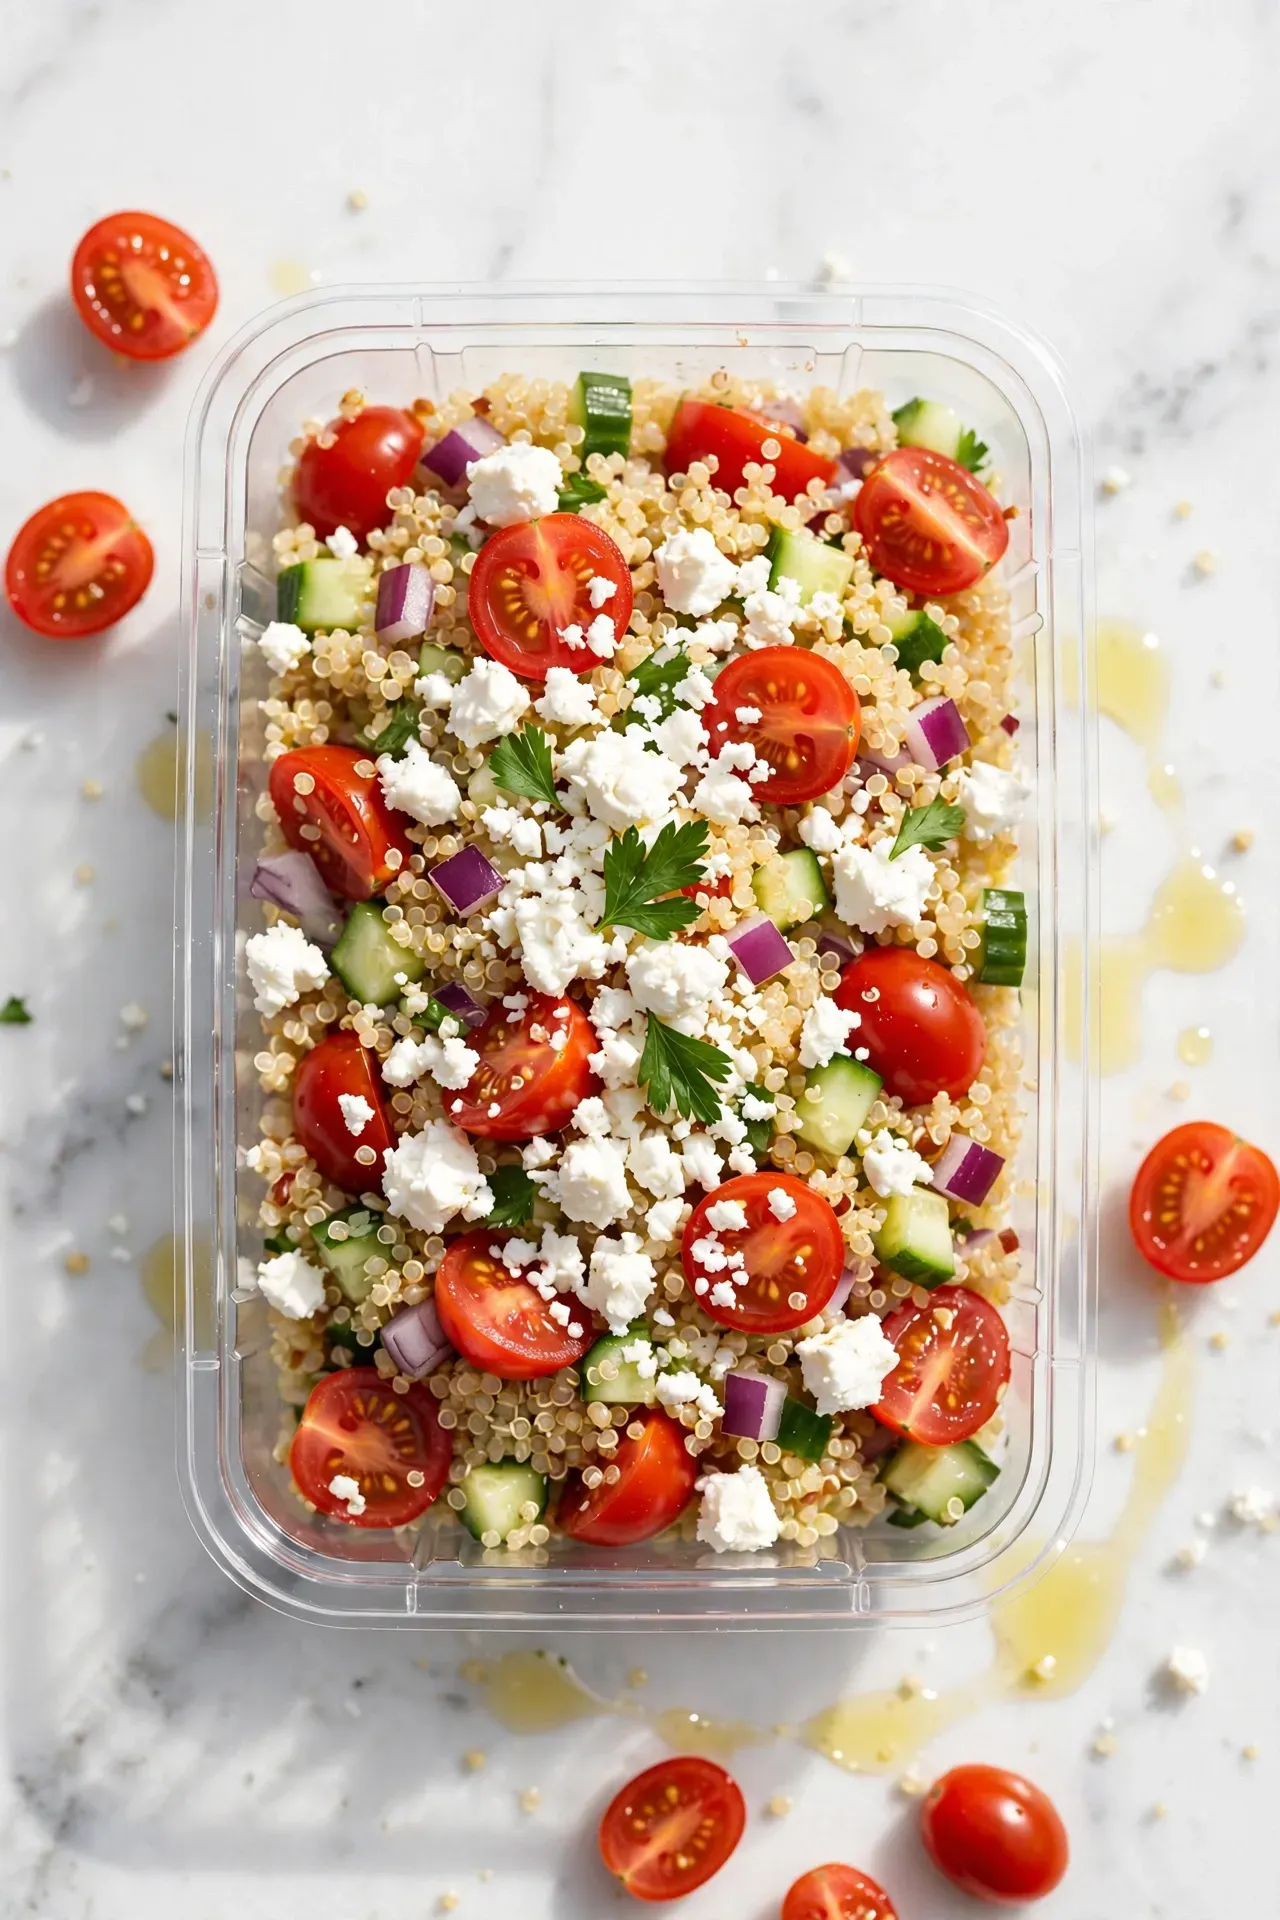
Fresh, herbaceous, and incredibly filling. This cold salad features bright tomatoes and salty feta cheese. It requires zero reheating at the office. The flavors actually deepen after sitting in the fridge overnight.
Ingredients
Instructions
-
01
Place the cooled quinoa in a large mixing bowl.
-
02
Chop all the fresh vegetables carefully.
-
03
Toss tomatoes, cucumber, and red onion into the bowl.
-
04
Sprinkle the crumbled feta cheese over the top.
-
05
Drizzle olive oil over the entire mixture.
-
06
Mix everything together gently until fully combined.
-
07
Divide into leak-proof storage containers for the week.
-
08
I have tried this with fresh mint instead of parsley and it tastes incredibly refreshing.
Smoky Black Bean Chili
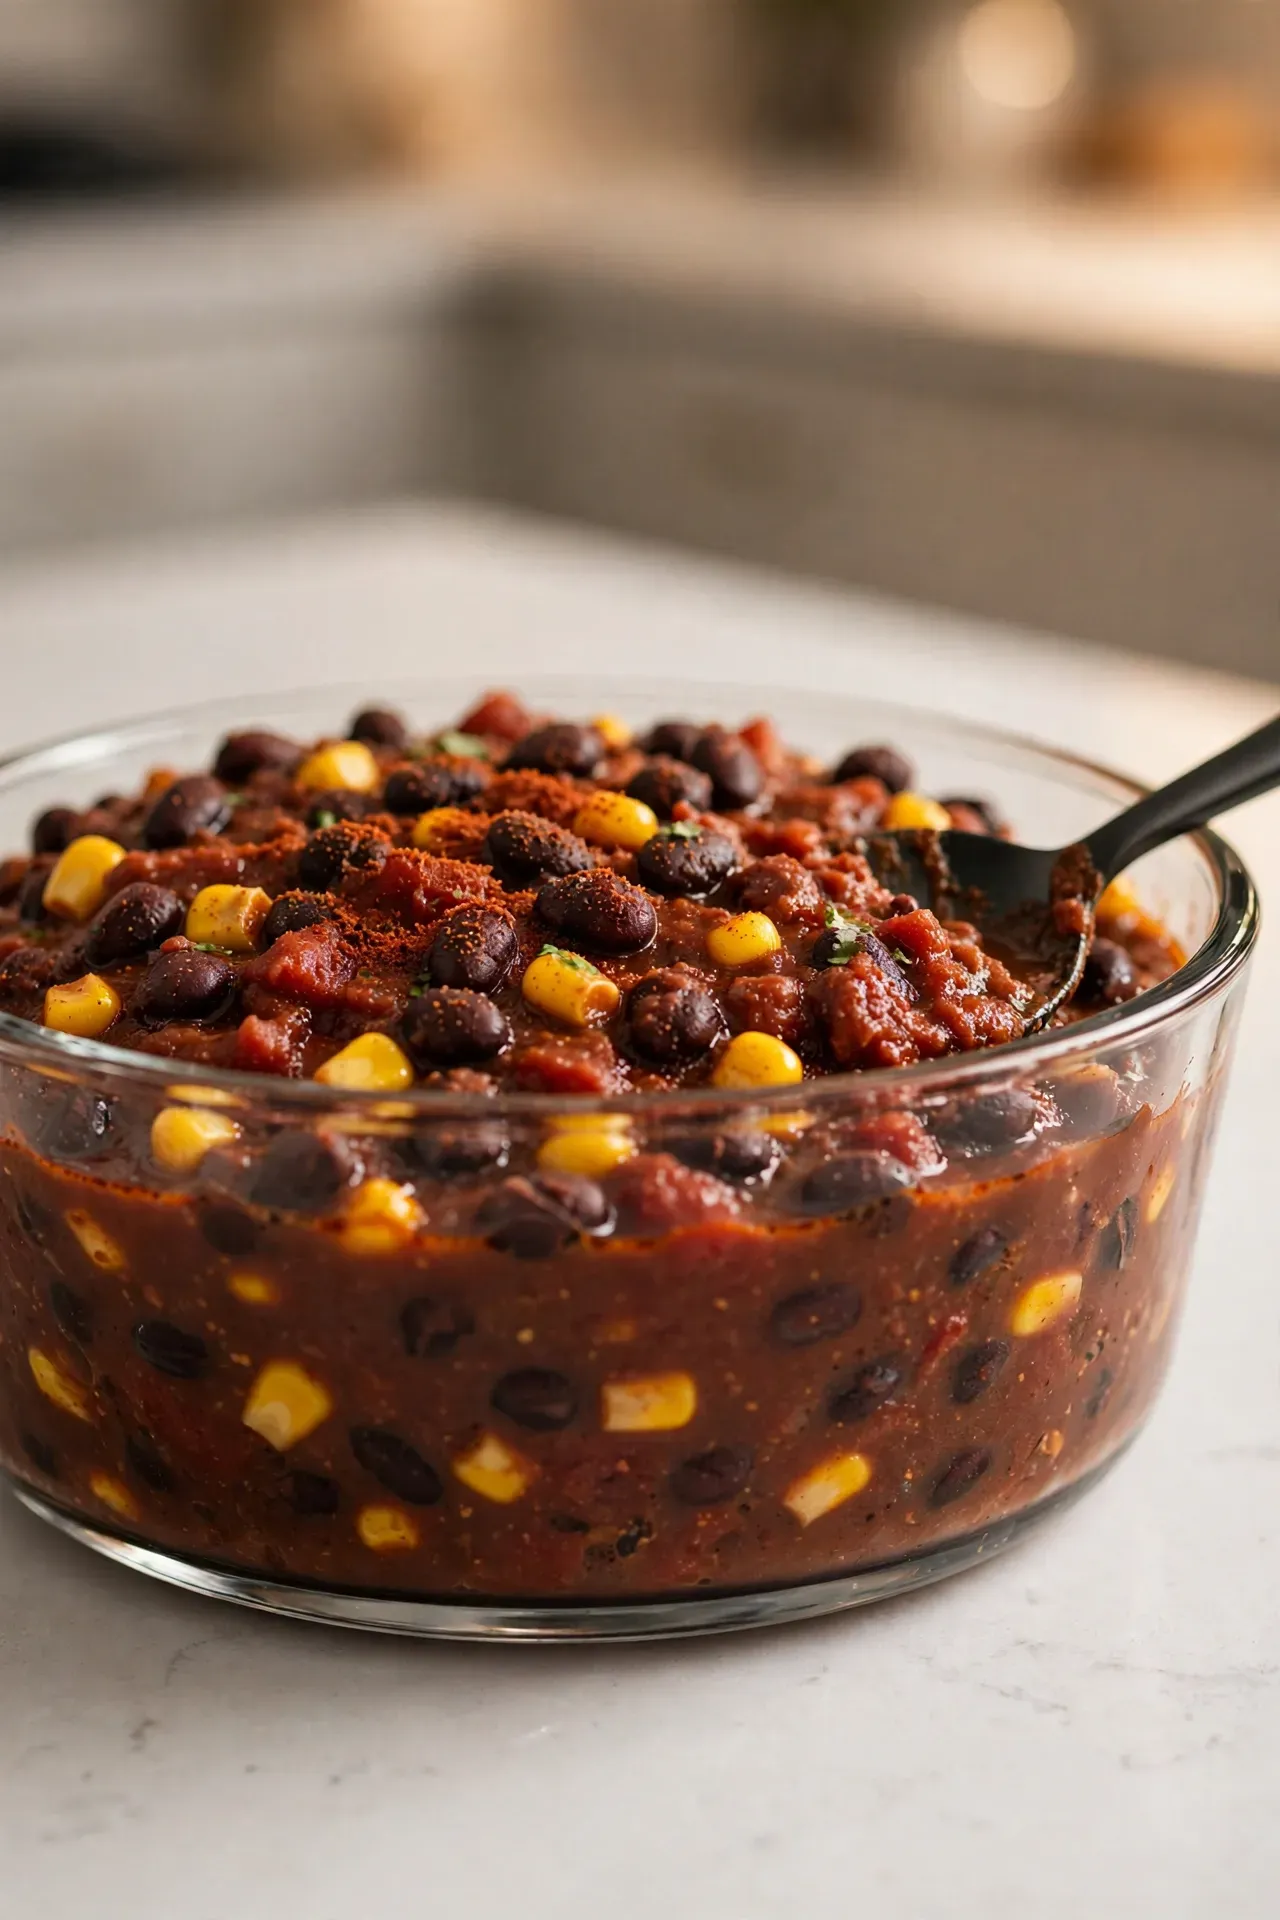
Warm up with this rich and smoky vegetarian chili. It packs a massive protein punch without any meat. The deep earthy flavors taste even better on the second day. Glass storage keeps the bold colors from staining.
Ingredients
Instructions
-
01
Sauté the chopped onion in a large heavy pot.
-
02
Stir in the chili powder and smoked paprika.
-
03
Pour the crushed tomatoes into the fragrant pot.
-
04
Mix in the rinsed black beans and corn kernels.
-
05
Simmer the chili gently on low heat.
-
06
Stir occasionally to prevent burning on the bottom.
-
07
Ladle into your waiting meal prep containers.
Honey Mustard Glazed Salmon
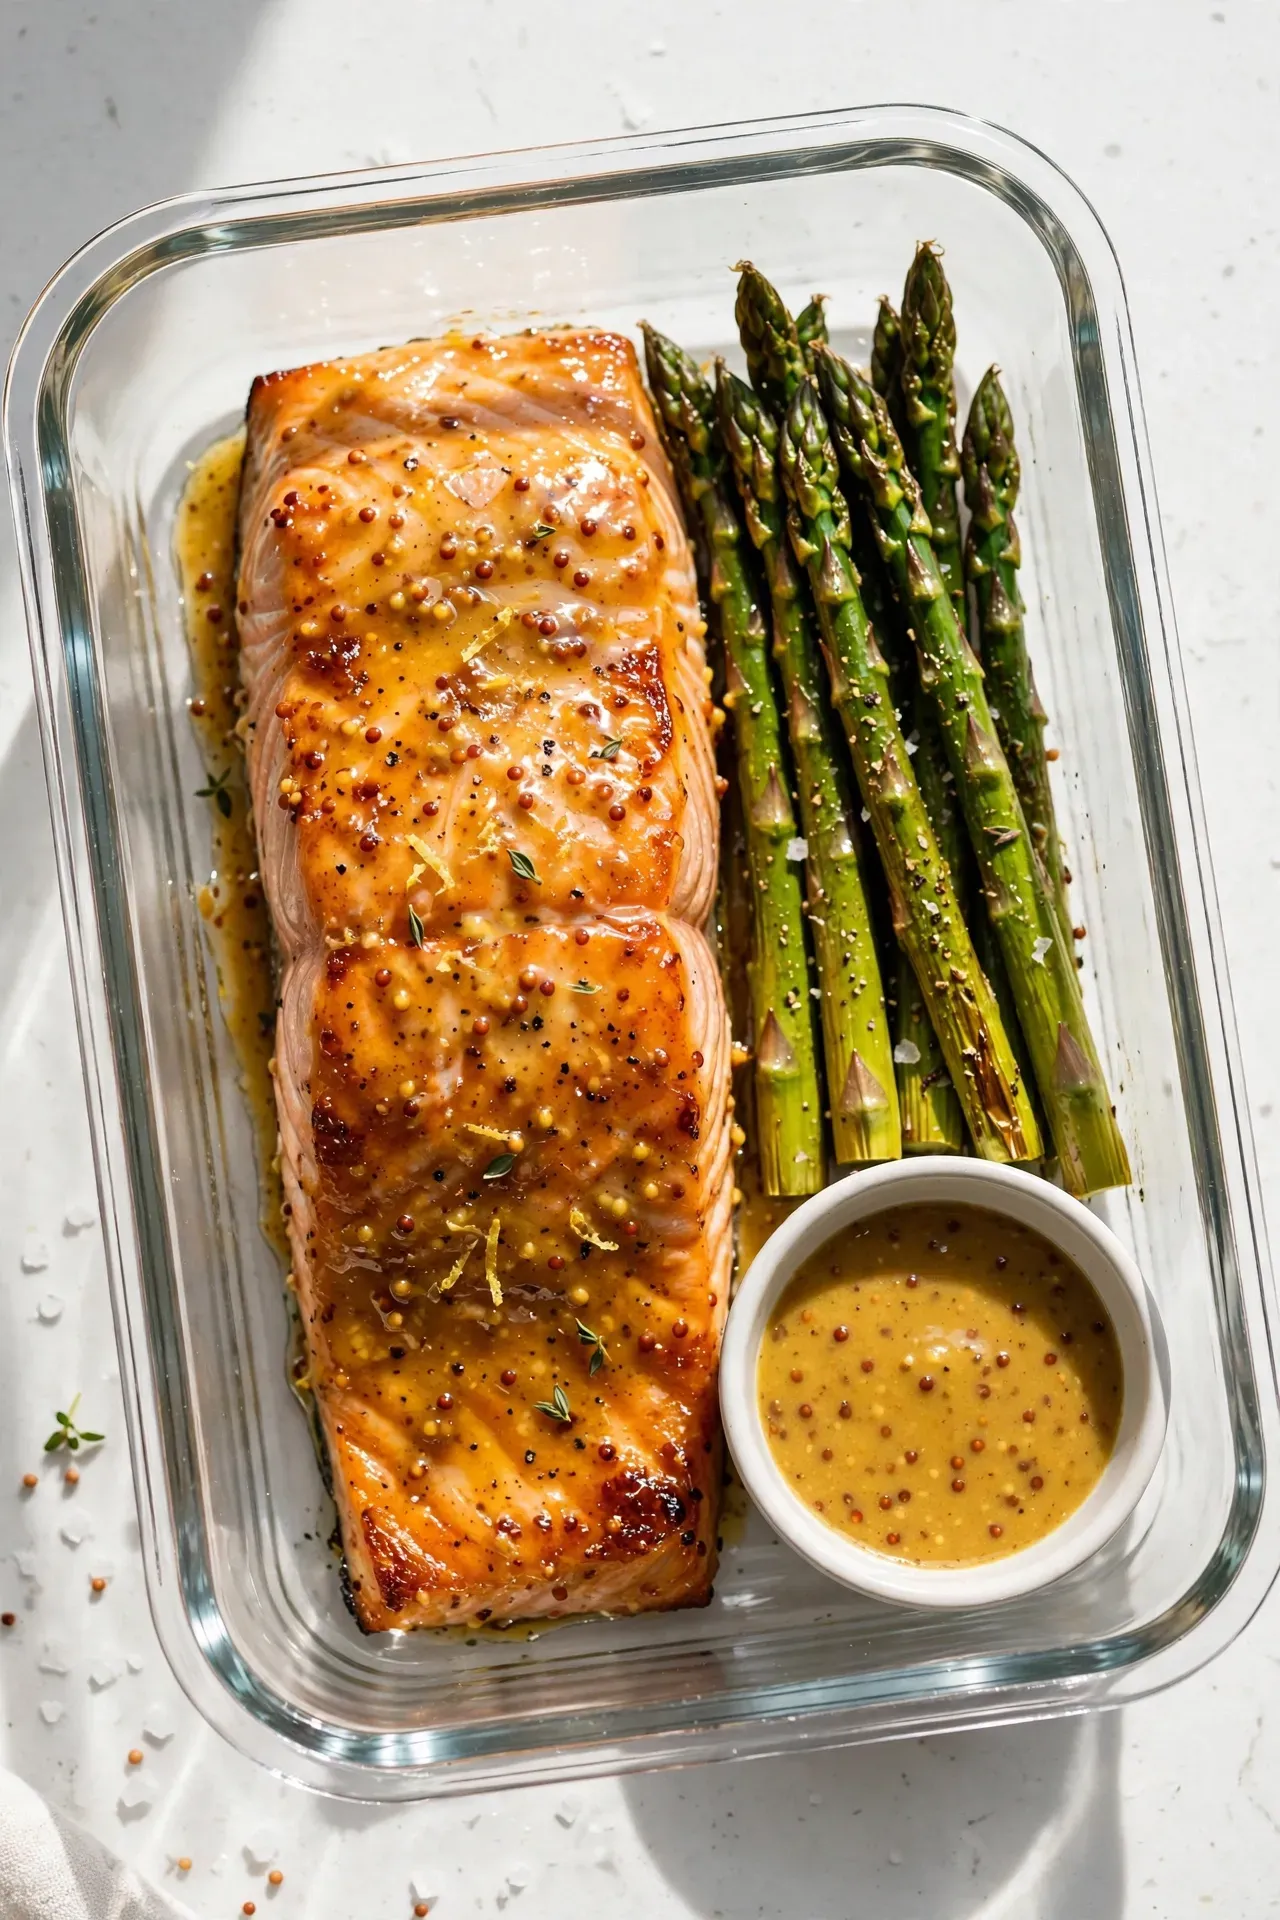
Flaky fish pairs perfectly with a sweet mustard glaze. This dish looks highly impressive but requires minimal effort. The salmon melts in your mouth instantly. You will crave this healthy lunch all morning.
Ingredients
Instructions
-
01
Preheat your oven to 400 degrees Fahrenheit.
-
02
Whisk the mustard, honey, and garlic powder together.
-
03
Place the salmon fillets on a lined baking sheet.
-
04
Brush the sweet mustard glaze generously over each fillet.
-
05
Bake the fish until it flakes easily with a fork.
-
06
Let the salmon cool completely on the baking sheet.
-
07
Transfer gently into your preferred meal prep bins.
-
08
I've made this dozens of times and lining the pan with parchment paper saves endless scrubbing.
Frequently Asked Questions
Can I freeze this food in glass?
Yes, you can freeze food in tempered glass containers. Leave an inch of space at the very top. Food expands rapidly as it freezes solid. Pyrex handles freezer temperatures very well. Avoid sudden temperature shifts to prevent sudden cracking. Do not move glass straight from the freezer to a hot oven. Let it thaw in the fridge overnight first.
What if I do not have a microwave at work?
Pack cold lunches in your plastic or glass containers. The Mediterranean Quinoa Salad works perfectly for this exact scenario. You can also invest in a high-quality insulated thermos. Heat your food at home and transfer it quickly. This keeps your meal warm for several long hours.
Can I make these meals ahead of time?
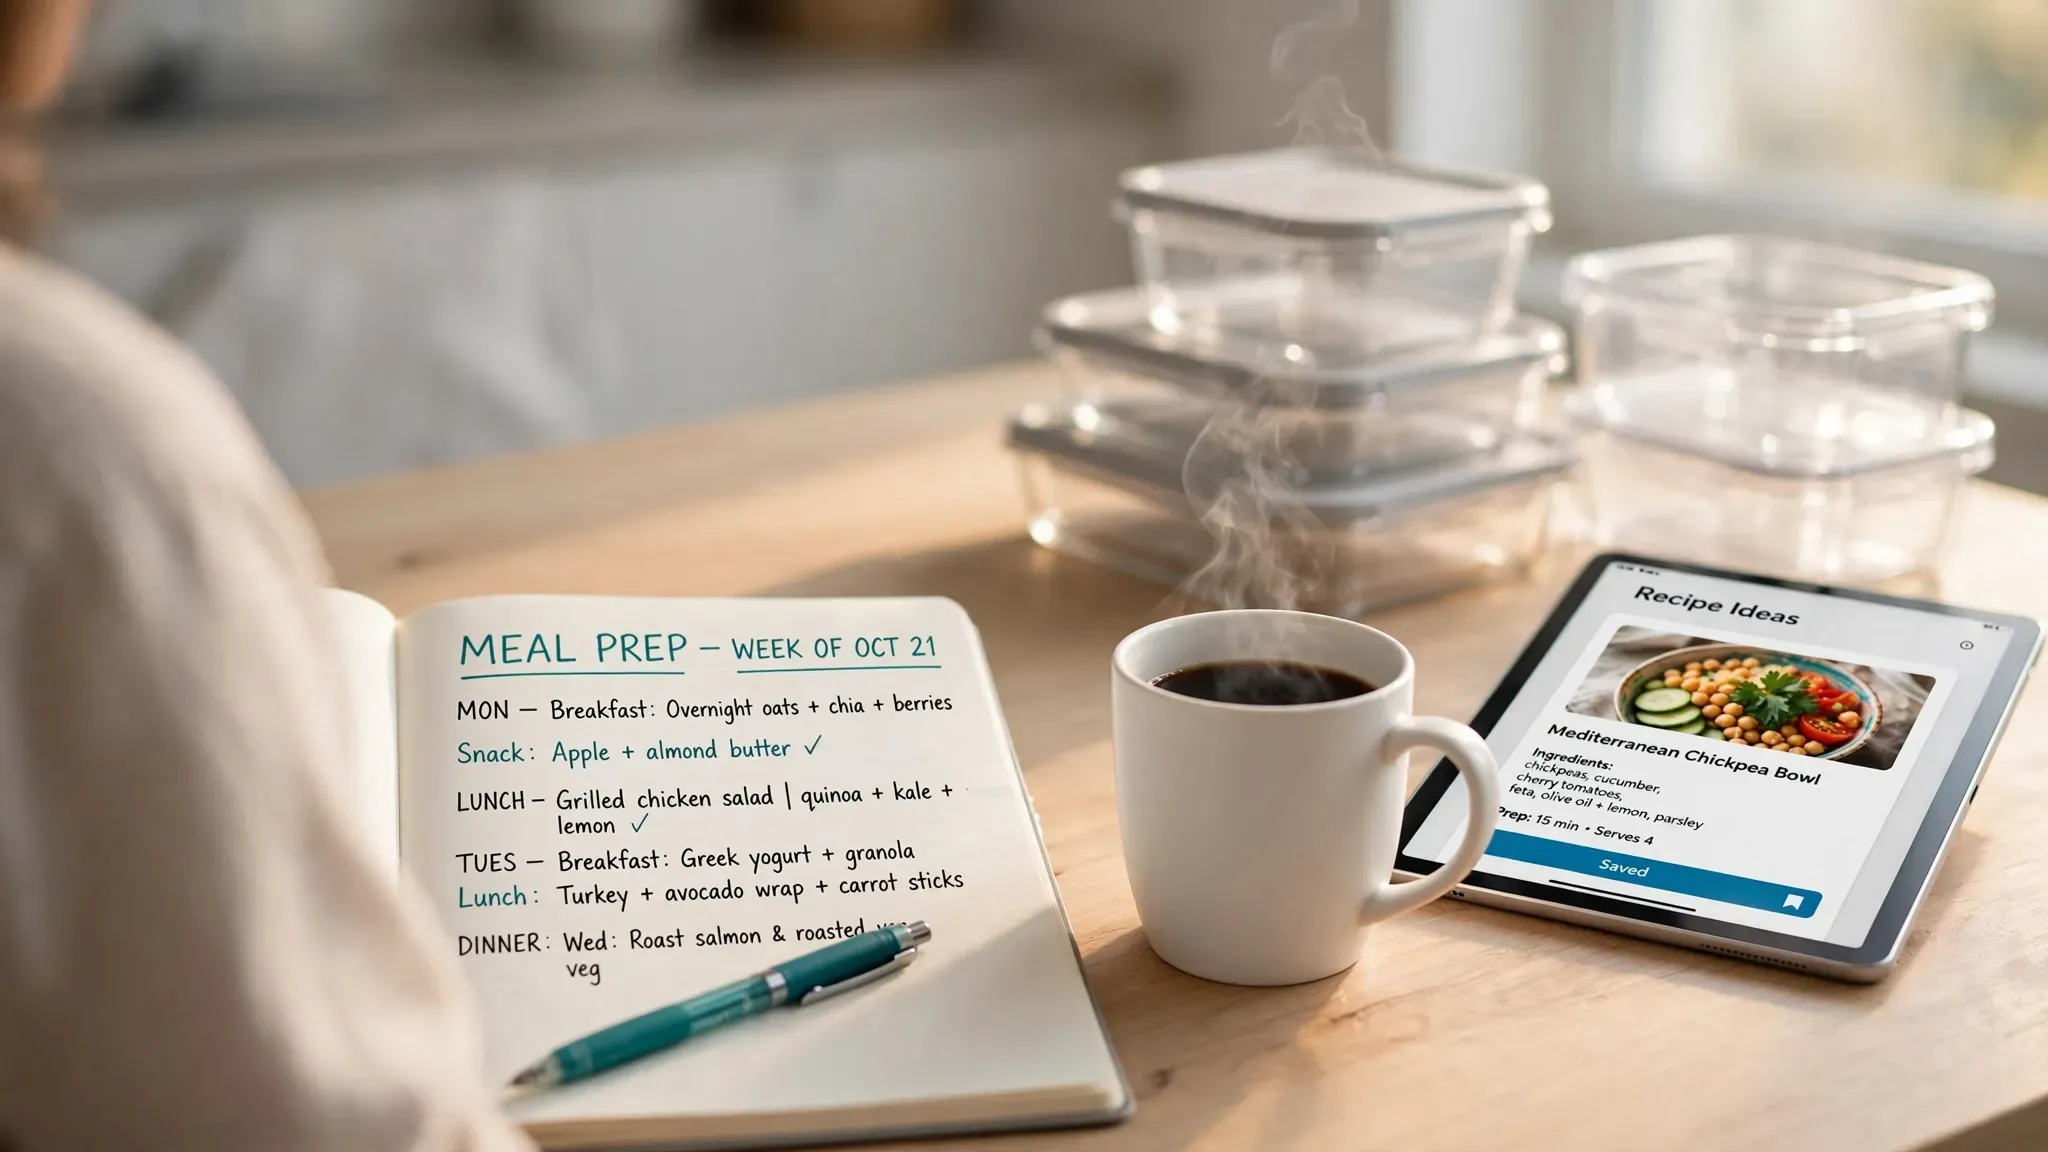
Batch cooking on Sundays saves massive hours during the week. All these recipes last up to four days refrigerated. Keep wet ingredients totally separate if possible. Store dressings in tiny separate containers until lunchtime rolls around. This prevents your fresh crisp vegetables from getting soggy. Proper sealing extends the shelf life of your cooked food.
Are silicone lids better than plastic snaps?
Silicone lids offer incredible flexibility and a totally tight seal. They stretch over various container shapes very easily. They handle extreme heat much better than rigid plastic lids. Snapware uses plastic lids with thick silicone gaskets inside. This combo provides the most secure, leak-proof seal available today. Wash all rubber seals carefully to prevent dark mold growth.
How do I remove smells from plastic tubs?
Soak the empty container in a mixture of baking soda and warm water overnight. Wash it with basic dish soap the next early morning. You can also leave the plastic in direct sunlight for an entire afternoon. The hot sun helps bleach out stubborn tomato stains naturally. Upgrading to solid glass eliminates this frustrating problem entirely.
Making Your Final Choice
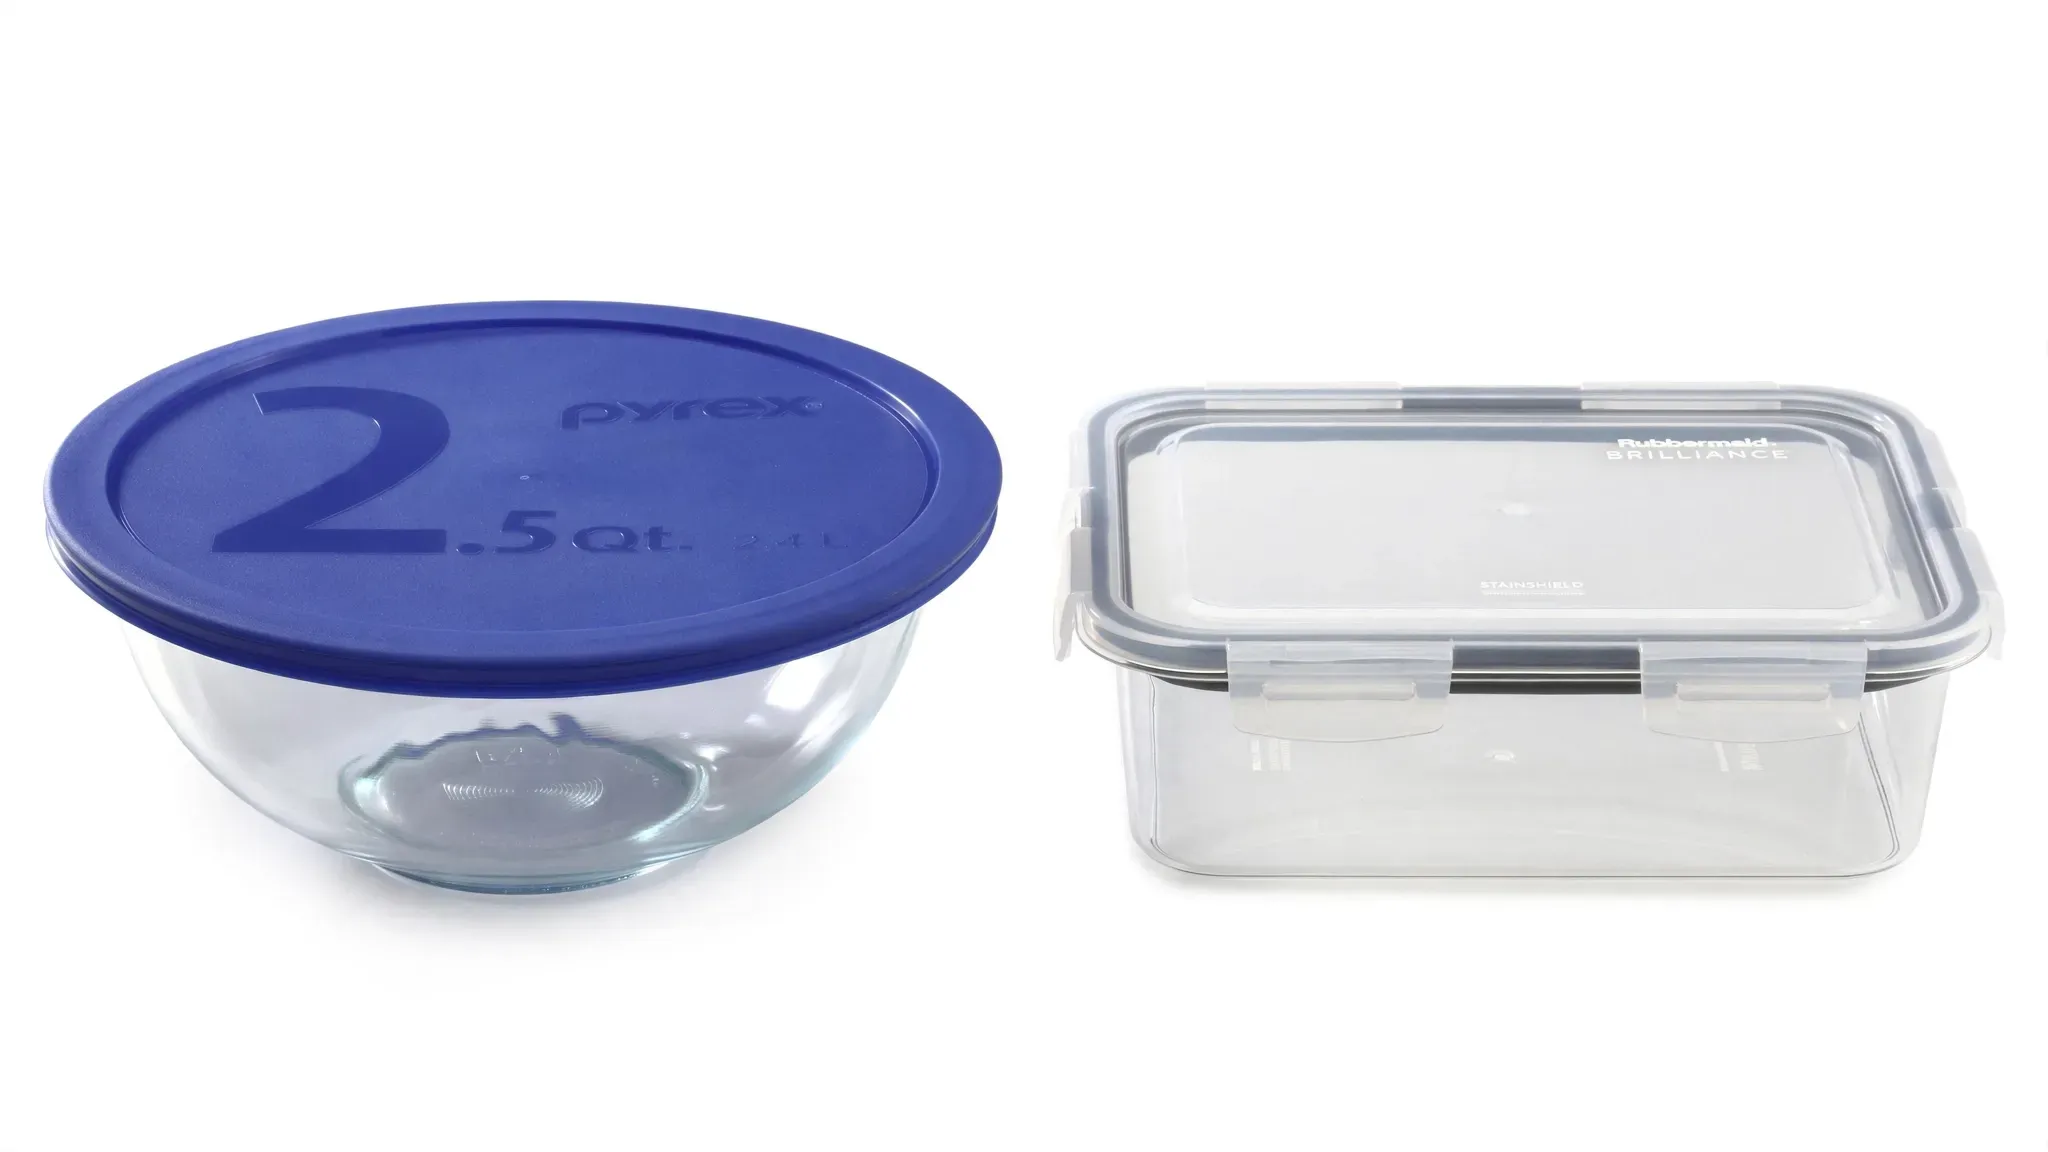
Your kitchen setup dictates your daily cooking habits entirely. Glass containers offer absolute safety, cleanliness, and long-term durability. They cost more upfront but last for many consecutive years. Plastic containers win heavily on pure portability and lightweight convenience. If you commute on a packed city train, lightweight plastic makes logical sense. I prefer a mixed setup for my own busy kitchen. I keep large glass dishes at home for cold fridge storage. I use high-quality Rubbermaid plastic for my daily gym days. Evaluate your daily routine closely today. Pick the storage system that makes your busy life easier. The Glass vs Plastic Meal Prep Containers debate ends with your personal lifestyle needs. Start prepping your healthy meals with total confidence this coming Sunday.

Anna Moretti — Editor-in-Chief & Founder
Anna Moretti is a Le Cordon Bleu graduate whose seven years in Michelin-starred kitchens across Paris and London, including stages at L’Arpège and The Ledbury, shape every recipe she touches. Her work has appeared in Bon Appétit, Saveur, and The Kitchn. As Editor-in-Chief, Anna develops each signature recipe herself and tests it three times before publication, guided by a simple belief: if a recipe doesn’t work in a tired home cook’s kitchen at the end of a long Tuesday, it isn’t ready. She reviews every piece of content for accuracy, voice, and the small details that turn a good recipe into a great one.