9 Instant Pot Mistakes That Ruin Your Cooking
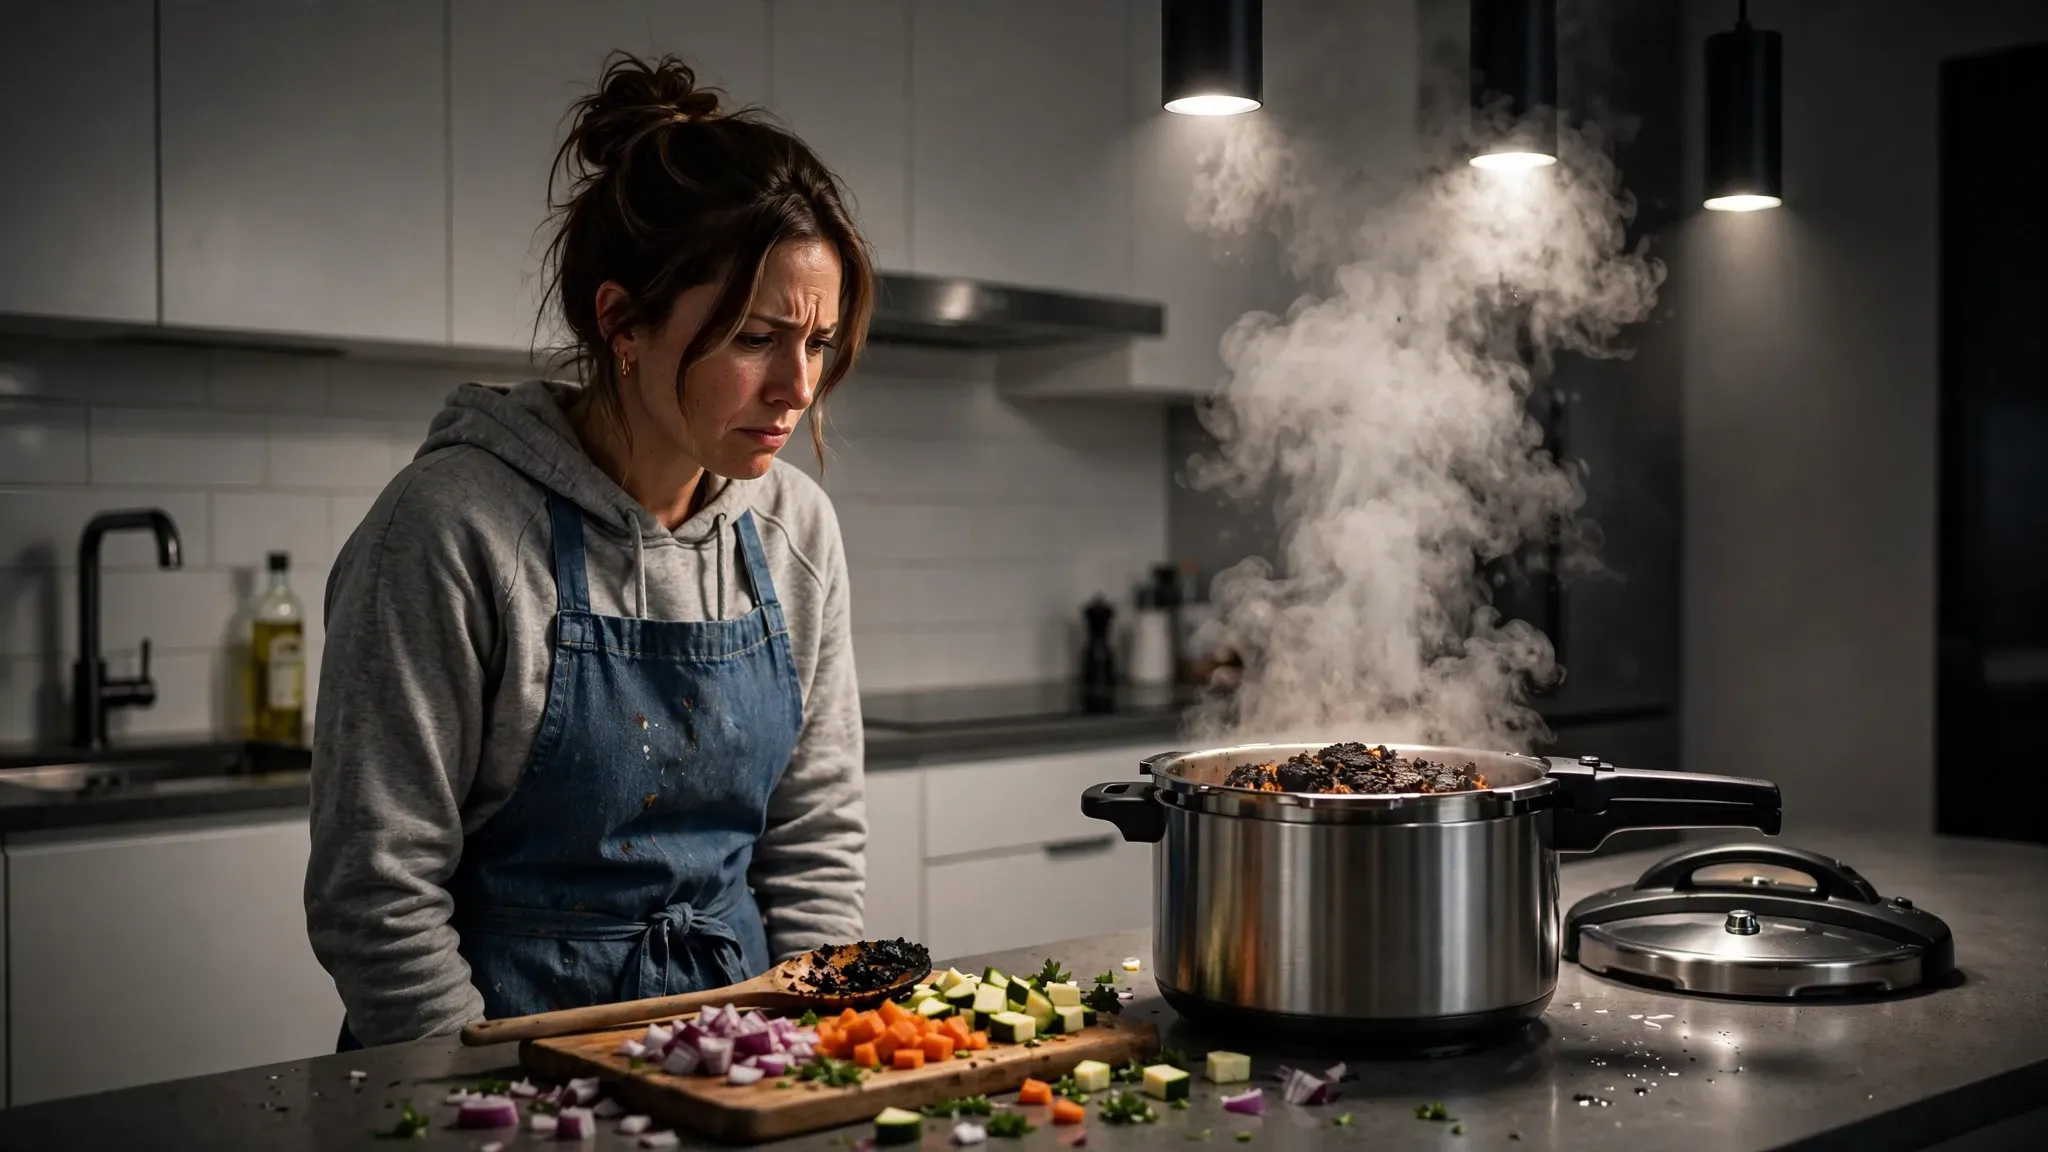
You just bought a brand new electric pressure cooker. You expected perfect meals in minutes. Instead your kitchen smells like scorched garlic. The digital display flashes a terrifying burn warning. Your family orders pizza again. I ruined three consecutive Sunday dinners when I first got my pressure cooker. The food tasted bland. The meat felt like chewing on leather tires. Pressure cooking requires specific rules. I spent three years testing these boundaries.
This guide fixes the exact errors destroying your meals. You get nine specific corrections for common pressure cooker failures. I share exact liquid ratios and timing fixes. You stop wasting expensive groceries today. Your meals come out tender and fully cooked. I tested these fixes across 400 meals. You save money and time in the kitchen.
1. Ignoring the Minimum Liquid Requirement
Pressure cookers need steam to work. Steam requires thin liquids like water or broth. Many beginners put thick tomato paste or creamy soups straight into the pot. The appliance heats up quickly. Thick sauces stick to the bottom and trigger the burn warning. In my experience you need at least one cup of thin liquid. I ruined a beautiful chuck roast last year by pouring only thick barbecue sauce inside. The machine stopped after five minutes. I spent an hour scraping the burnt mess with a cast iron scraper. I cried over the wasted twenty dollar roast.
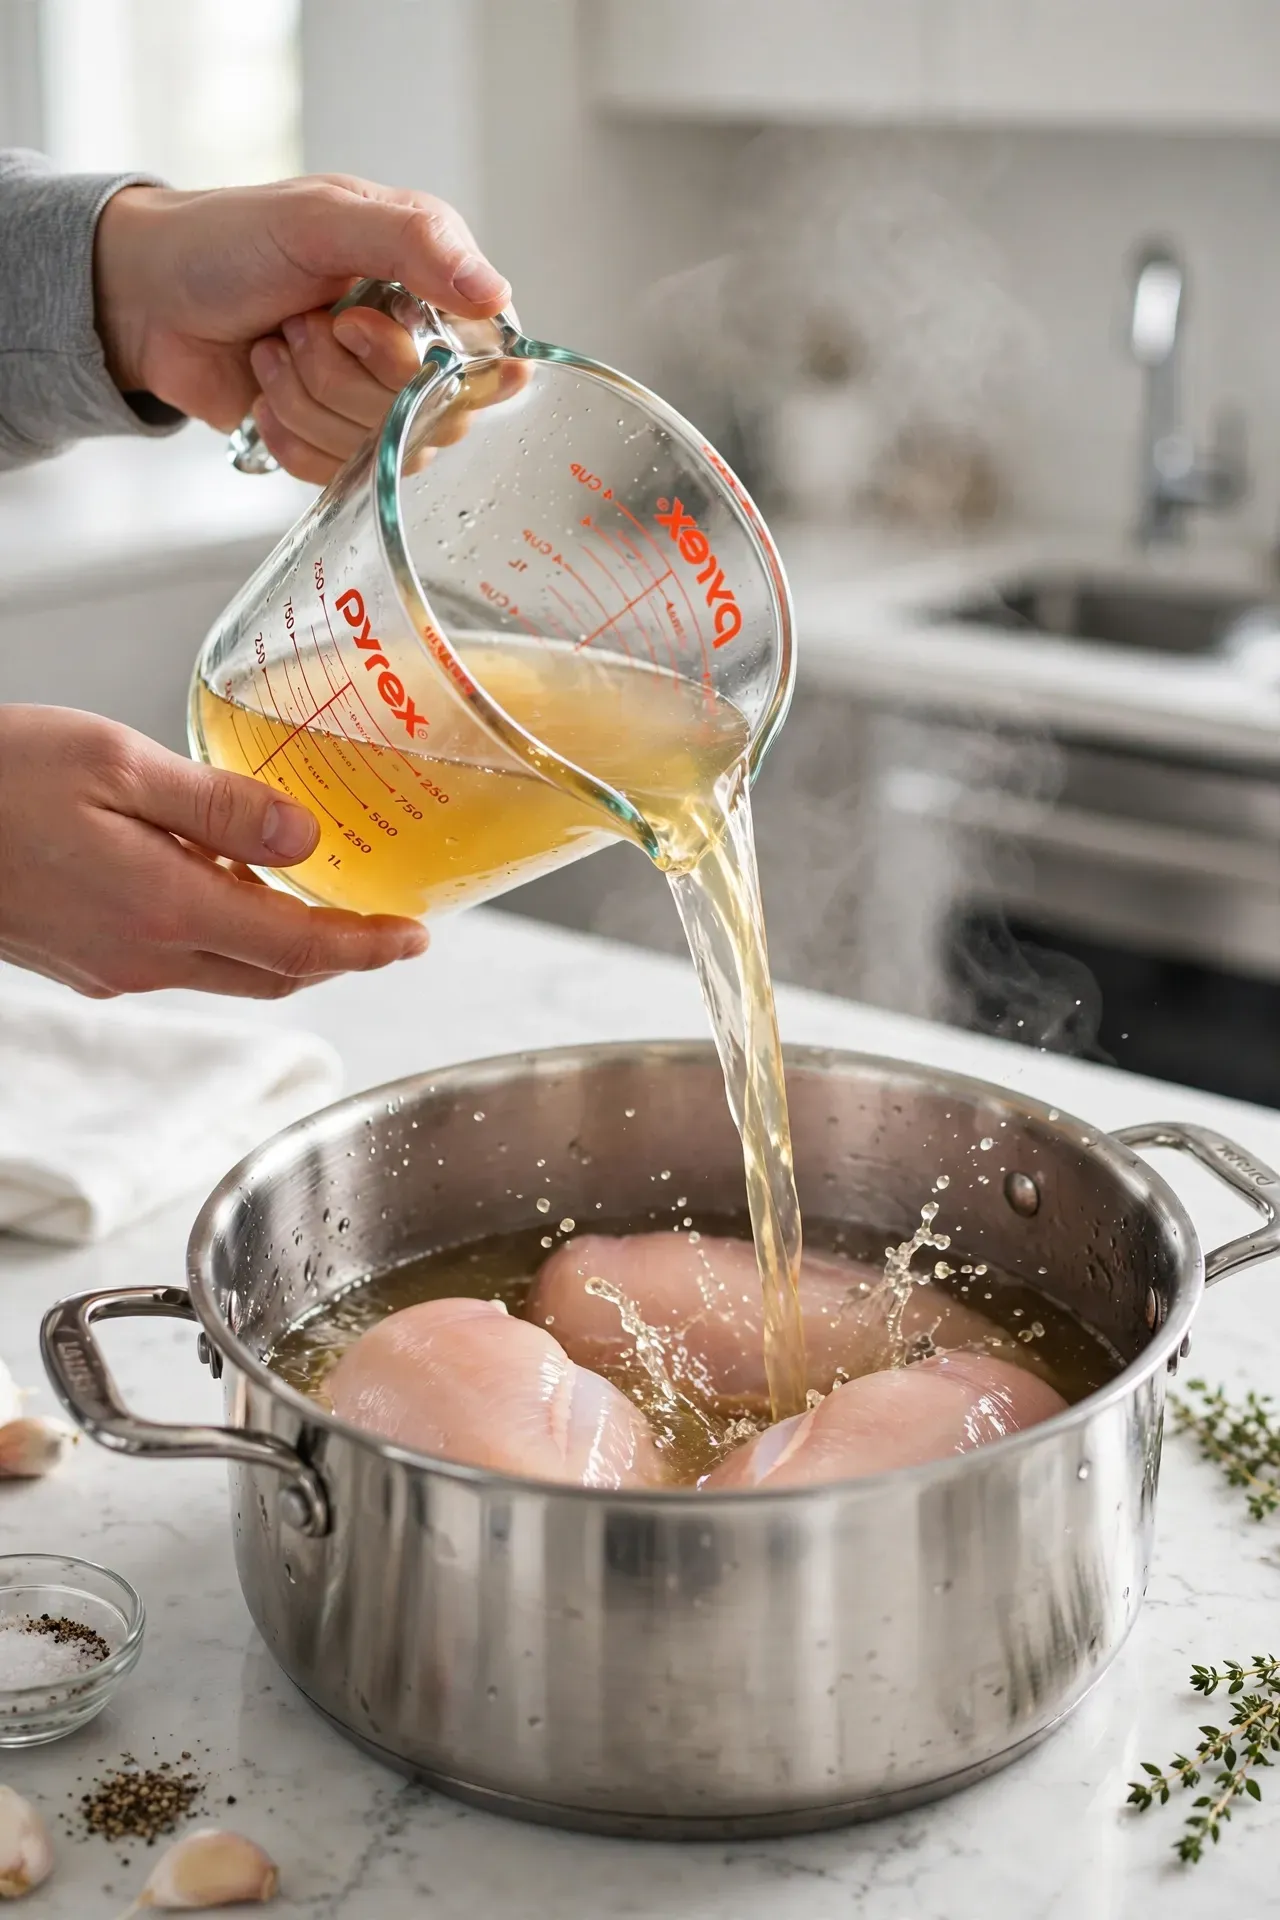
Pour thin liquids in first. Pour water or chicken stock at the very bottom. Place thick sauces on top of the food right before locking the lid. Do not stir the pot at all. The machine builds pressure safely this way. Your food cooks evenly without setting off alarms. I pour exactly one cup of water for every meal I make now. The steam creates a perfect cooking environment. You never have to scrub scorched pans again.
2. Using Quick Release for Meats and Starchy Foods
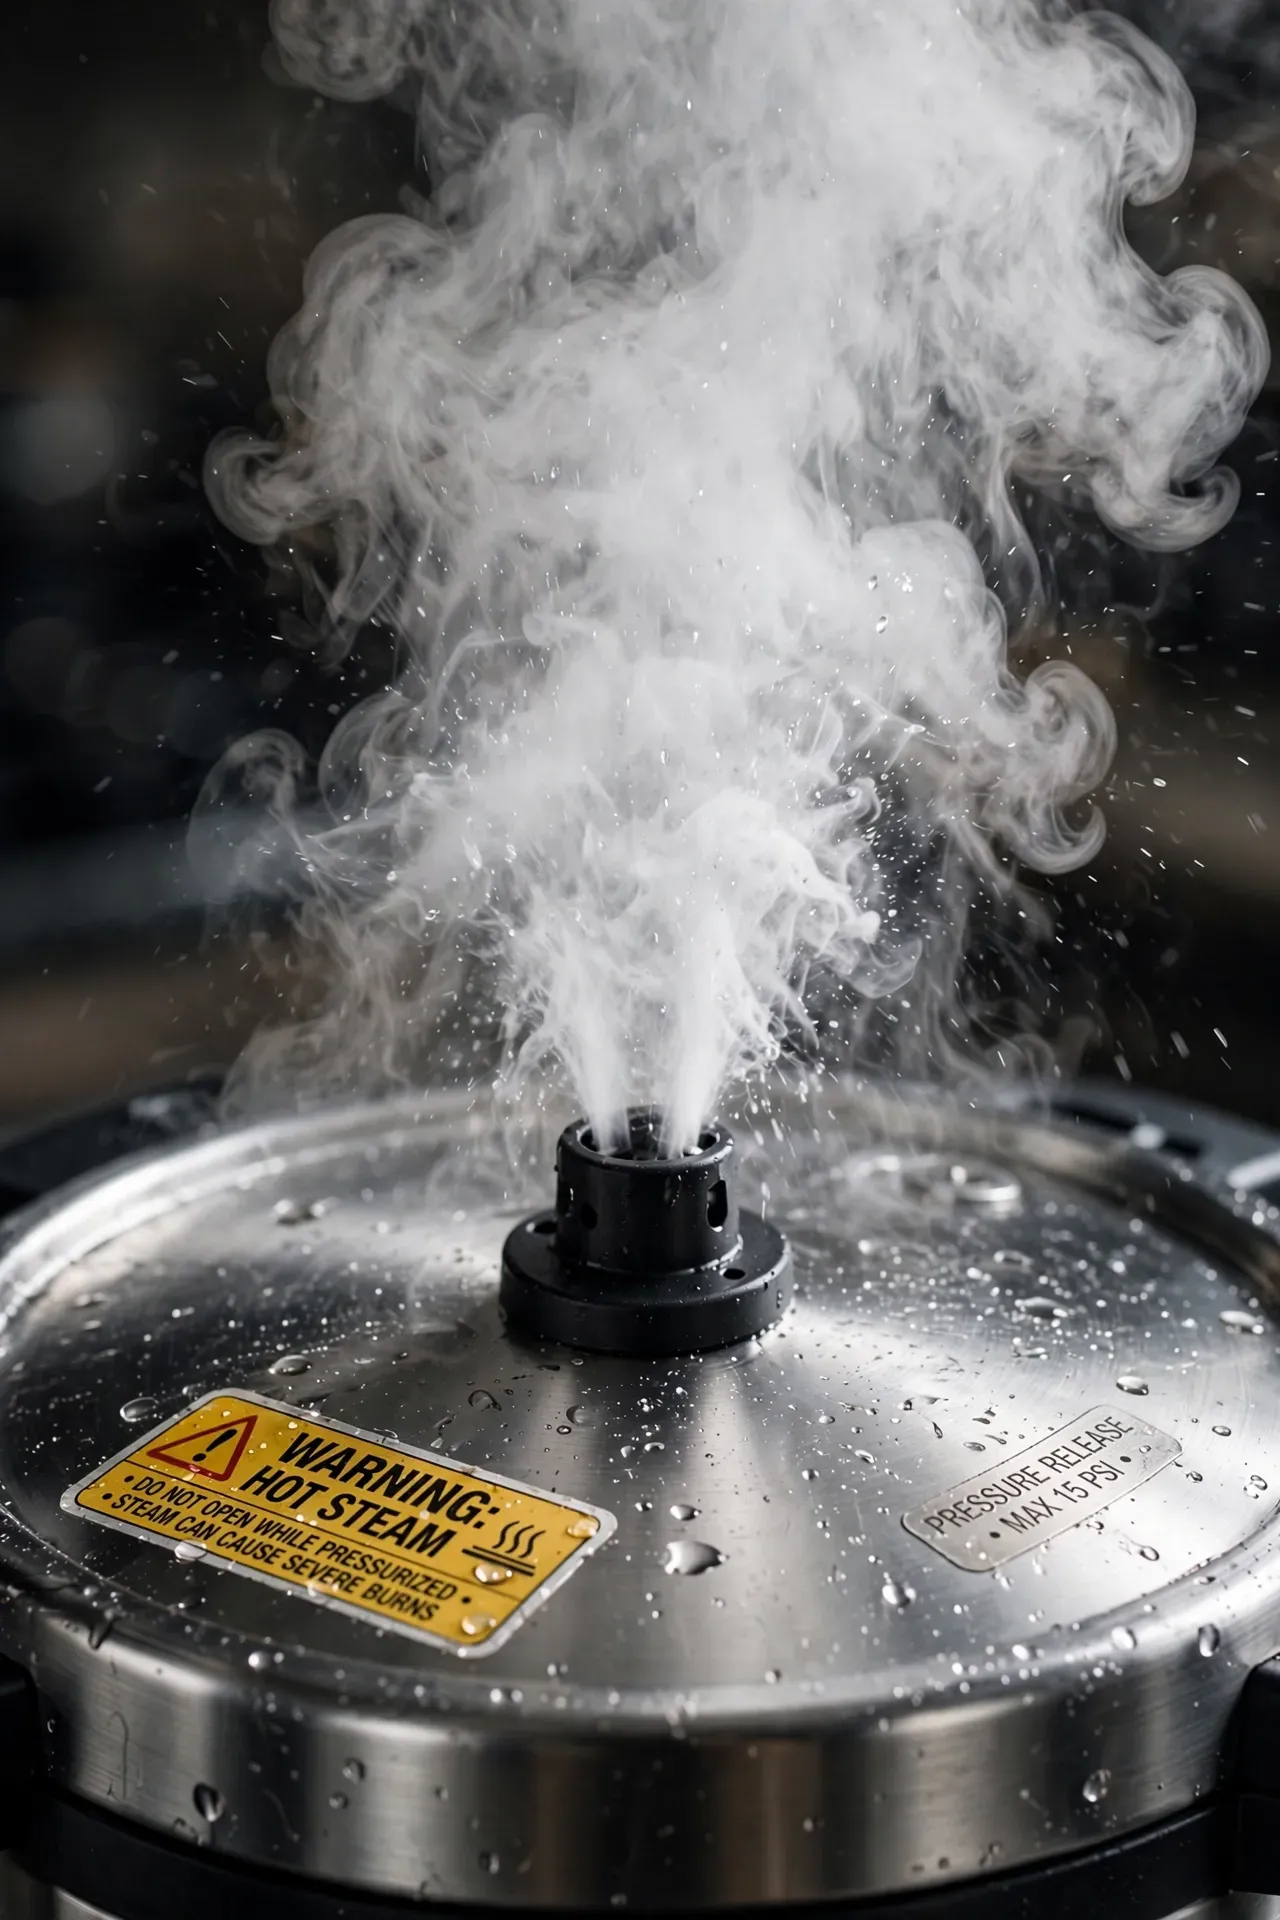
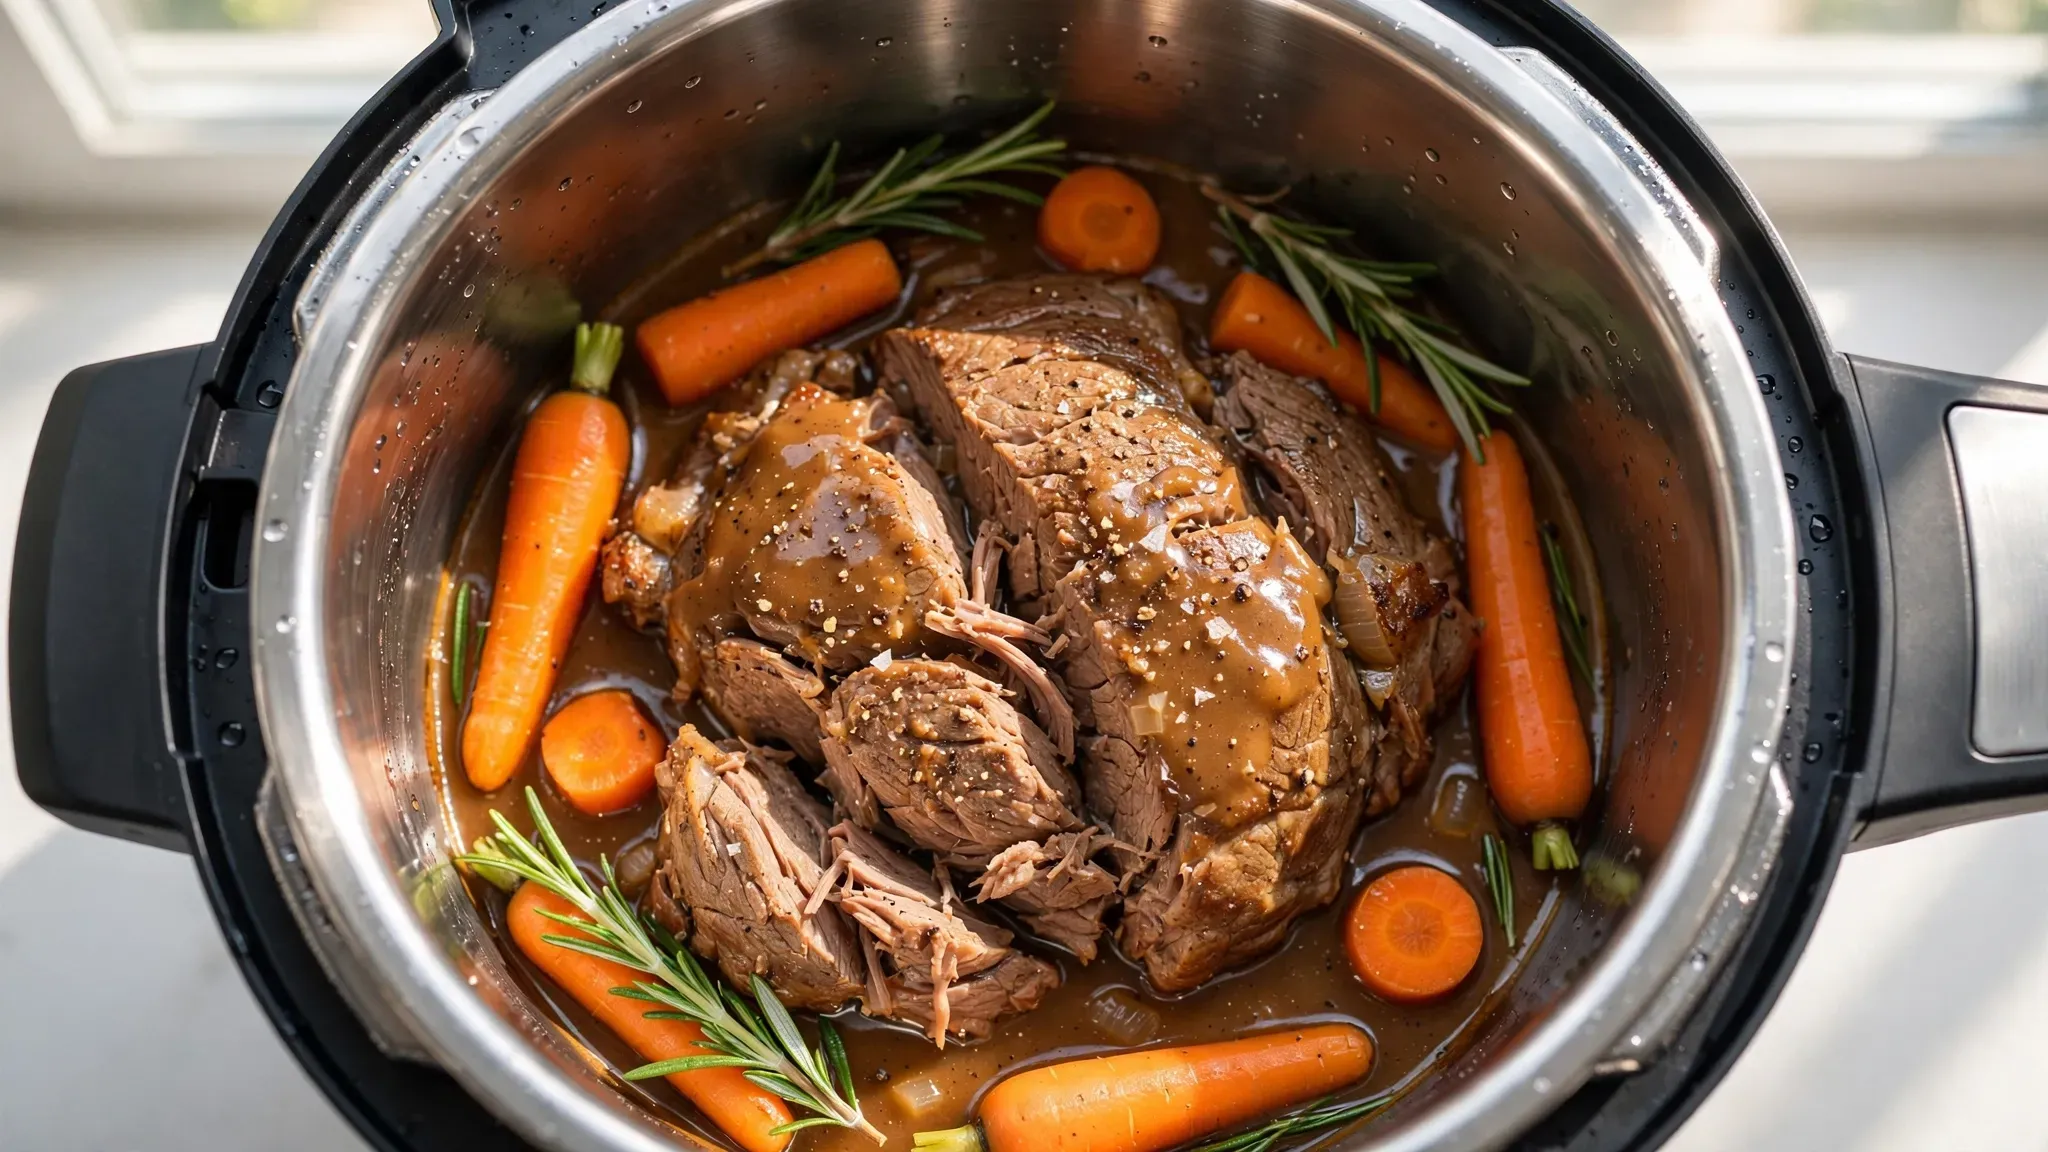
Many home cooks flip the steam valve immediately when the timer beeps. This creates a violent boiling reaction inside the pot. Starchy foods like pasta or rice foam up and spew through the valve. Meats lose all their moisture instantly. I cooked a four pound pork shoulder last Christmas. I flipped the valve right away to save time. The pork turned into dry splinters. The sudden pressure drop squeezed every drop of juice out of the meat. My guests chewed politely on the ruined dinner.
You must let the pot sit quietly for 15 minutes after cooking meats. People call this natural pressure release. The internal temperature drops slowly. The meat fibers relax and retain their juices perfectly. Use the quick release only for delicate vegetables or boiled eggs. Everything else needs absolute patience. I set a simple digital timer on my phone to track the 15 minutes exactly. Waiting guarantees tender meats every single time.
3. Forgetting to Check the Sealing Ring
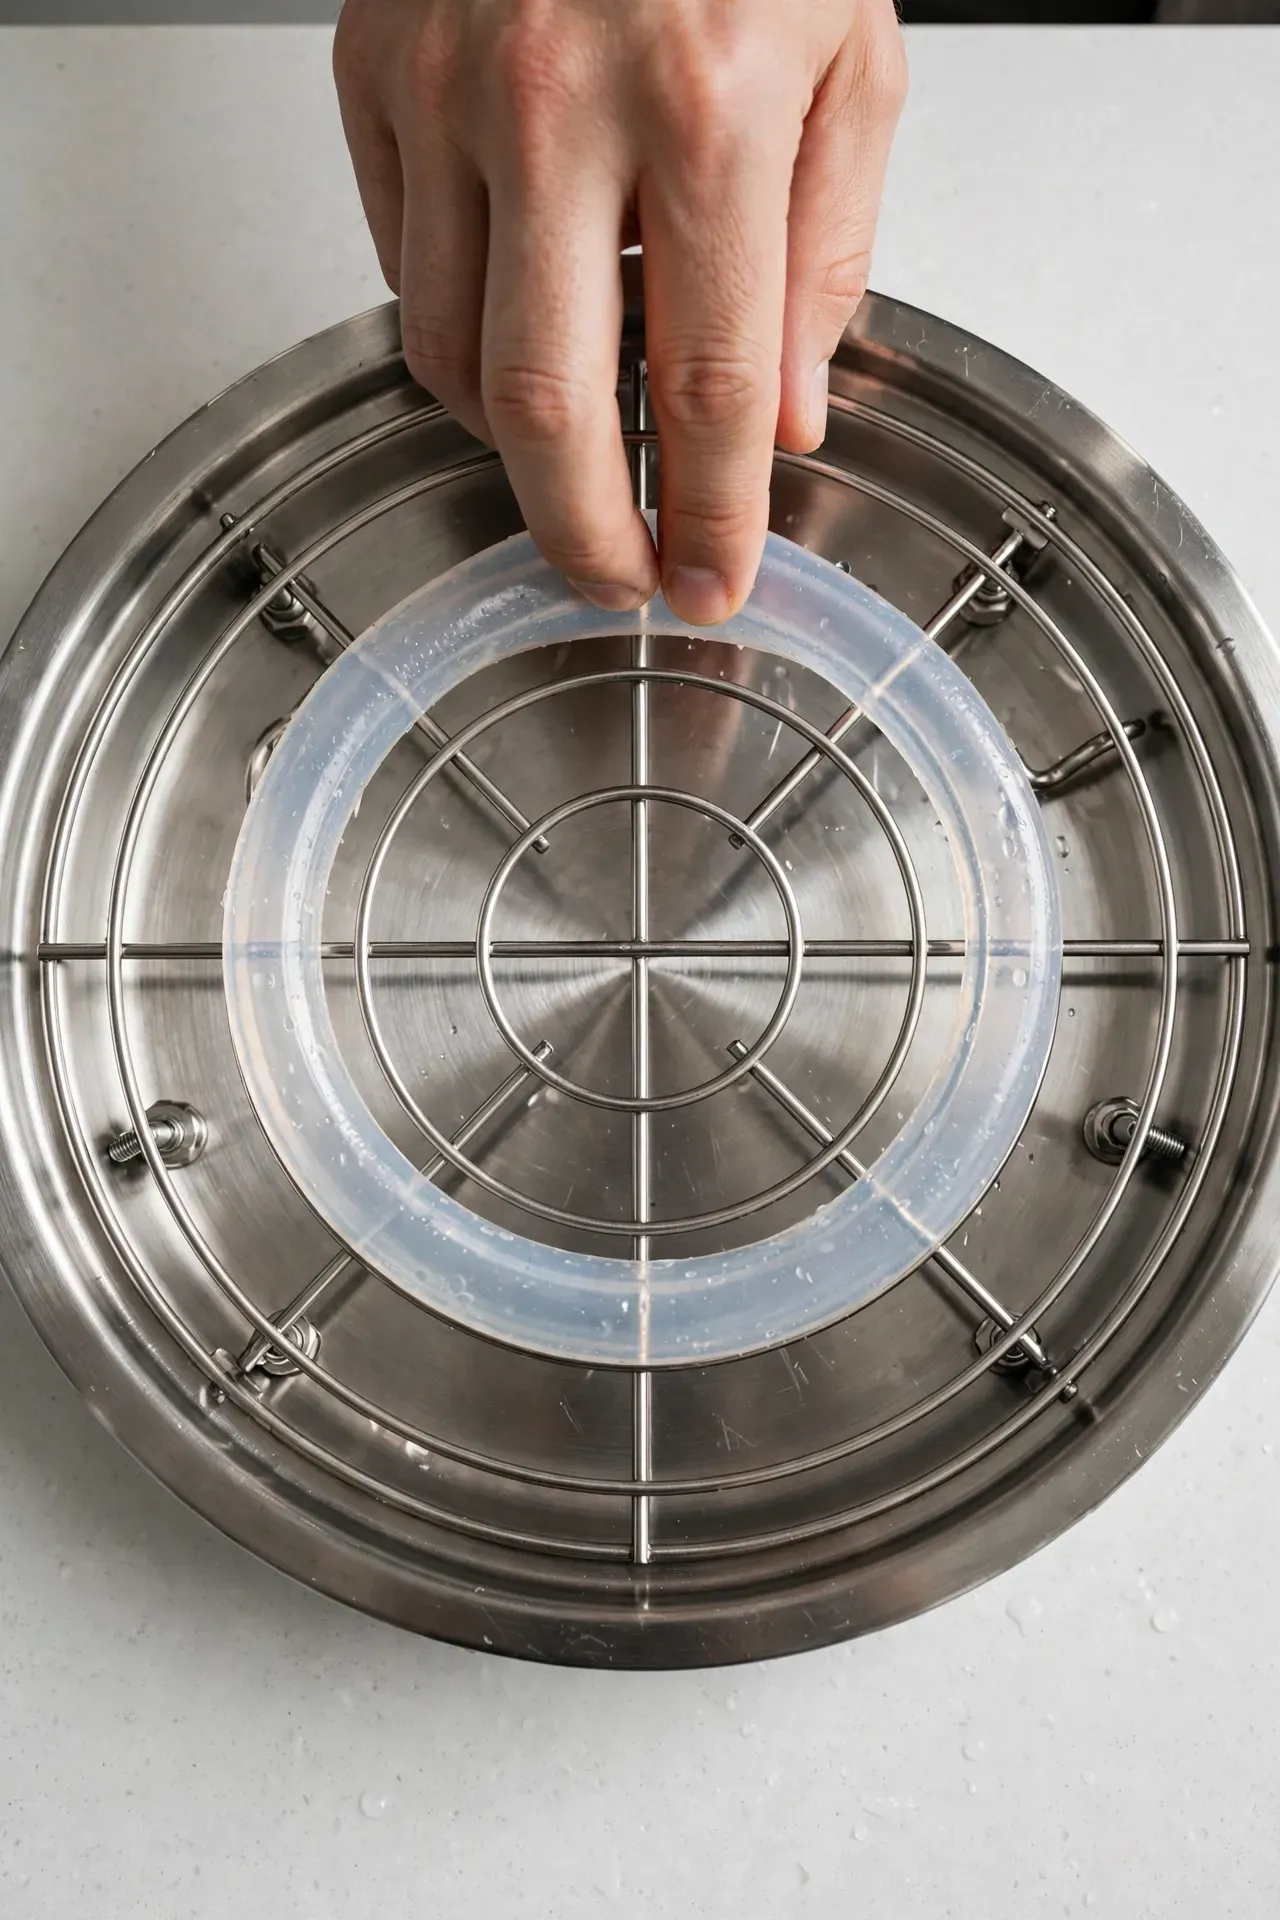
The silicone ring inside the lid traps the steam. This ring expands and contracts with extreme heat. It frequently pops out of its track. Food particles also get stuck behind it. If the ring sits incorrectly steam escapes from the sides. The pot never reaches high pressure. The timer never starts counting down. You end up with raw food after an hour of waiting.
I check the ring every single time I close the lid. I press it firmly into the metal rack. I replace my sealing rings every six months without fail. I buy genuine replacement rings directly from the manufacturer. Generic brands often fit loosely and leak steam. A loose ring ruined my split pea soup last October. The water boiled away completely while I watched television. Keep a spare ring in your kitchen drawer for emergencies. Buy one colored ring for sweet foods and one for savory dishes. The silicone absorbs strong garlic odors permanently. You never want garlic flavored cheesecake.
4. Overcrowding the Inner Stainless Steel Pot
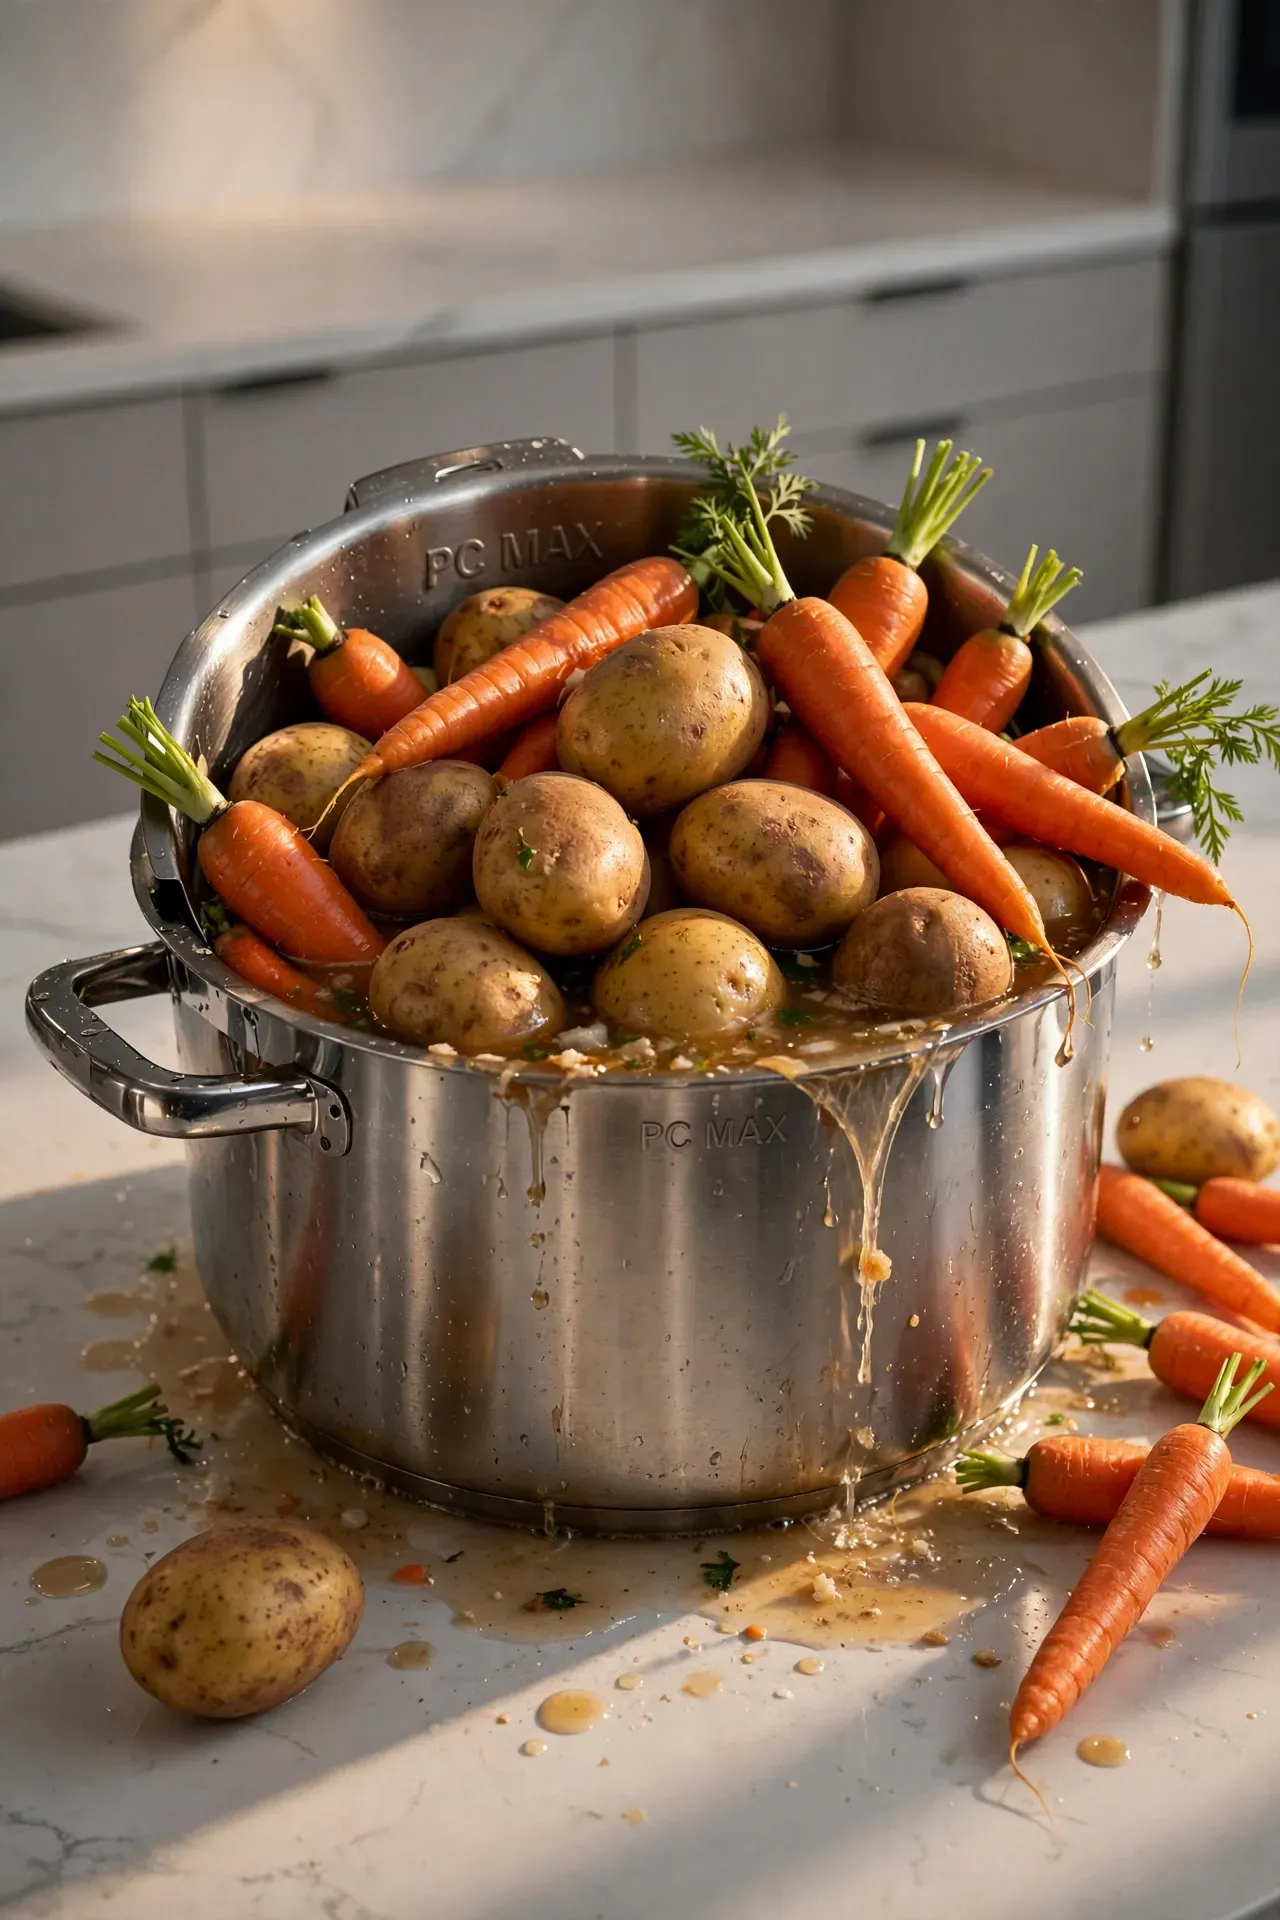
The metal pot has a line stamped with the words PC MAX. Many people ignore this line entirely. They pack the pot completely full of ingredients. Pressure cooking requires empty space at the top. The steam needs room to expand wildly. A packed pot cooks unevenly. Soups and broths boil over and clog the release valve.
I tried to make a massive batch of chicken stock two years ago. I filled the pot to the very brim with bones and water. Boiling chicken fat sprayed all over my kitchen ceiling through the steam valve. I spent three hours scrubbing grease off my light fixtures. Fill the pot only two thirds full for regular meals. Fill it only halfway for foods that expand like beans or grains. Food needs empty space to circulate properly. Cooking smaller batches yields better texture and flavor every single time. Use a secondary glass bowl inside the pot for smaller side dishes. This pot in pot trick saves massive amounts of cleaning time.
5. Mixing Dairy In Too Soon
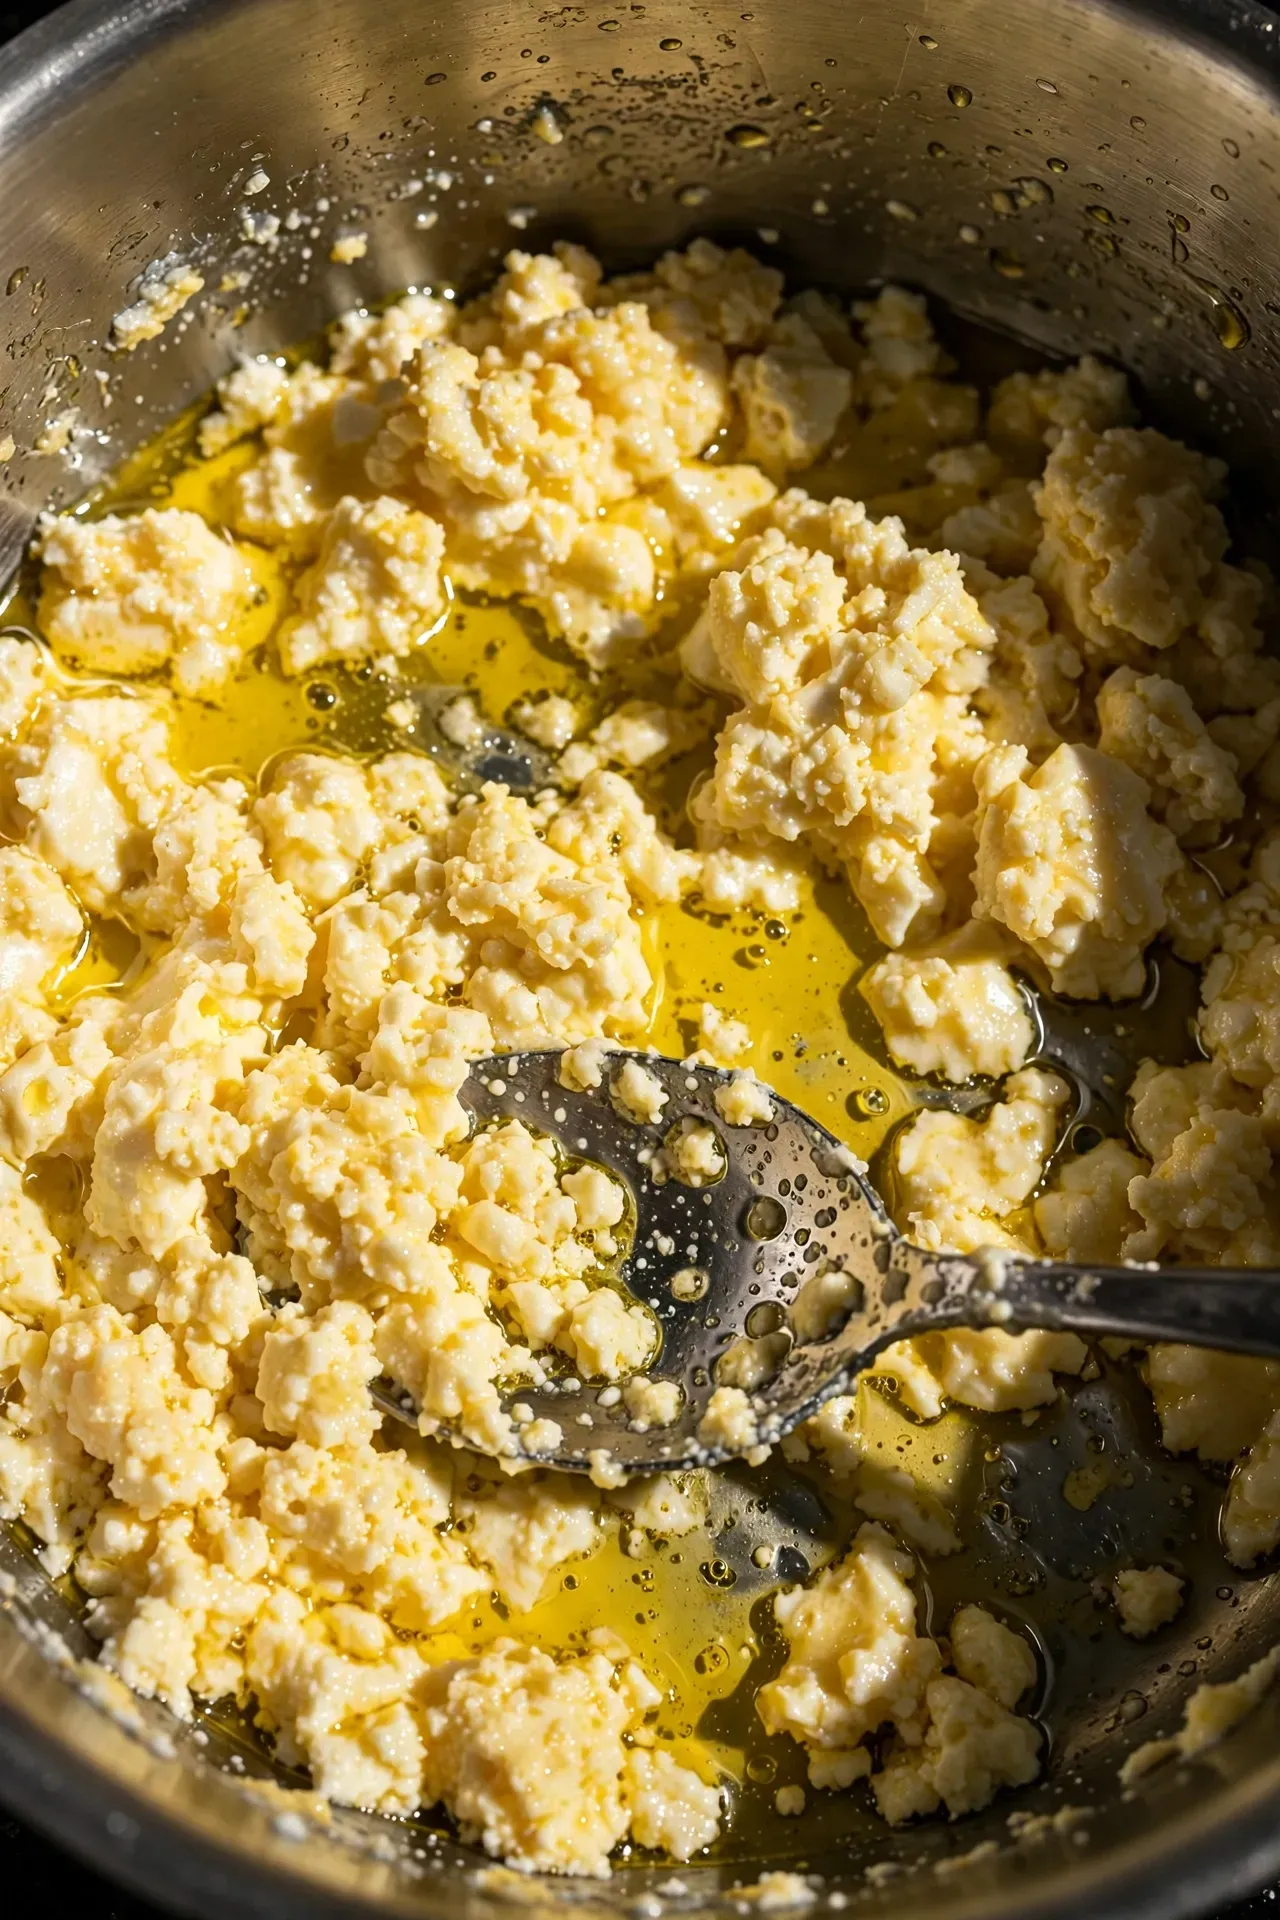
Electric cookers reach temperatures well above normal boiling points. Milk cheese and heavy cream separate violently under extreme heat. The proteins break apart instantly. The fat separates into greasy pools. You get a grainy curdled mess instead of a smooth sauce.
I tried cooking macaroni and cheese with milk directly under high pressure. The food looked like spoiled cottage cheese floating in grease. I dumped the entire pot in the trash. Cook your pasta or meat first with pure water or chicken broth. Wait until the cooking cycle finishes completely. Release the steam and open the lid safely. Stir the dairy into the hot food afterward. The residual heat easily melts cheese and warms heavy cream instantly. I stir cream cheese into my hot pasta for perfect creamy texture. The sauce remains silky and rich. Never lock the heavy lid with milk inside the pot.
6. Skipping the Deglaze Step After Sautéing
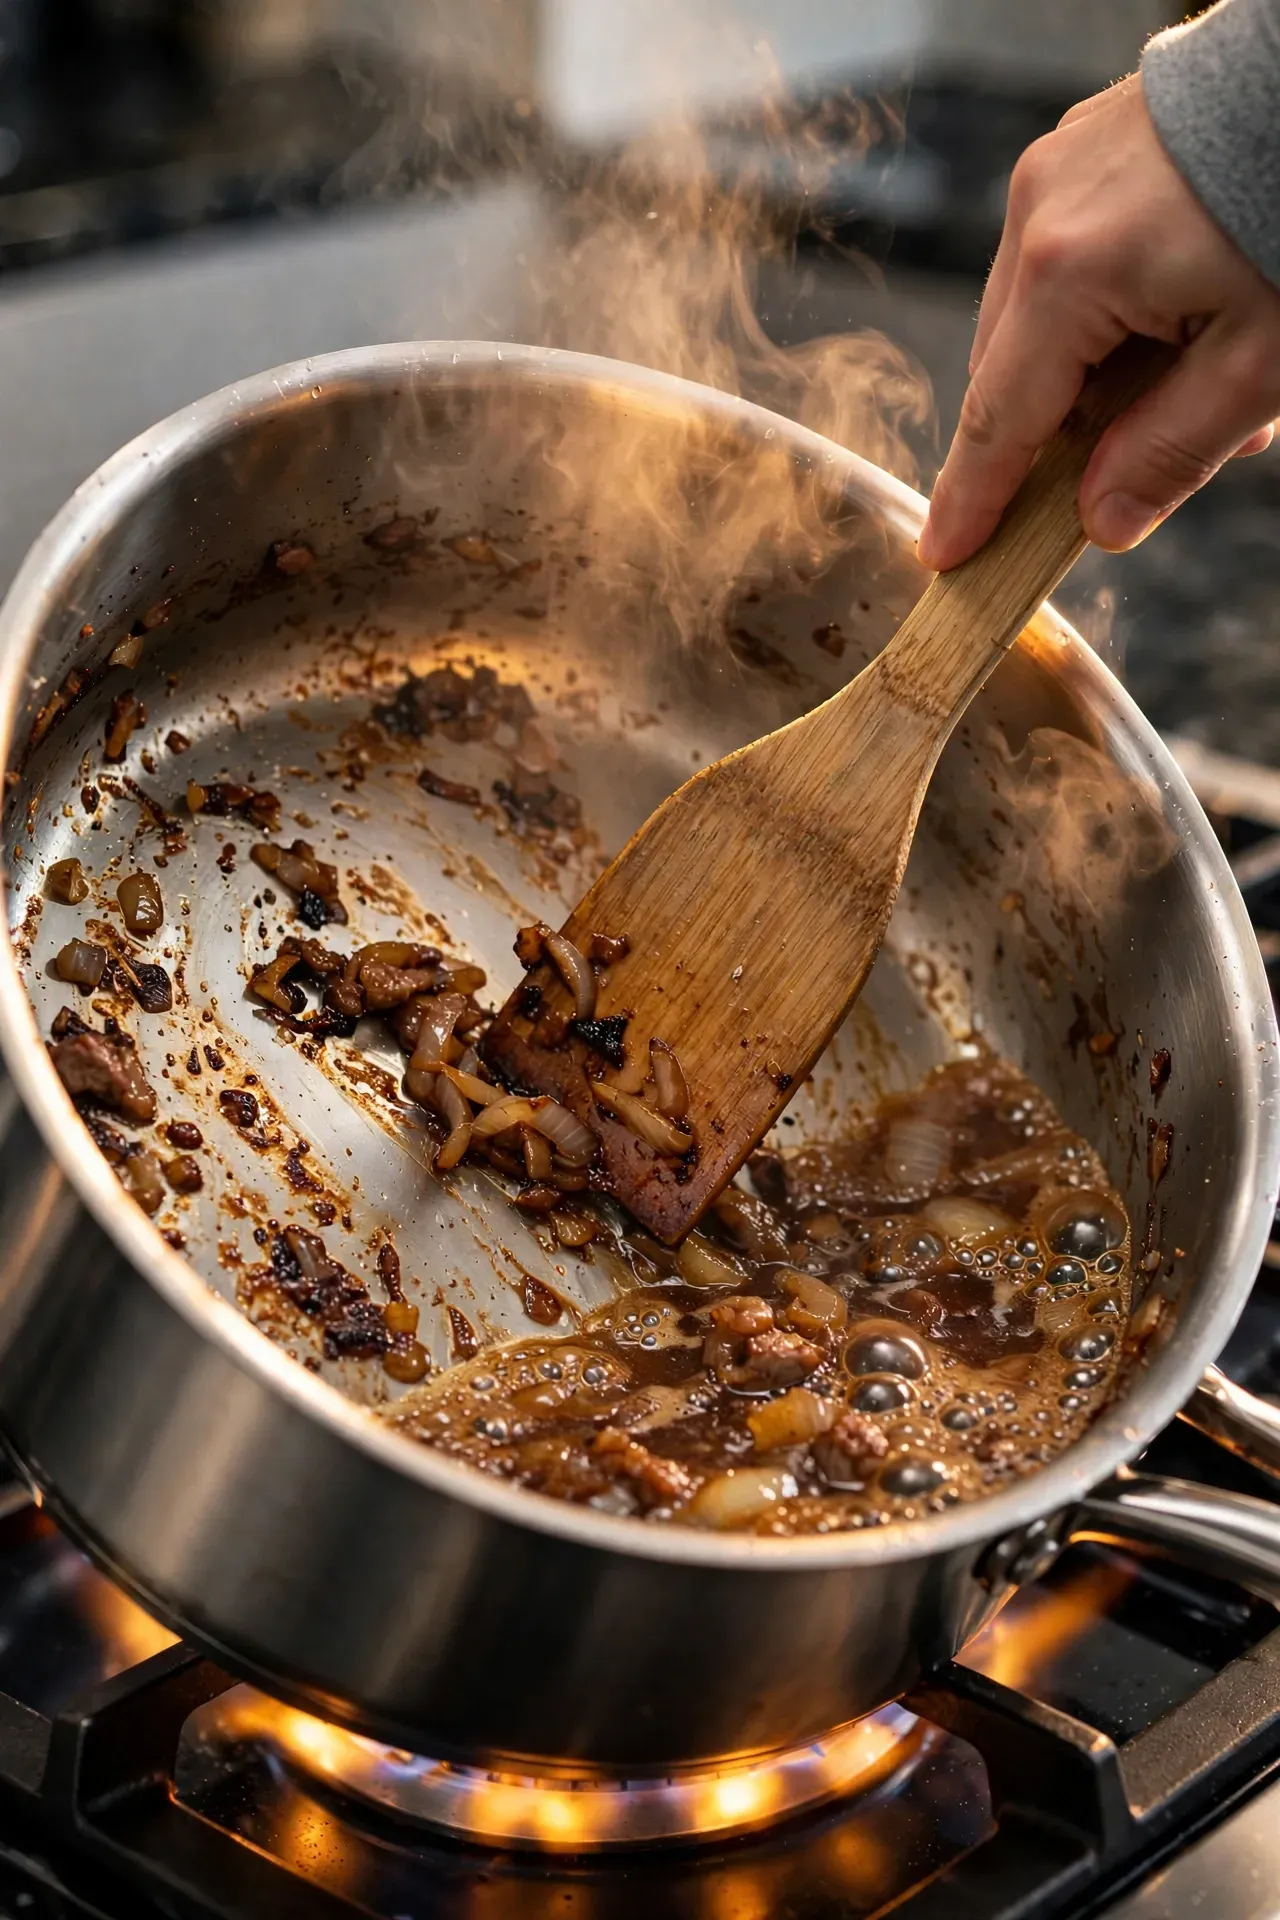
The built in sauté function works perfectly for browning meat and onions. Browning leaves delicious caramelized bits stuck to the bottom of the pot. You must remove these stuck bits before sealing the lid. If you leave them there the sensors detect them as burning food. The pot shuts down completely.
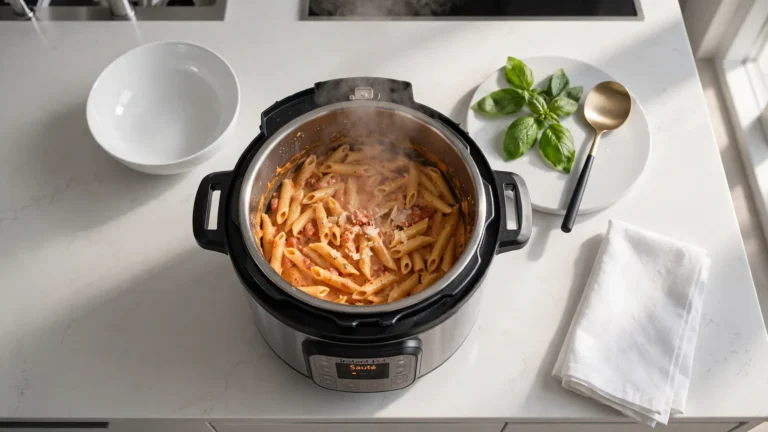
I see this error daily in cooking groups. I browned Italian sausages for a pasta dish last spring. I dumped dry pasta on top and sealed the lid. The machine beeped angrily three minutes later with a burn warning. I had to wash the scorching hot pot and start completely over. Pour half a cup of chicken broth into the hot pot after browning your onions. Scrape the bottom firmly with a wooden spoon. I prefer using a flat bamboo spatula for this specific task. The bottom must feel completely smooth under your spoon. The browned bits mix into the liquid and make your sauce taste absolutely amazing. This simple scraping step prevents ninety percent of all burn warnings.
7. Treating the Timer as Total Kitchen Time
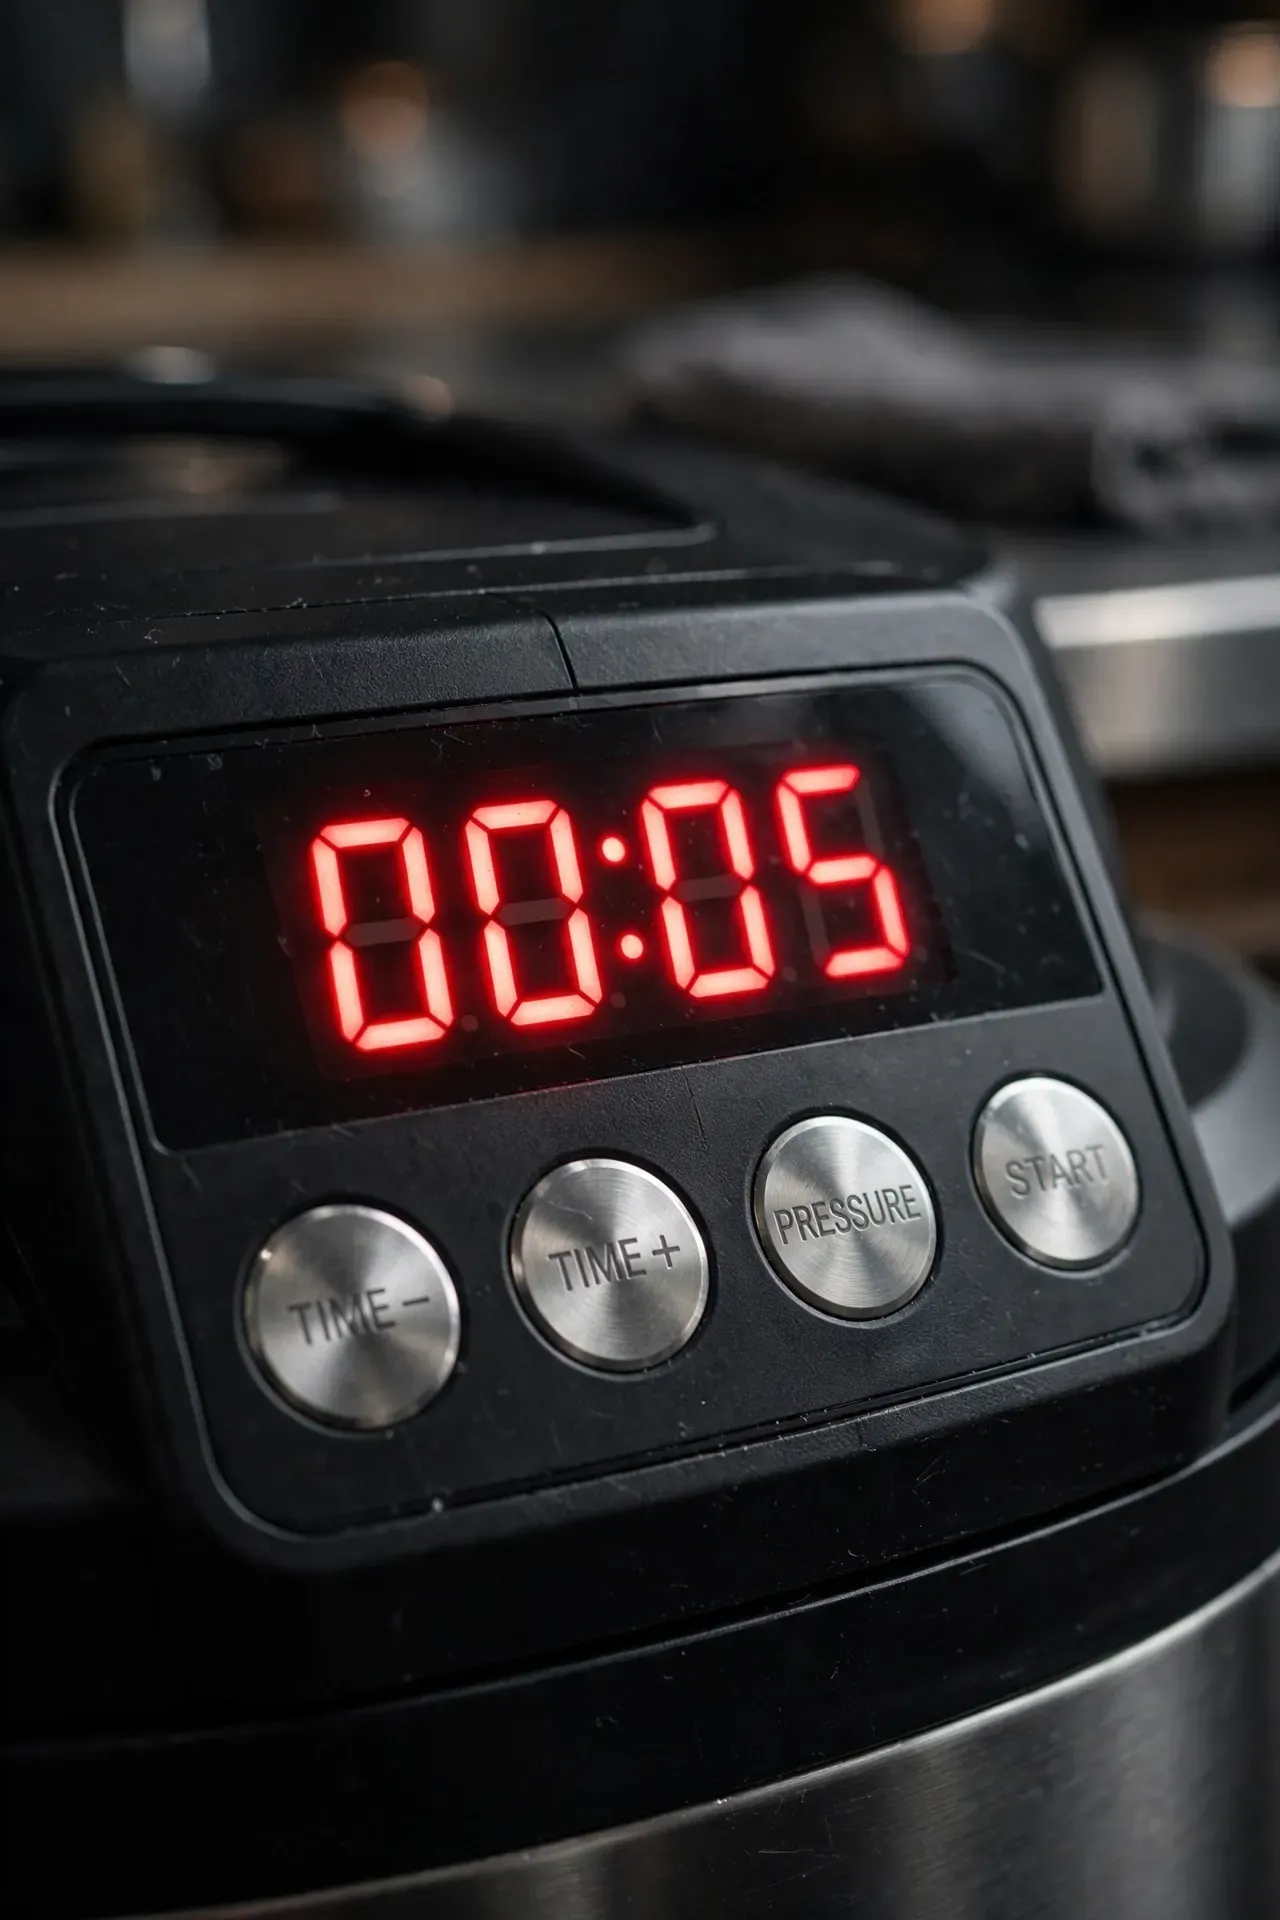
A recipe might say it cooks in five minutes. This number misleads beginners every time. The five minutes only refers to the time spent at high pressure. The machine takes 10 to 20 minutes to heat up initially. It also takes 10 to 20 minutes to cool down afterward. A five minute recipe actually takes 40 minutes from start to finish.
I promised my family a hot dinner in exactly 15 minutes once. We ate cold cereal that night while the machine slowly built up pressure. Plan your side dishes around the real mechanical timeline. Start the main course first before doing anything else. Then chop your salads or prepare your cold vegetables. The machine handles the main course silently in the corner. Knowing the true timeline stops dinner stress entirely. The fuller the pot the longer it takes to heat up safely. Frozen meats extend the warming time significantly. Always pad your dinner schedule by twenty extra minutes.
8. Placing Delicate Foods Directly on the Bottom
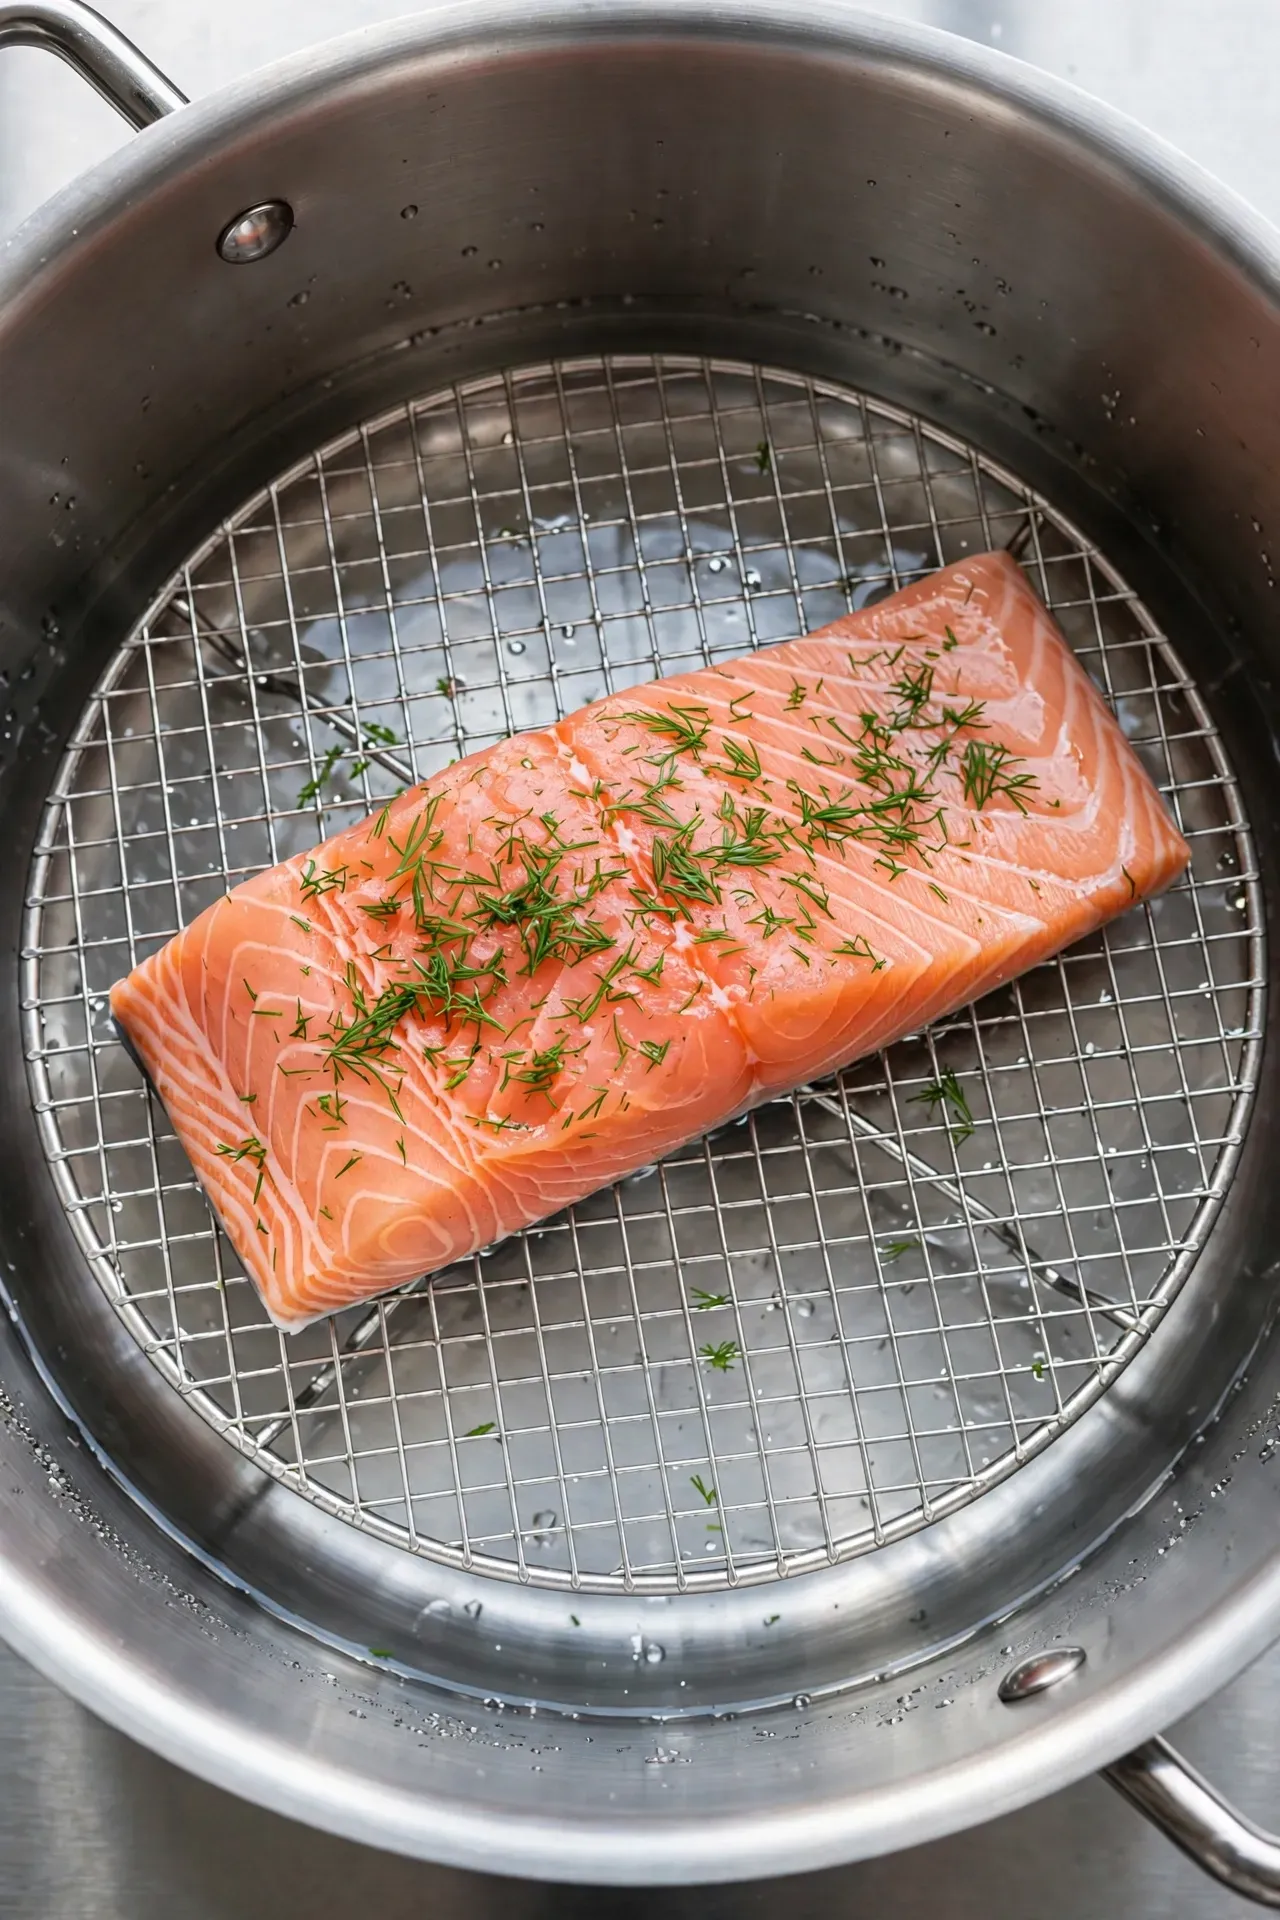
The heating element sits directly under the inner pot. The bottom gets intensely hot immediately. Delicate foods like fish or chicken breasts burn instantly upon contact. The food also sits in a pool of boiling water and turns mushy.
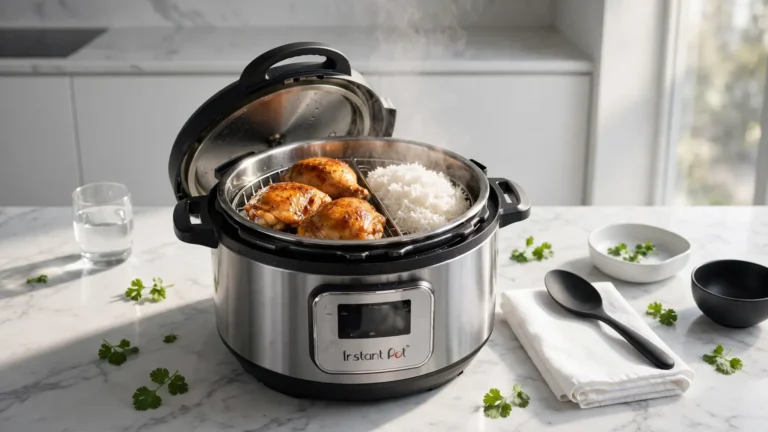
Every machine comes with a small metal trivet in the box. Most people throw it in a dark drawer and completely forget about it. I place the trivet at the bottom of every meal I cook. I put my seasoned salmon on top of the metal rack. The fish steams perfectly above the violently boiling liquid. I use a silicone steamer basket for small chopped vegetables. Elevating the food keeps the original texture intact. Meats stay incredibly firm. Vegetables retain their bright natural colors. Keep the fragile food out of the boiling liquid at the bottom.
9. Misunderstanding the Keep Warm Function
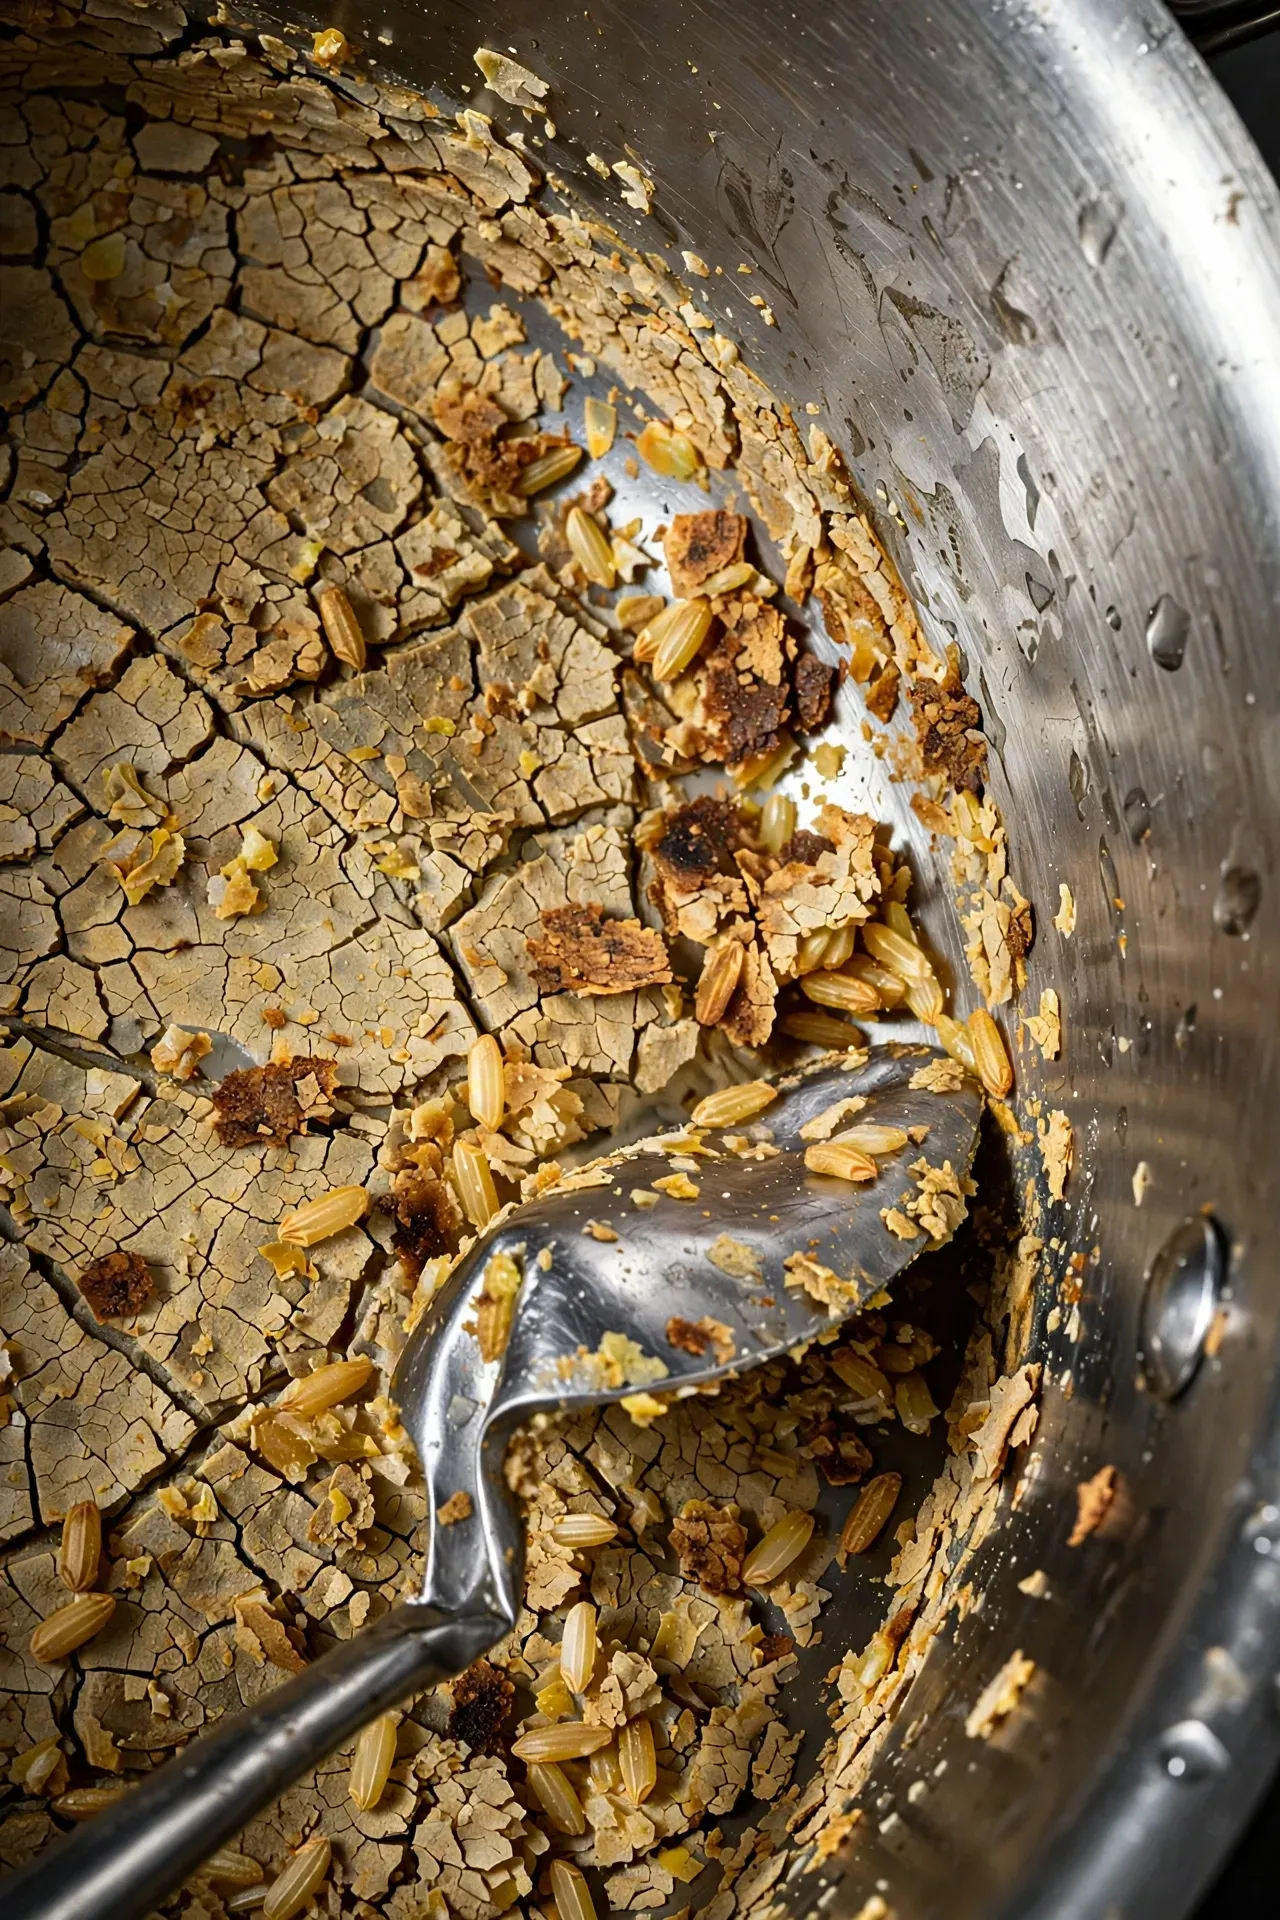
The machine automatically switches to Keep Warm when the timer ends. This setting holds food at 145 degrees Fahrenheit. This prevents bacteria growth safely. Leaving food on this setting too long ruins the meal entirely. The bottom continues to heat gently. Pasta turns to mush. Meat dries out. Rice sticks to the bottom and hardens.
I left a huge batch of basmati rice on Keep Warm for three hours. The bottom layer turned into an impenetrable brick of hard starch. I soaked the pot for two days trying to clean it. Turn the machine off completely when the food finishes cooking. Move the inner pot to a heat safe counter immediately. I place the hot pot on a heavy wooden cutting board. Serve the food right away for the best texture possible. If you must wait simply transfer the food to glass storage containers. Leaving it in the hot metal pot continues the cooking cycle indefinitely.
Frequently Asked Questions
Why does the lid smell like onions?
The silicone ring absorbs strong odors quickly. Washing it with normal dish soap rarely works. I bake my silicone rings in the oven at 250 degrees for 20 minutes. This bakes the odor out completely. Storing the lid upside down also airs out the ring.
Can I cook frozen meat directly?
Yes you can put frozen meat straight into the pot. You must cook the food 50 percent longer. A fresh chicken breast takes 10 minutes. A frozen chicken breast takes 15 minutes. The machine takes much longer to reach high pressure with frozen food inside.
What do I do about the burn message?
Turn the machine off immediately. Release the steam safely. Open the lid and empty the food into a large bowl. Scrape the burnt layer off the bottom. Wash the pot thoroughly. Start over with thinner liquid. I use chicken bouillon mixed with water.
How do I clean cloudy stains?
Hard water leaves white mineral deposits on the stainless steel. Normal dish soap fails to clean this. I sprinkle cleaning powder on the wet metal. I scrub gently with a soft sponge. The pot looks brand new in 30 seconds.
Do I strictly need the metal trivet?
You can cook soups and stews without the rack. Solid pieces of meat or vegetables require elevation. Sitting in boiling water turns solid food mushy. Always elevate foods that need to stay firm.
Why is steam leaking from the pin?
A tiny bit of steam escapes while the machine heats up. This is perfectly normal. If steam constantly sprays out the valve is dirty. Remove the silicone cap underneath and wash the metal pin. Food debris prevents it from sealing tight.
Can I fill past the max line?
Never overfill the pot. Boiling liquid expands wildly under pressure. Overfilling forces boiling soup out through the steam valve. This creates a massive mess on your countertops. Keep all liquids below the max line stamped on the metal.
Do I always have to use water?
No any thin liquid works perfectly. I pour apple juice or beef broth into the pot. The liquid must be thin enough to boil easily. Avoid thick syrups or heavy tomato purees at the bottom.
Why did my potatoes turn to mush?
You cooked them far too long. Potatoes cook in exactly five minutes under high pressure. You also likely waited for the internal temperature to drop slowly. You must flip the valve immediately for vegetables. Quick release stops the cooking immediately.
Is it safe to leave unattended?
Modern appliances have ten built in safety mechanisms. They monitor temperature and internal pressure without stopping. I leave my house regularly while making bone broth. The machine shuts off automatically if it gets too hot.
Can I use the glass lid instead?
No the glass lid only works for the slow cooker setting. Pressure cooking requires the heavy locking lid. The glass shatters under extreme pressure. Buy a tempered glass lid only for keeping food warm on the counter.
How long do sealing rings last?
I replace mine every six to eight months with daily use. The silicone stretches out and loses its shape over time. A loose ring fails to seal the lid correctly. Buy authentic replacements to get a tight fit.
Can I make crispy fried chicken?
No standard models trap moisture entirely. Food never gets crispy in a wet environment. You need a dedicated air fryer lid for crispy textures. The standard lid only steams and boils your food.
Why is my cooked meat tough?
You likely flipped the steam valve immediately. Releasing pressure instantly shocks the meat fibers. They contract violently and squeeze out all moisture. Let the pot sit untouched for 15 minutes after cooking meats.
Does high altitude change things?
Yes water boils at lower temperatures in high altitudes. You must cook your meals longer by five percent for every 1000 feet above 2000 feet. I live near the mountains and always cook things for five extra minutes.
Final Thoughts
Mastering this appliance requires ignoring old habits from the stove. Stovetop cooking lets you peek inside and stir the pot. Pressure cooking demands precise setup before locking the heavy lid. Stop filling the pot with thick sauces. Leave your meats alone after the timer beeps. Scrub that bottom surface clean after browning onions.
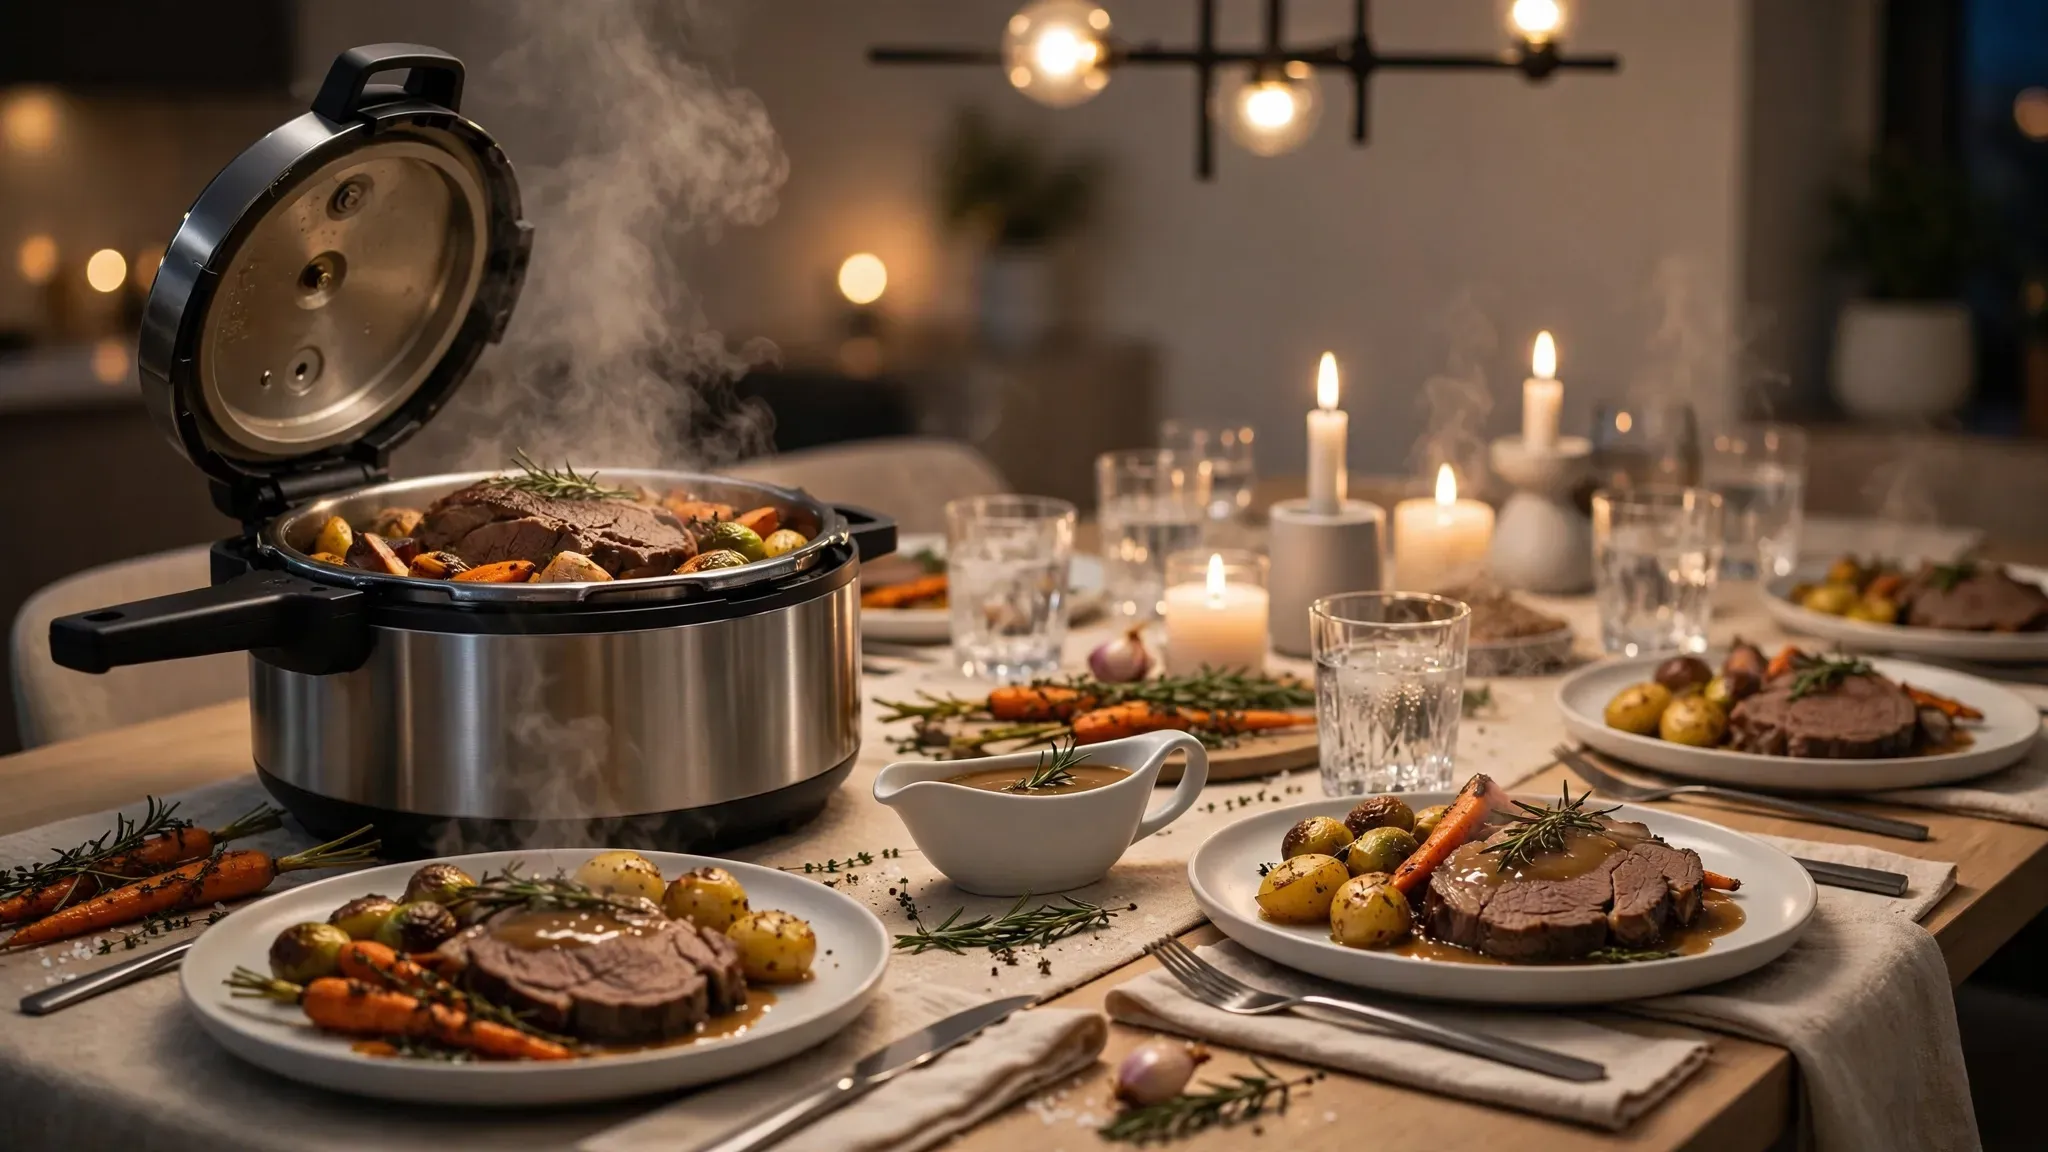
I ruined plenty of expensive groceries figuring out these rules. You have the exact roadmap to avoid those disasters now. Check your silicone ring today. Buy a spare ring for sweet desserts tomorrow. Test a simple batch of rice using these guidelines tonight. You will taste the difference immediately.

Anna Moretti — Editor-in-Chief & Founder
Anna Moretti is a Le Cordon Bleu graduate whose seven years in Michelin-starred kitchens across Paris and London, including stages at L’Arpège and The Ledbury, shape every recipe she touches. Her work has appeared in Bon Appétit, Saveur, and The Kitchn. As Editor-in-Chief, Anna develops each signature recipe herself and tests it three times before publication, guided by a simple belief: if a recipe doesn’t work in a tired home cook’s kitchen at the end of a long Tuesday, it isn’t ready. She reviews every piece of content for accuracy, voice, and the small details that turn a good recipe into a great one.